
I picked up this Go Fast Bits G-Force 2 Electronic Boost Controller after it came highly recommended by the guys over at AGP Turbo. I wanted something a lot more precise for my current build, and especially for my upcoming build which includes an External Wastegate setup. I've been sitting on it for a few weeks, but I got the GFB EBC installed yesterday finally") Pretty easy install overall, took about 2 hours. Here's a quick review and basic install walkthrough:
Pretty easy install overall, took about 2 hours. Here's a quick review and basic install walkthrough:
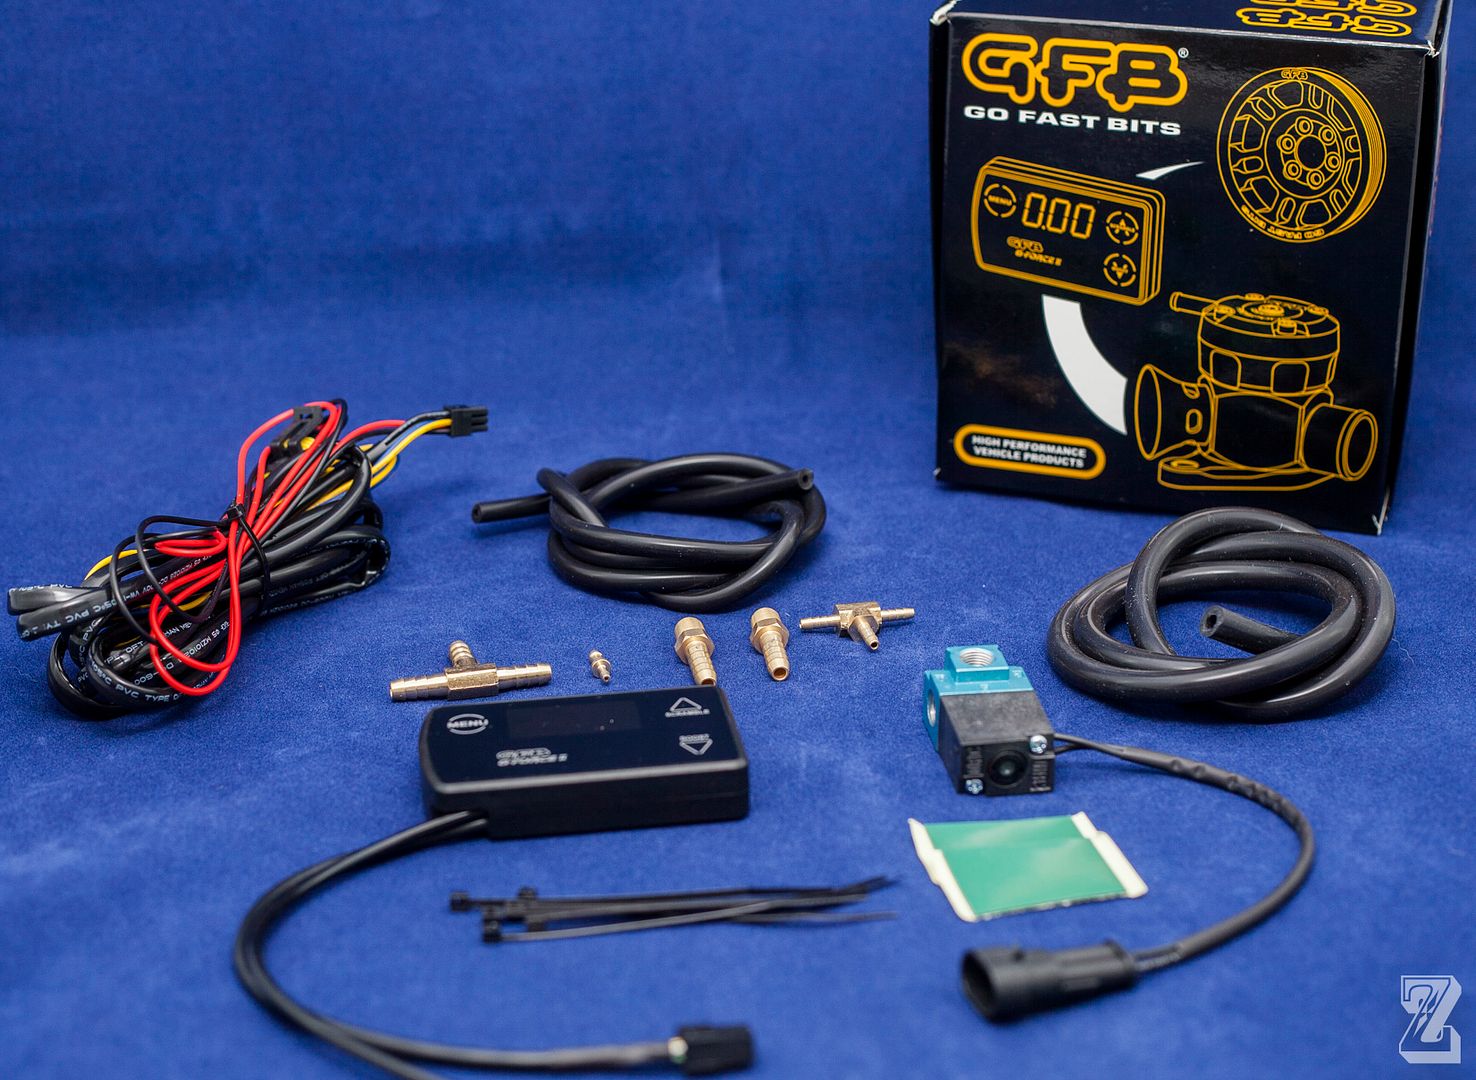
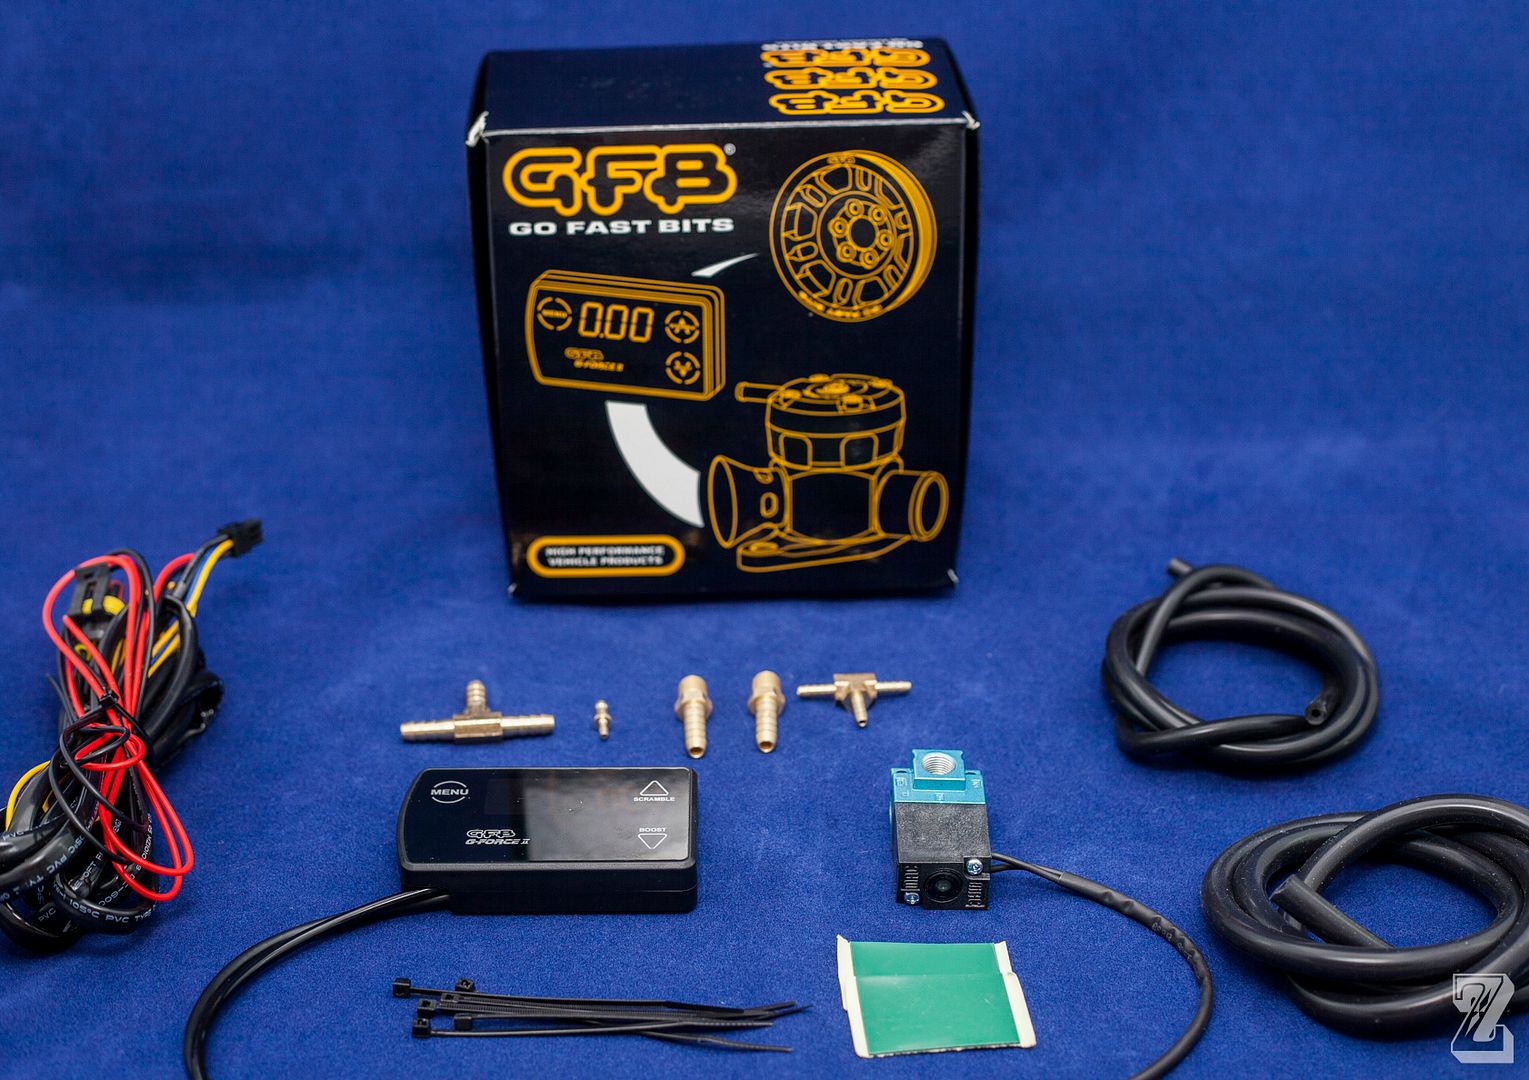
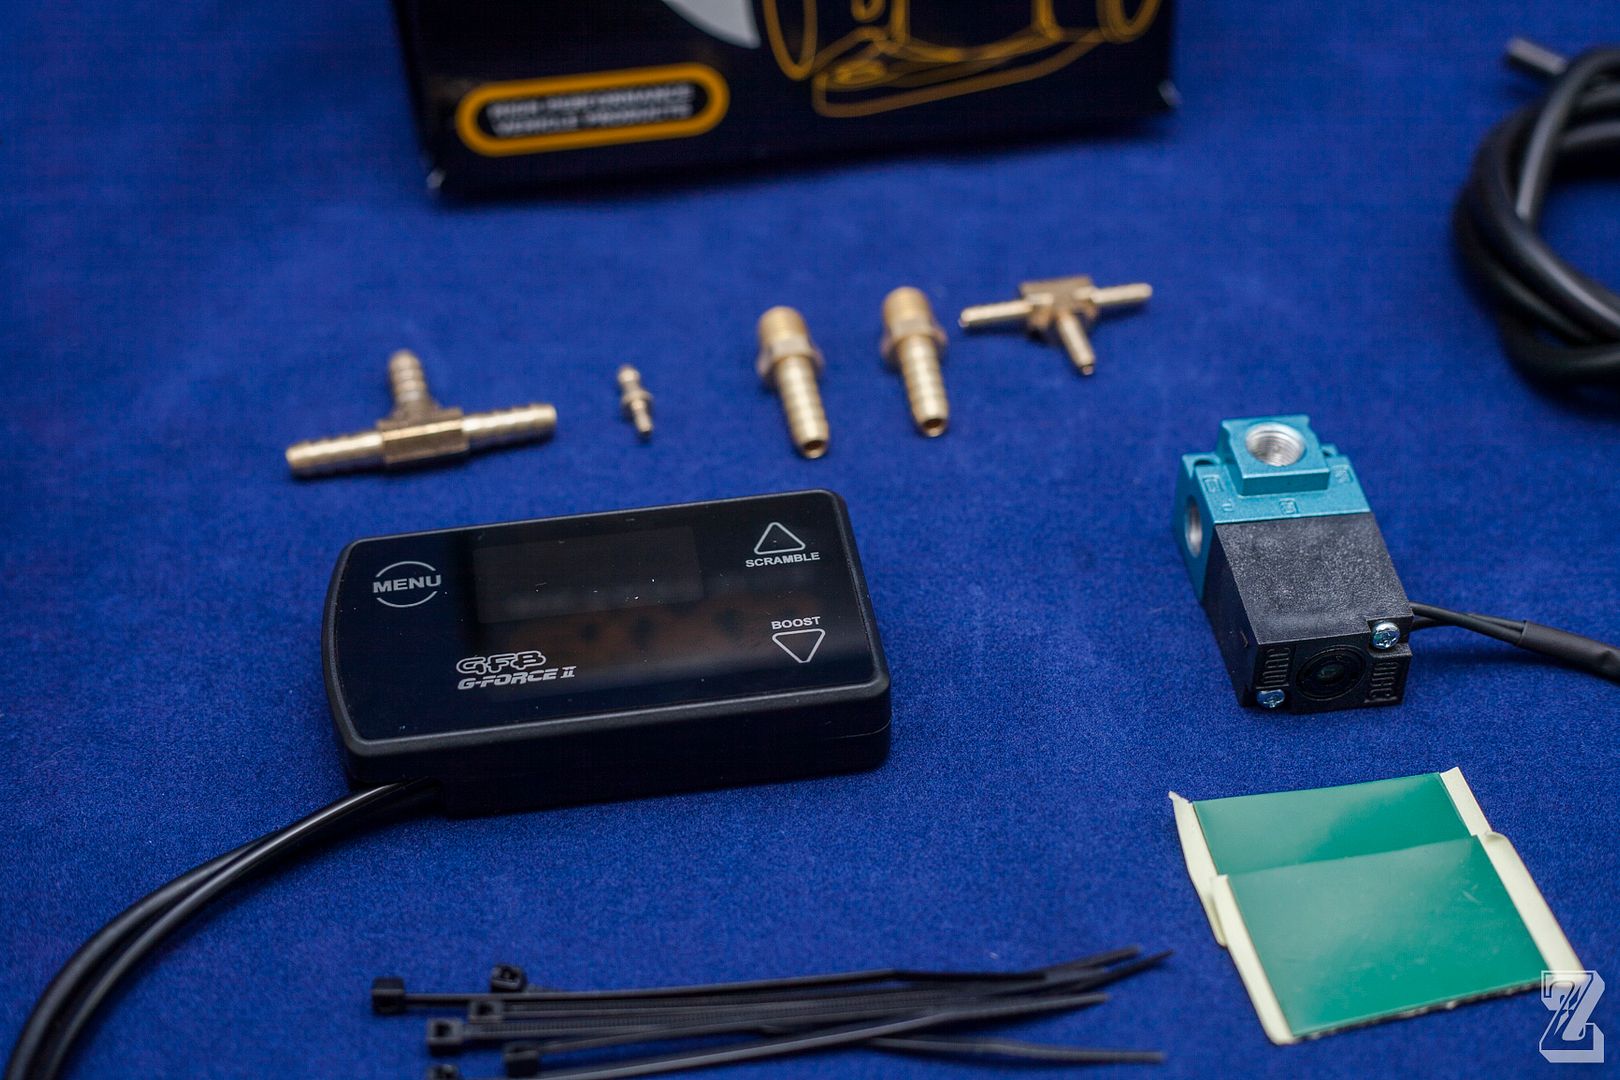
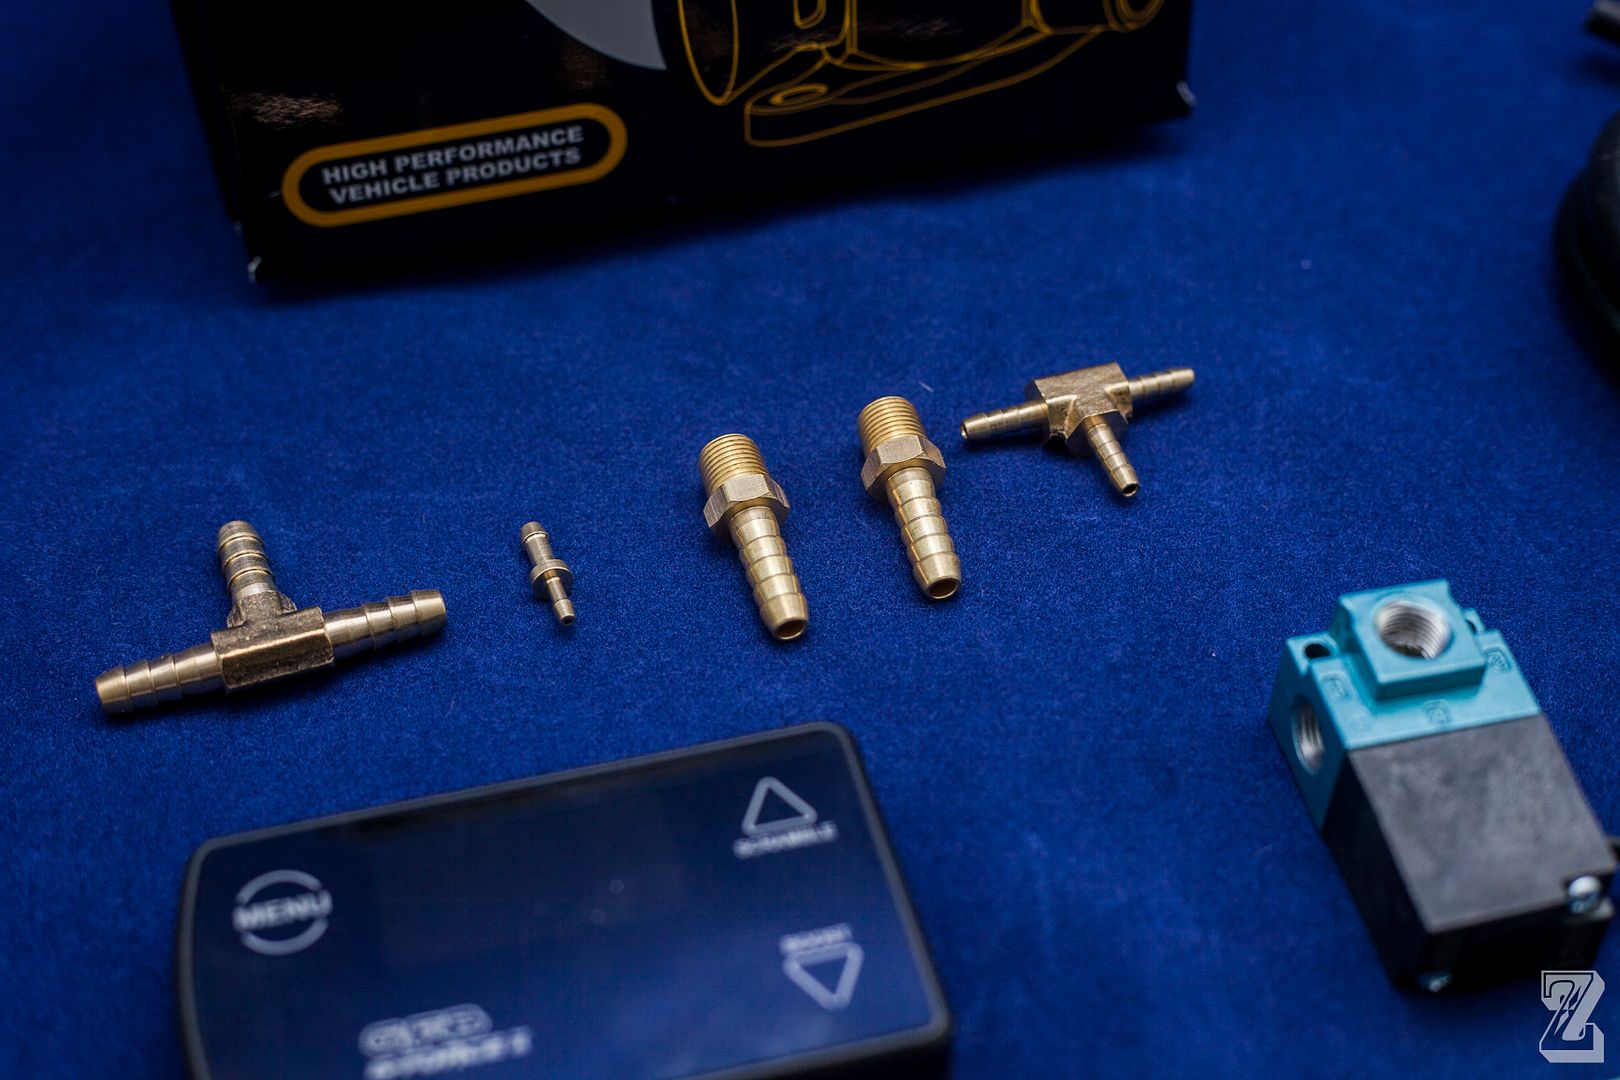
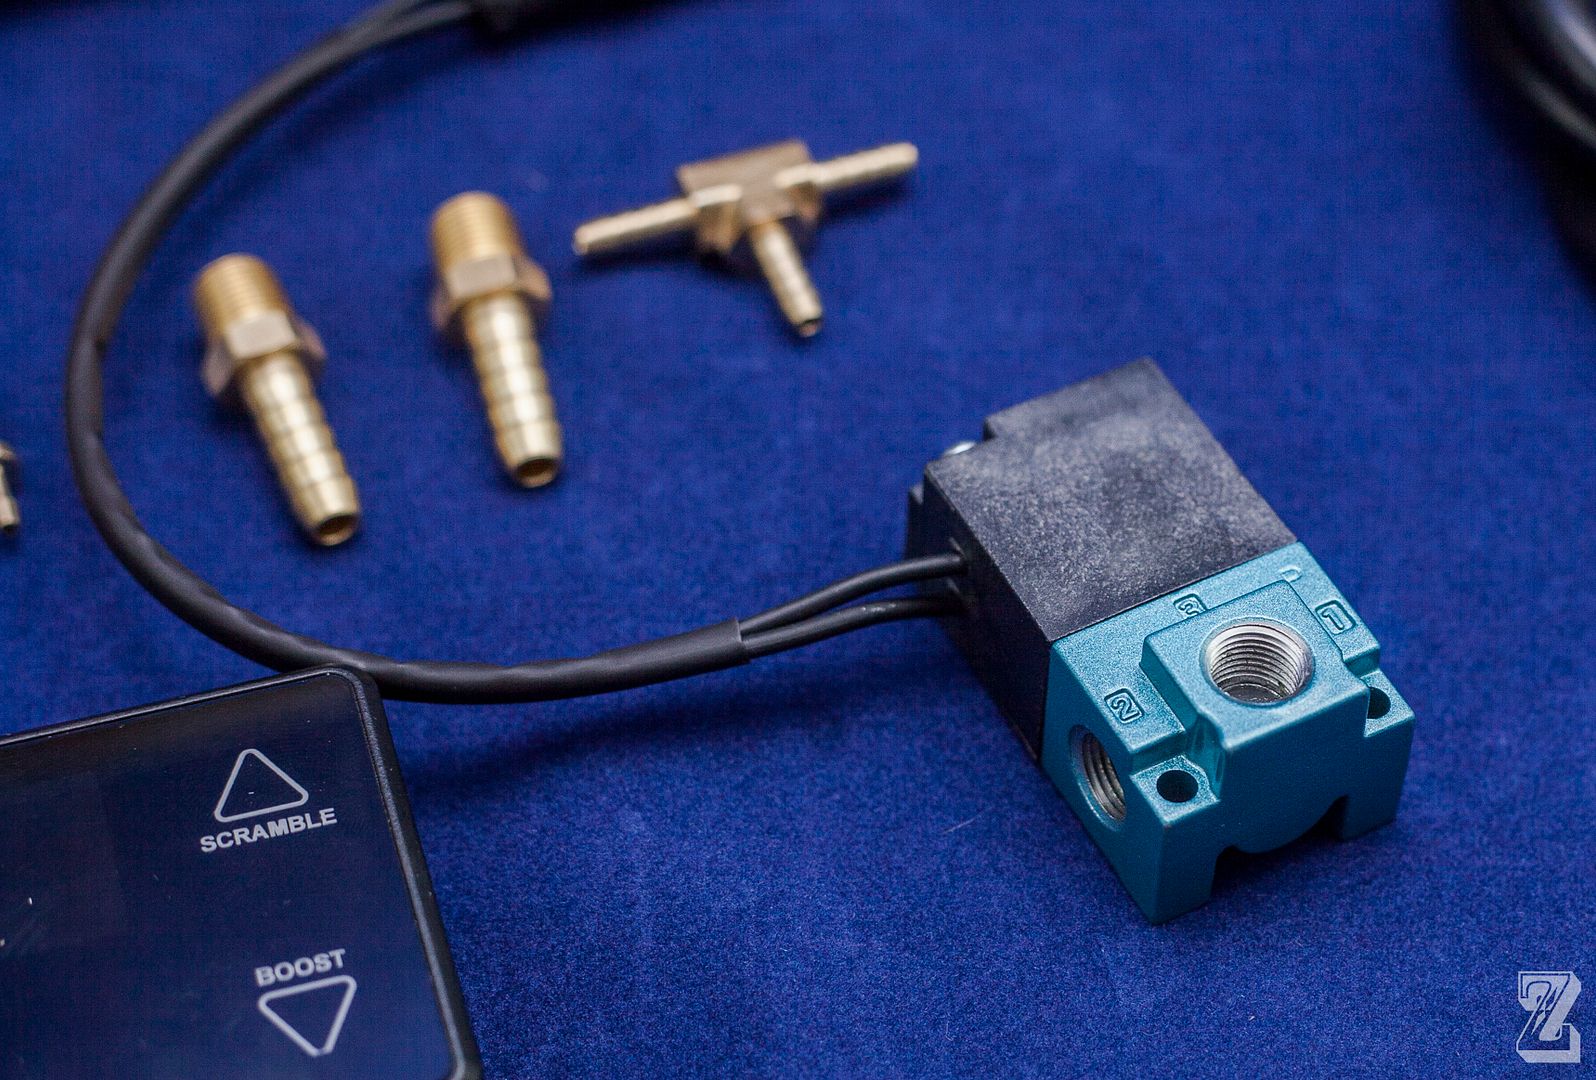
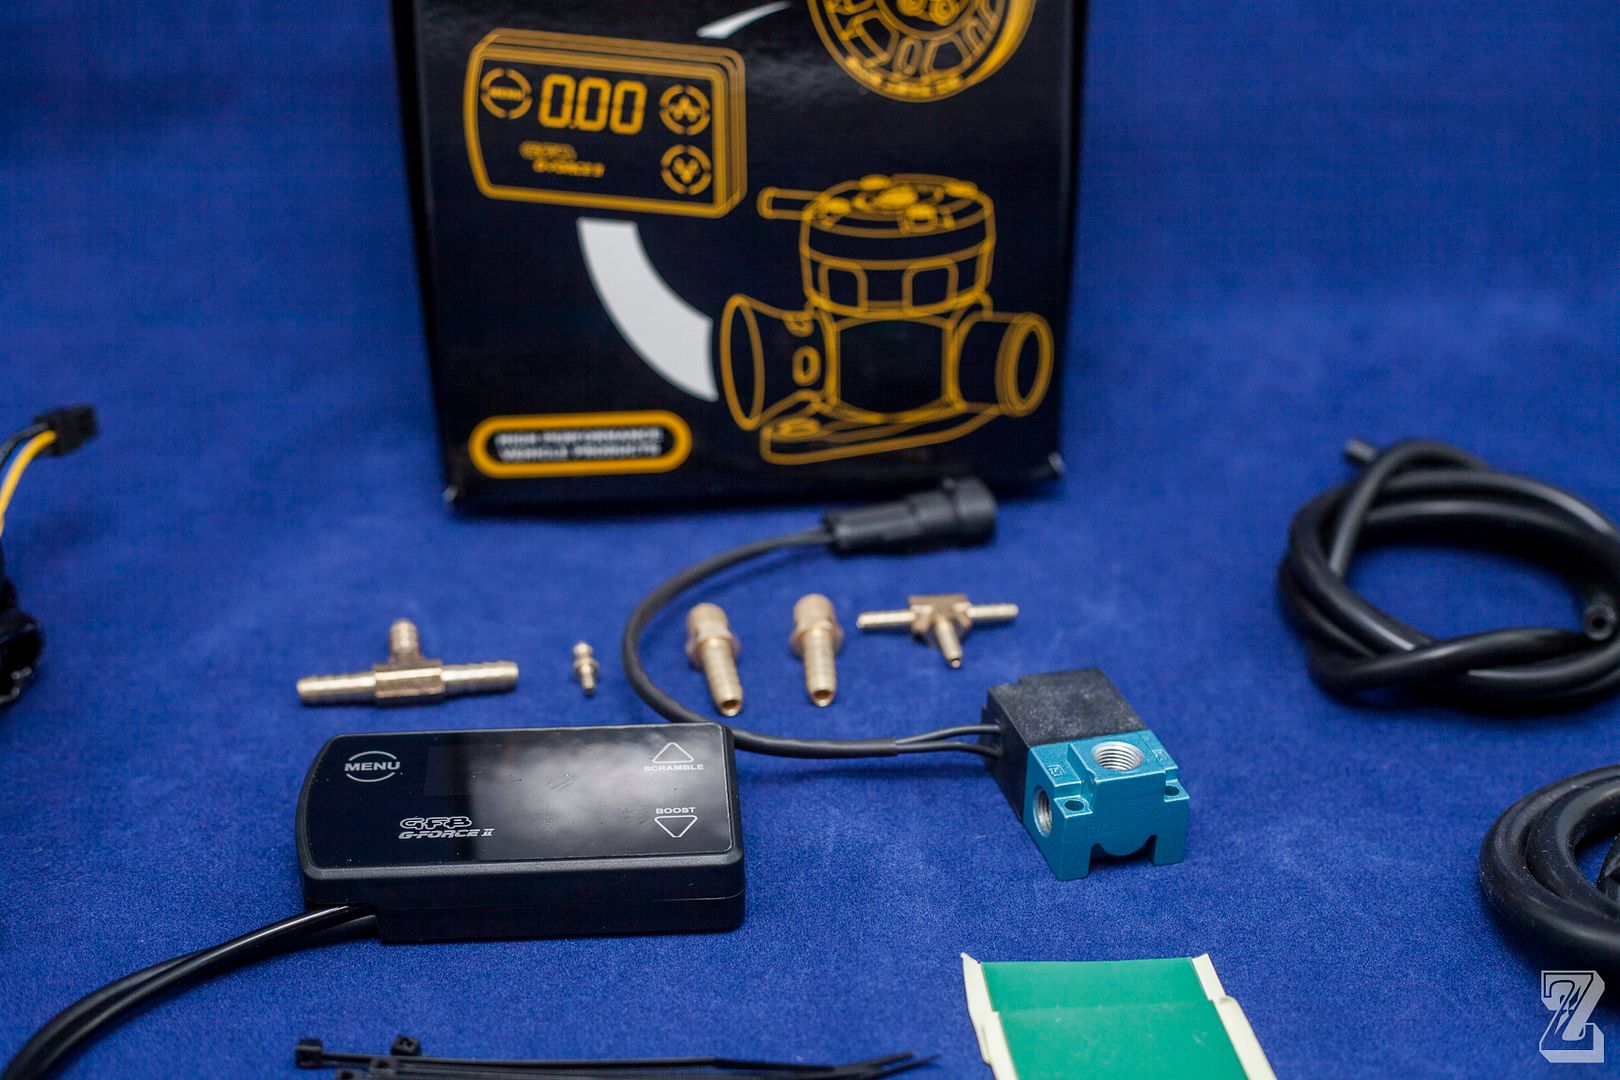
This is a very complete kit! It comes with everything you need for install other than tools. All hoses, zip ties, brass fittings, etc are included.
![Image]()
![Image]()
![Image]()
![Image]()
![Image]()
![Image]()
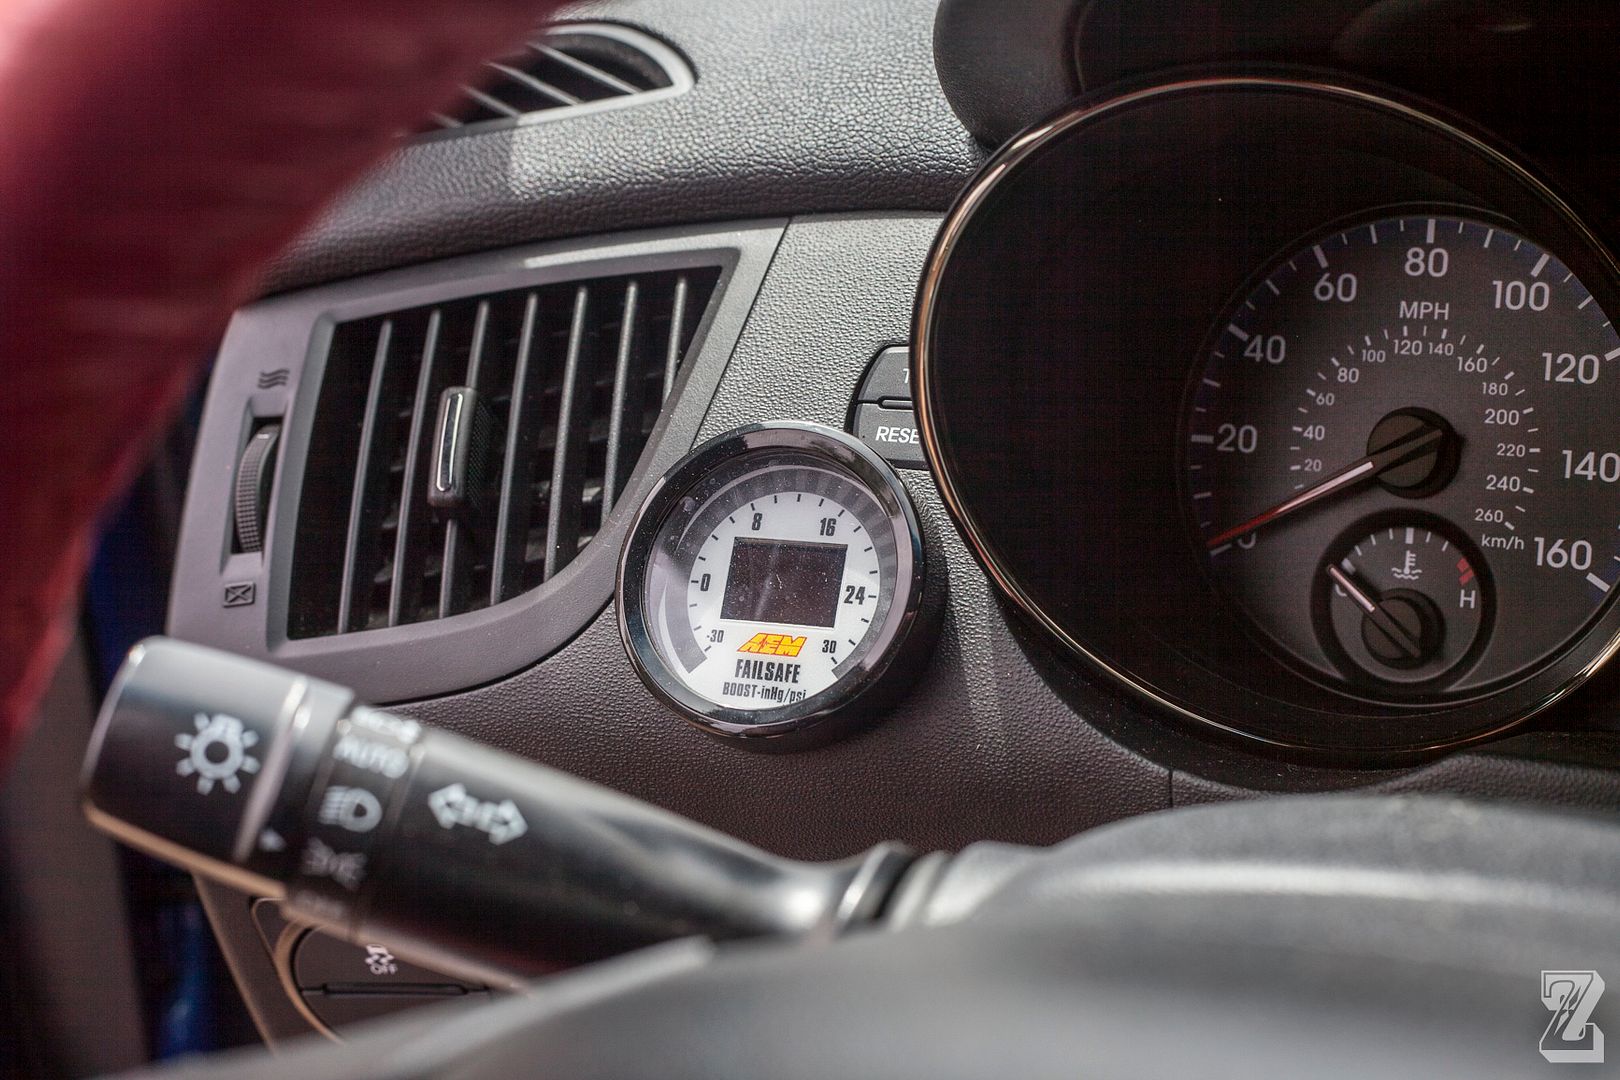
First I relocated my AEM Failsafe gauge, using D!RTYLOUD's walkthrough for a dash mount gauge:
http://www.gencoupe.com/interior-20...terior-2008-2012/247689-dash-aem-wideband-install-mounting-wiring-pictures.html
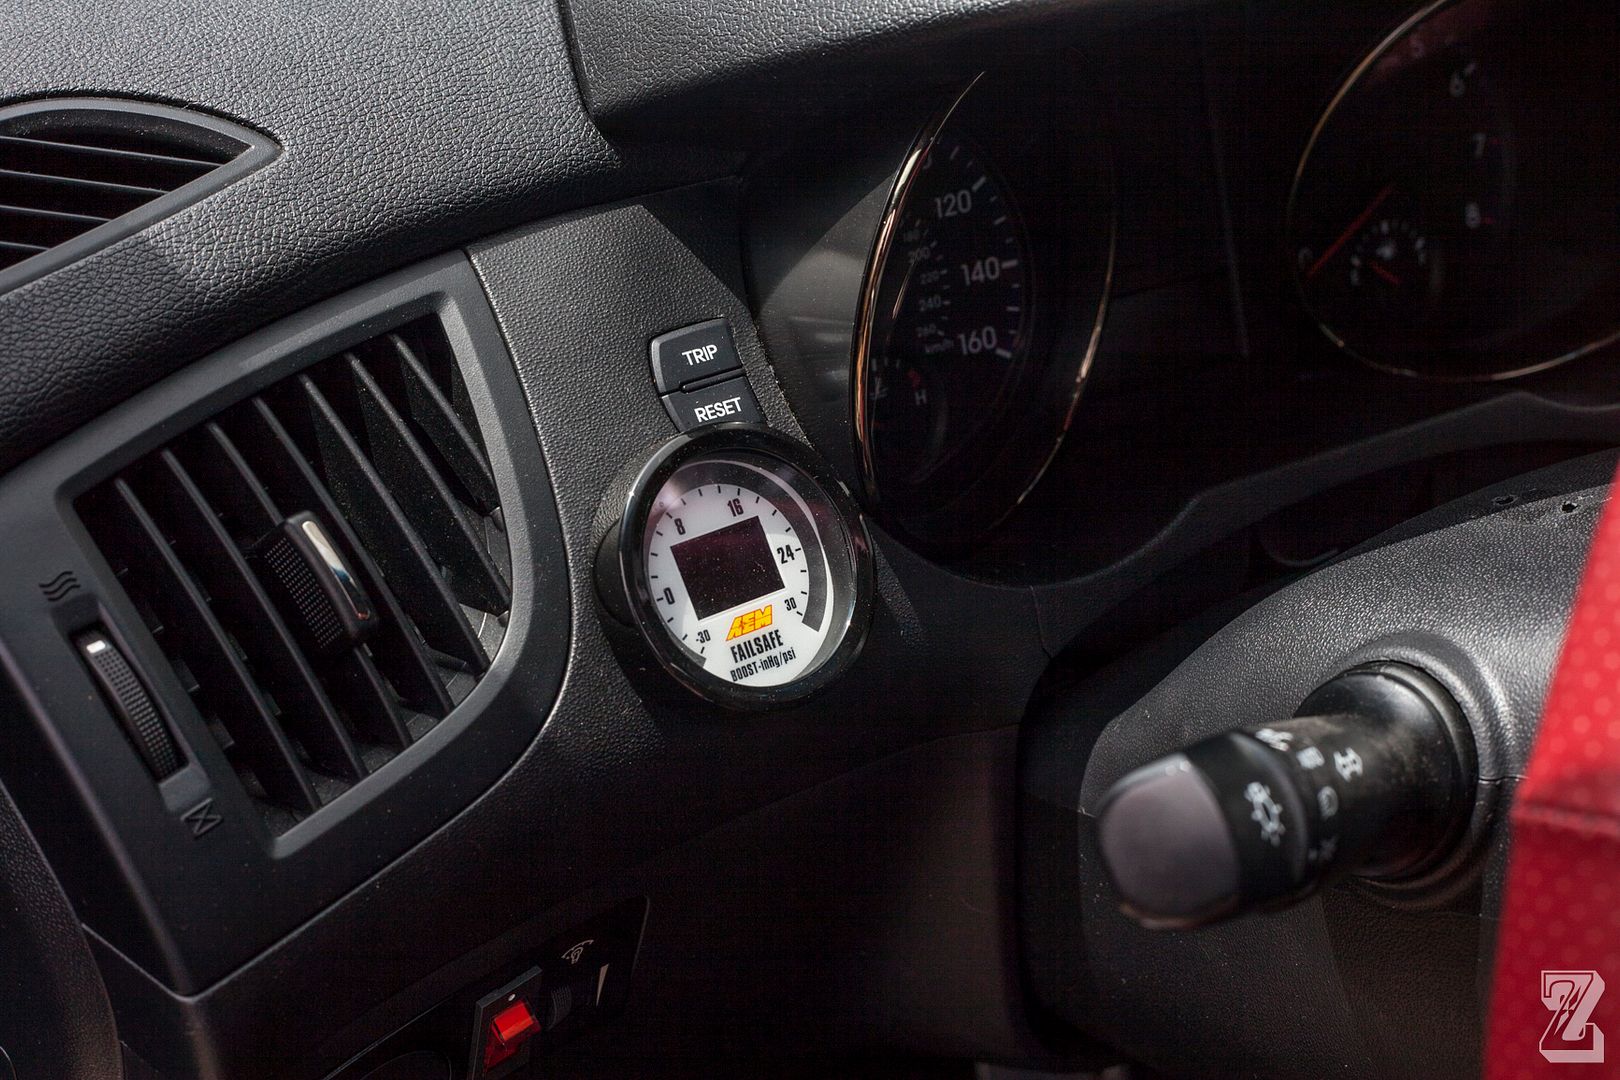
Here's how mine came out:
![Image]()
![Image]()
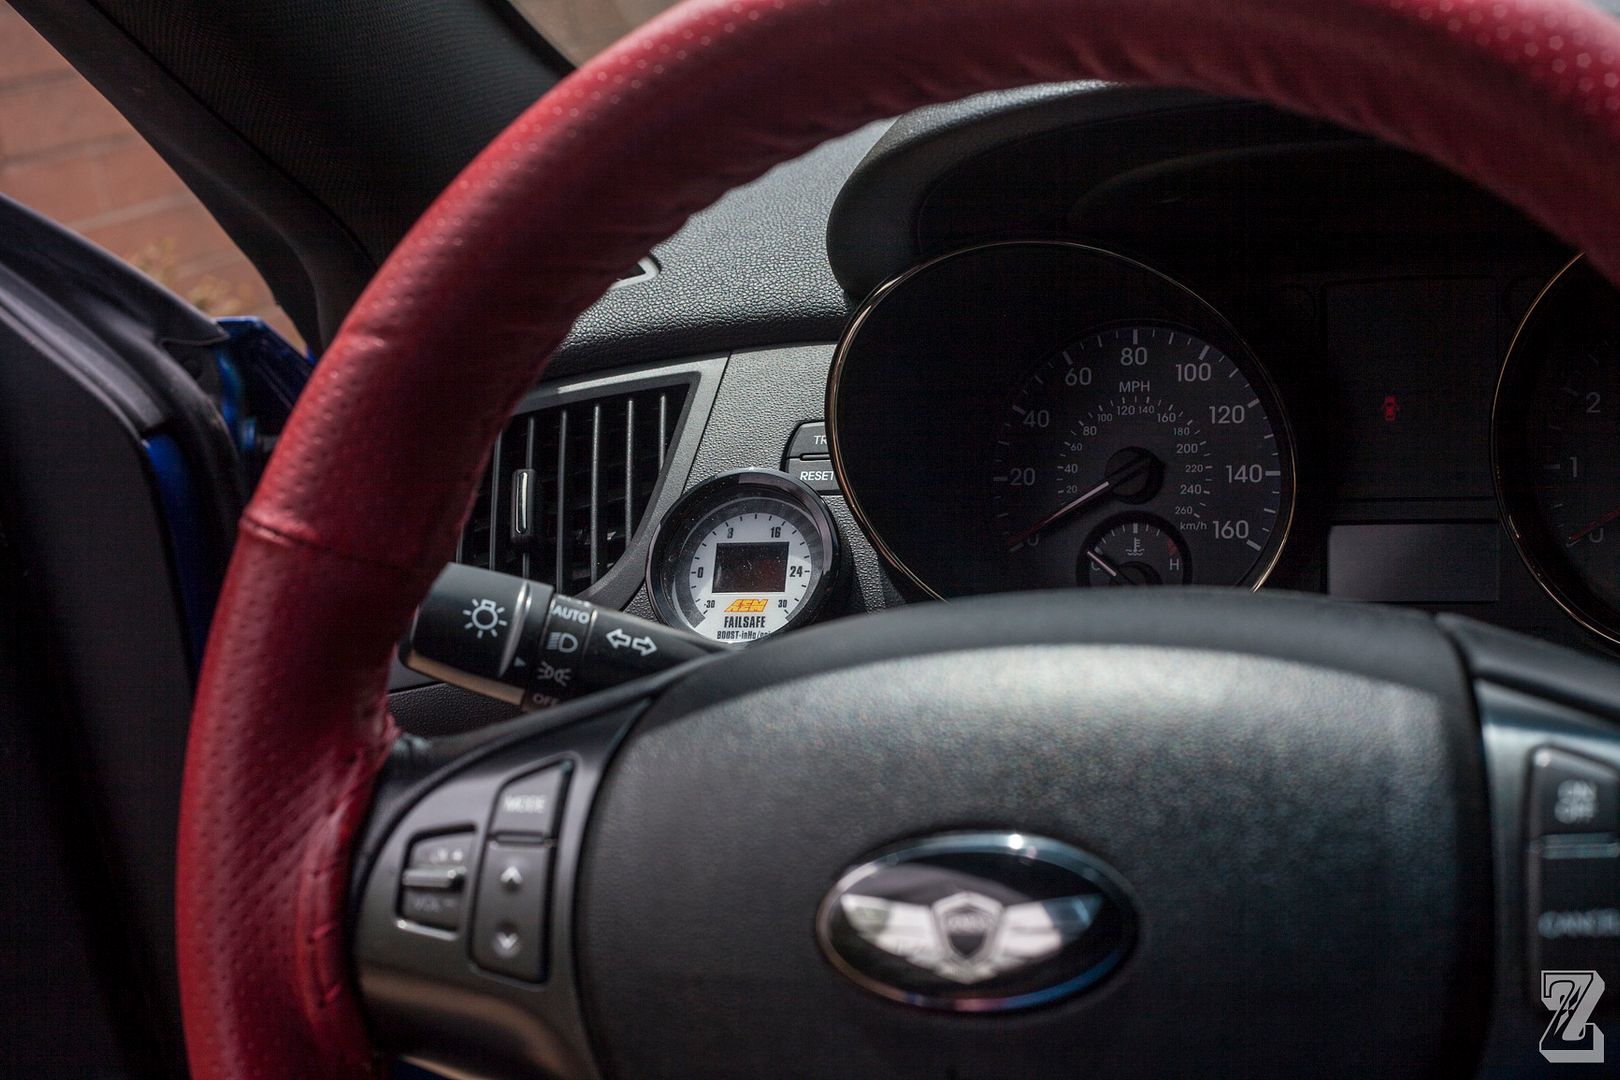
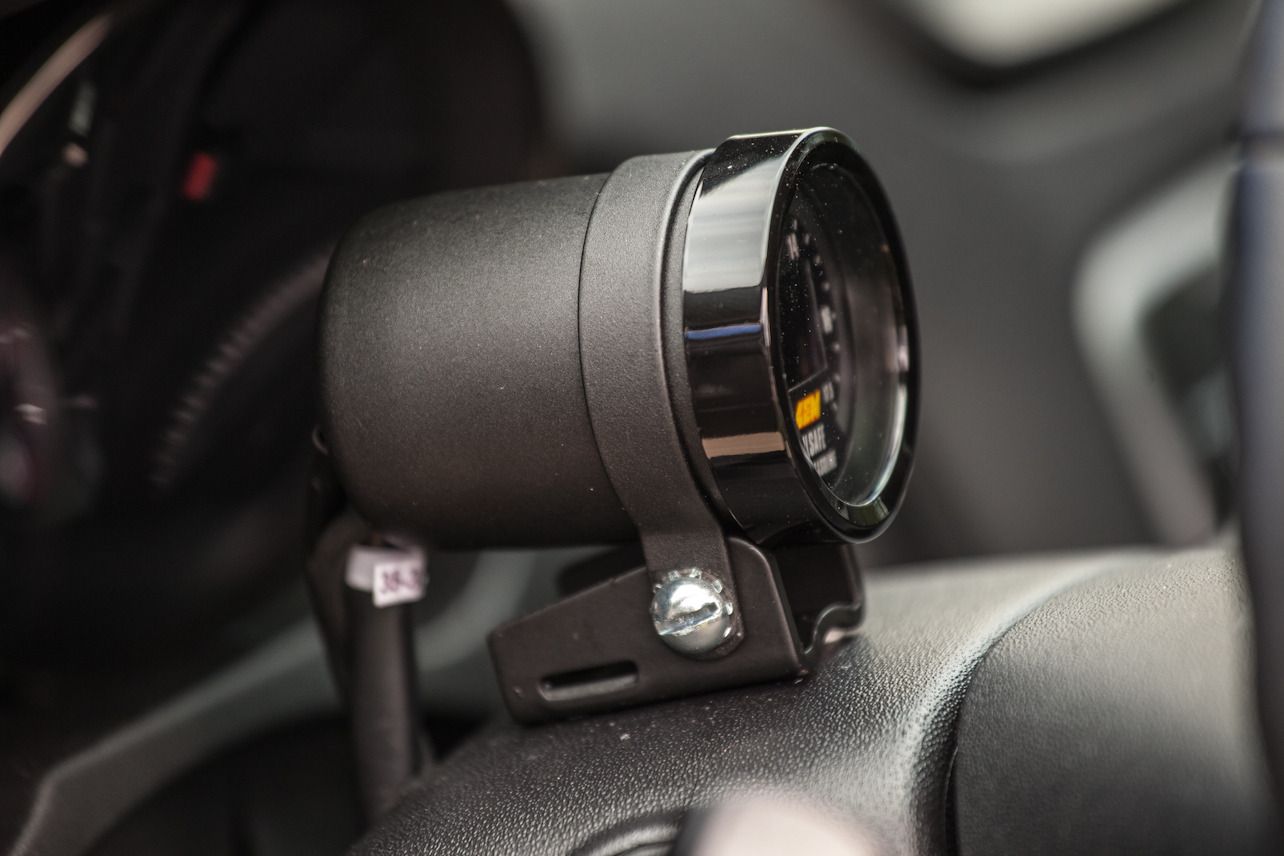
I definitely prefer that location vs where I had it before, on top of the steering wheel
Old location:
![Image]()
New location:
![Image]()
The real reason I moved it though, was to make room for the new boost controller
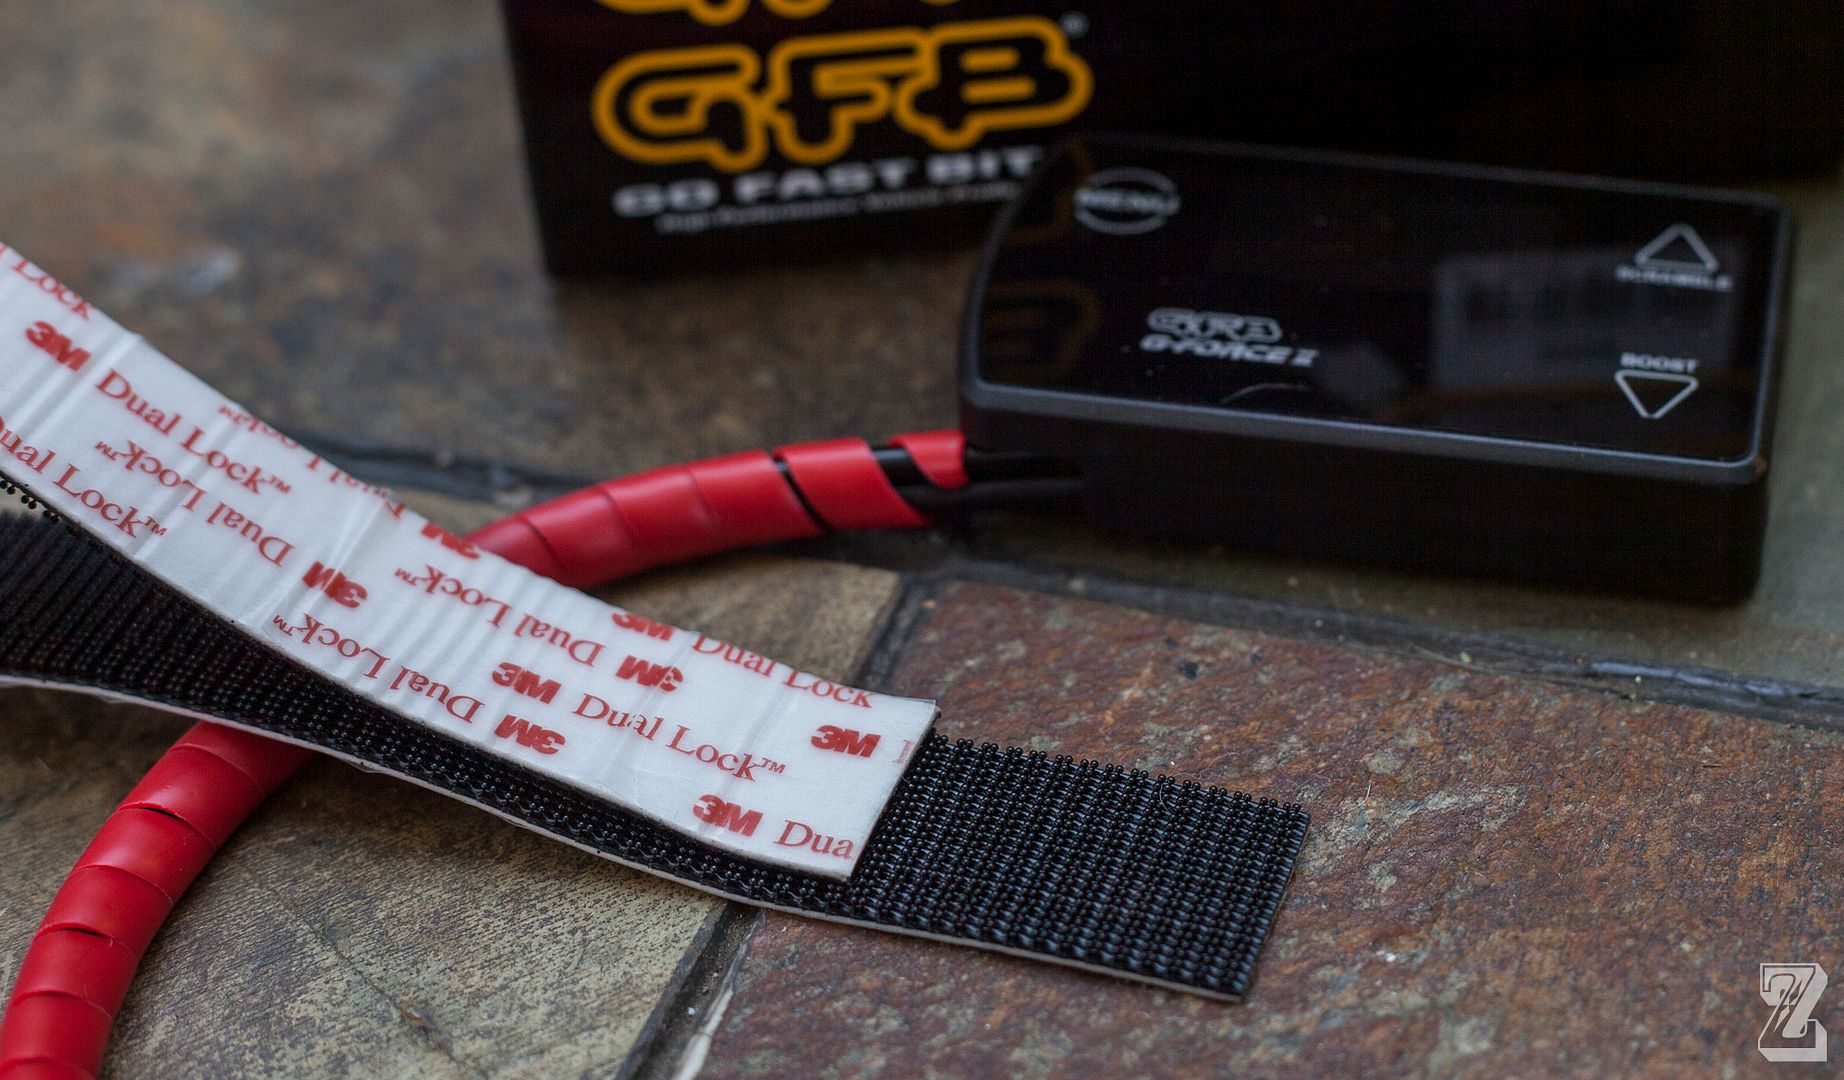
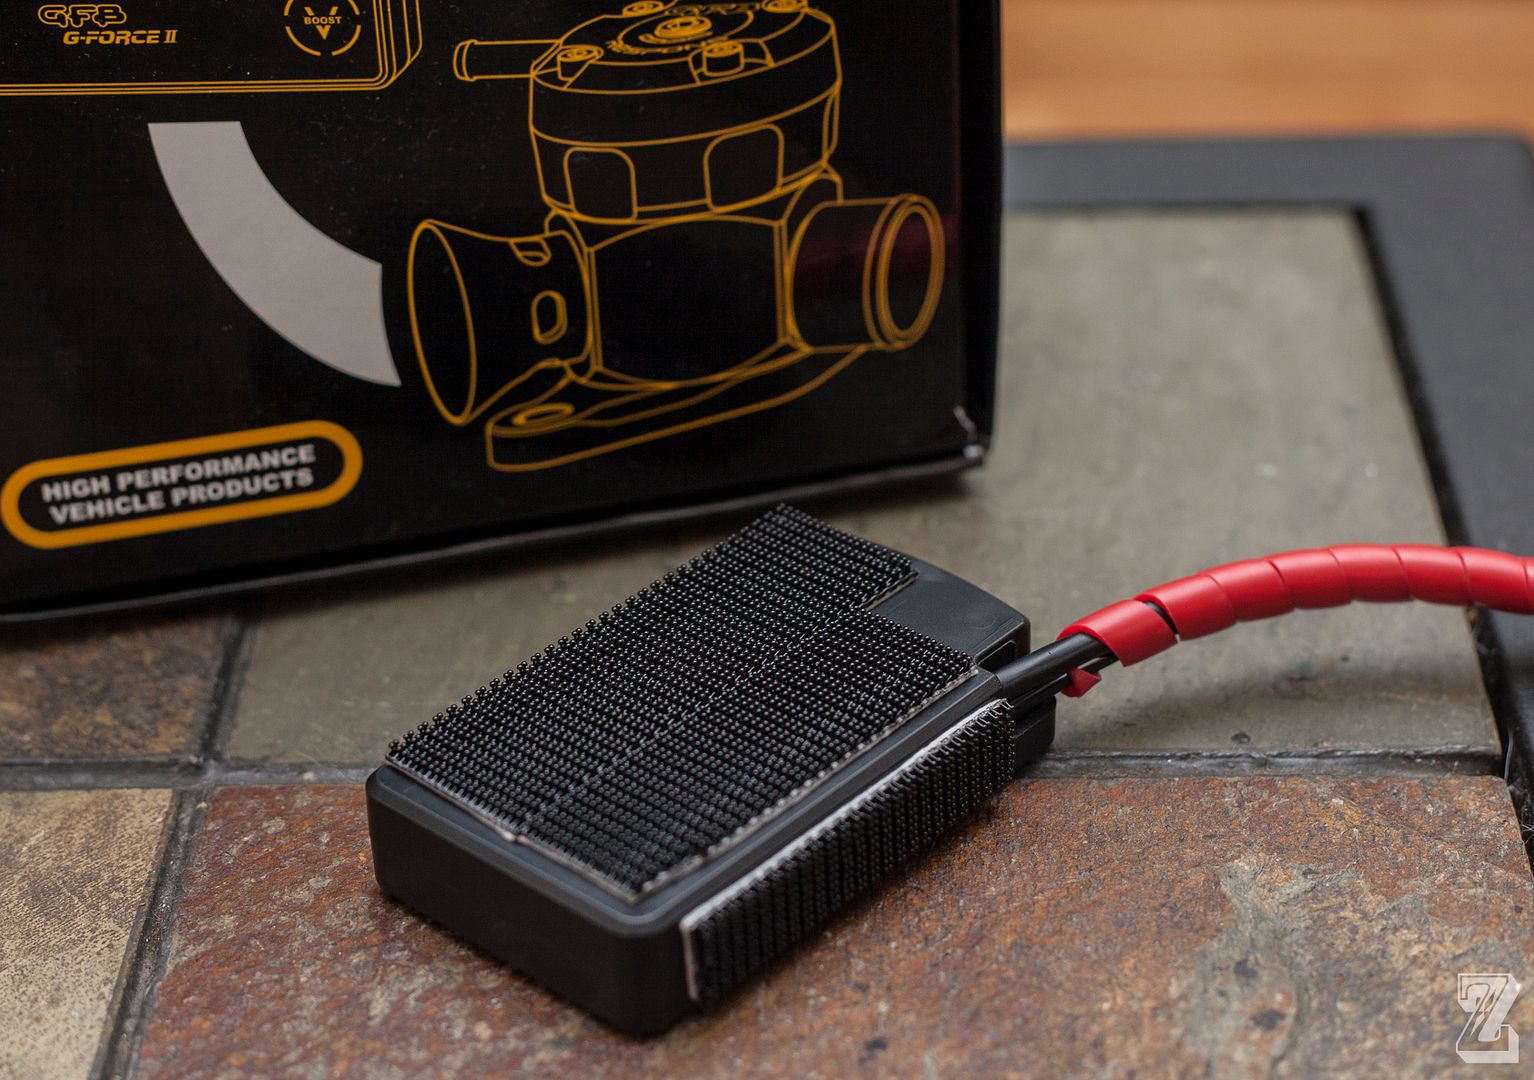
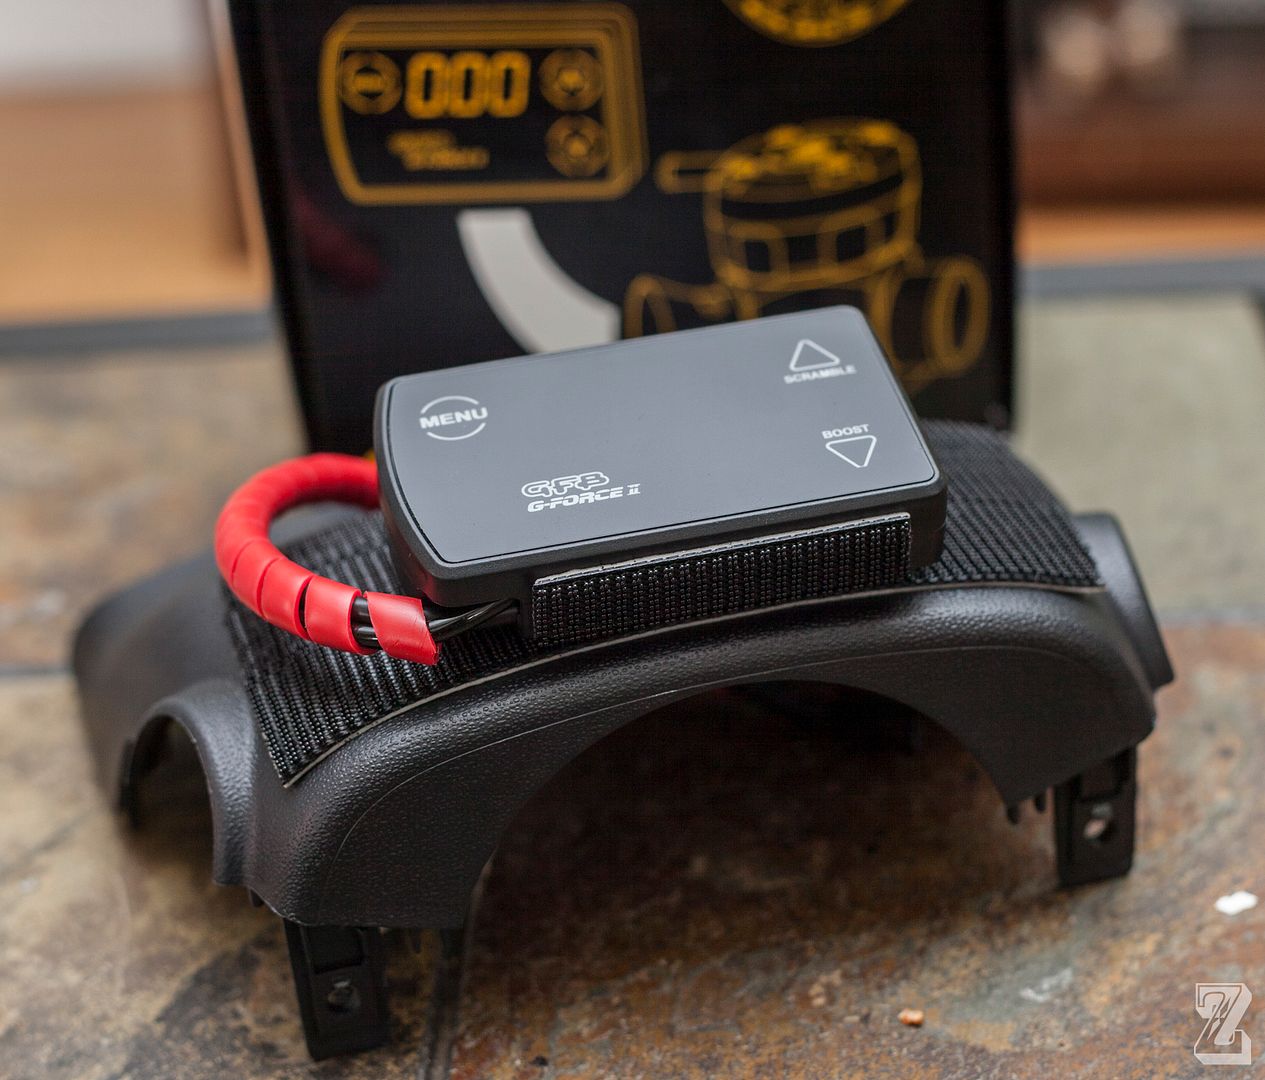
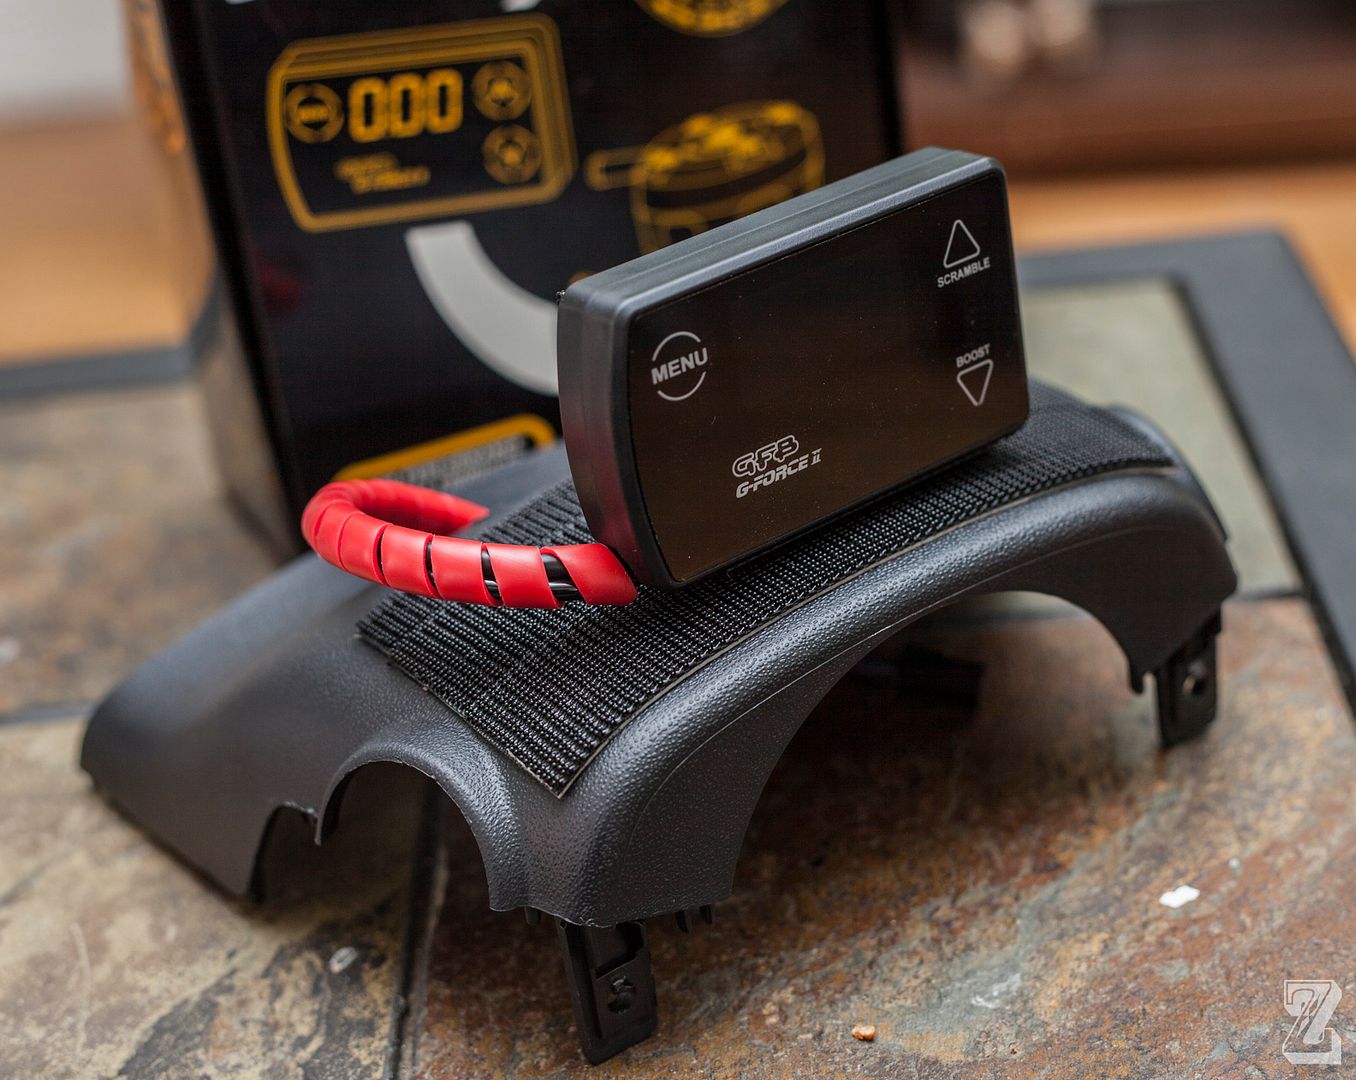
Beyond what I already bought, I needed a couple more things to make a somewhat clean install. My one and only complaint about this GFB EBC is how stupid the control unit is shaped, and the angle that the harness and boost source hose come out of the control unit- that combination of things makes finding a good mounting spot really tough. I chose to mount it on top of the steering wheel with 3M Dual Lock Velcro. I lined the back and bottom of the control box with the velcro, then made as big of an area on top of the steering wheel be covered in the Dual Lock Velcro so I have a lot of flexibility in where i put the control unit ( really anywhere on top of the steering column ). I can also lay it down flat when I am not using it, and stand it up when I need to adjust something. It was the best solution I could come up with that did not have it stuck to the dashboard somewhere at an odd angle. The next best spot I could think of was the upper left corner of the windshield, but I was afraid that the velcro tape would not stay stuck in that location on hot days, with the sun blasting it directly all day. I really wish GFB just made a mount for this thing lol.
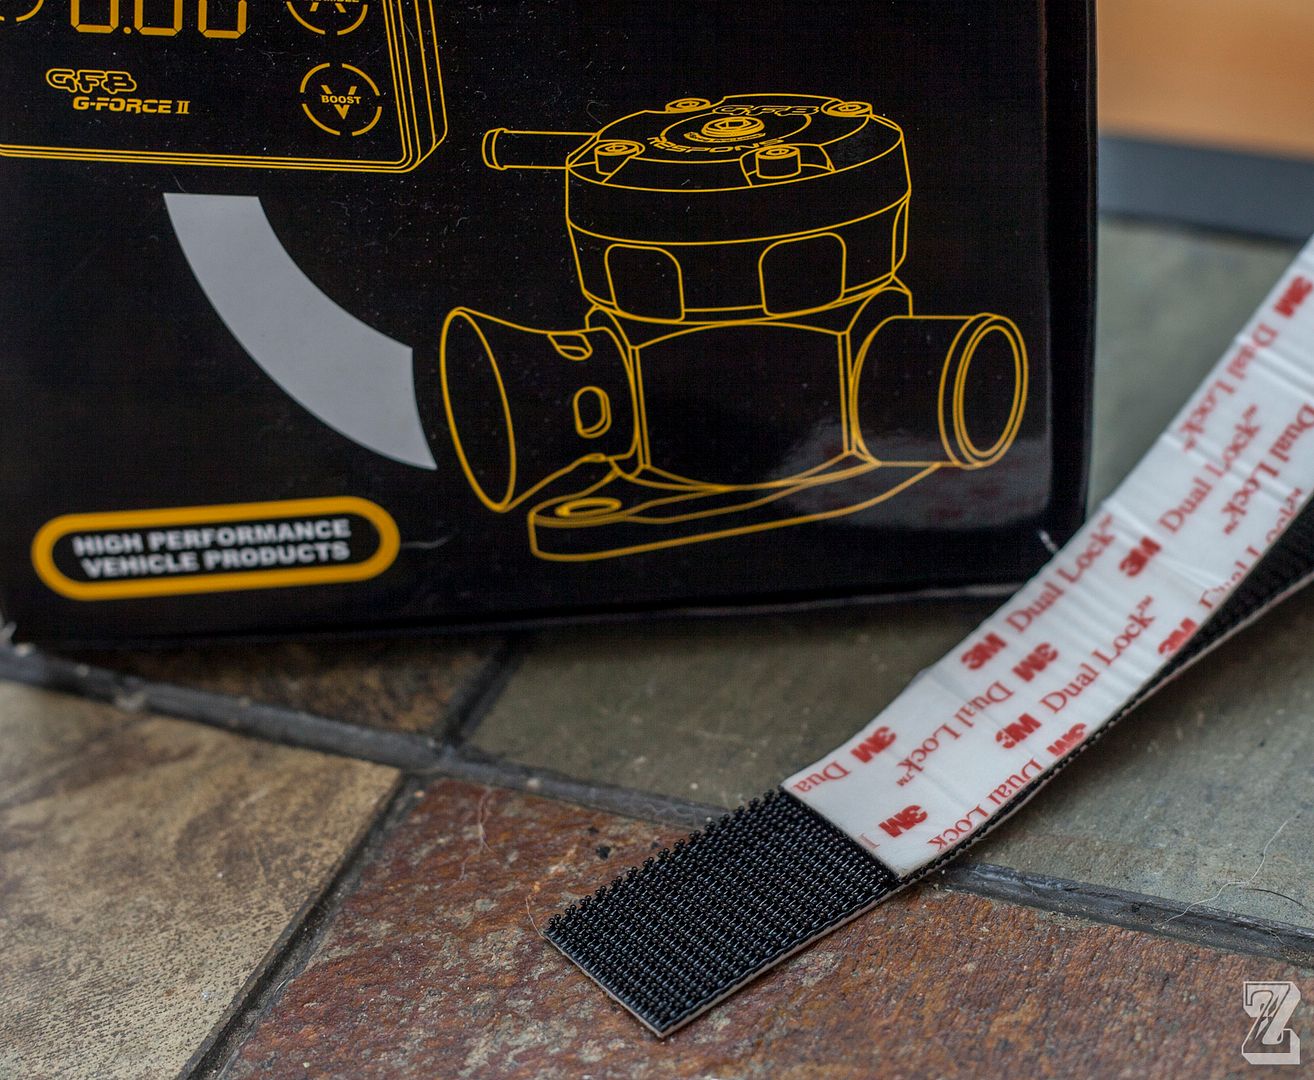
Here's that 3M Dual Lock velcro, this stuff is crazy strong.
![Image]()
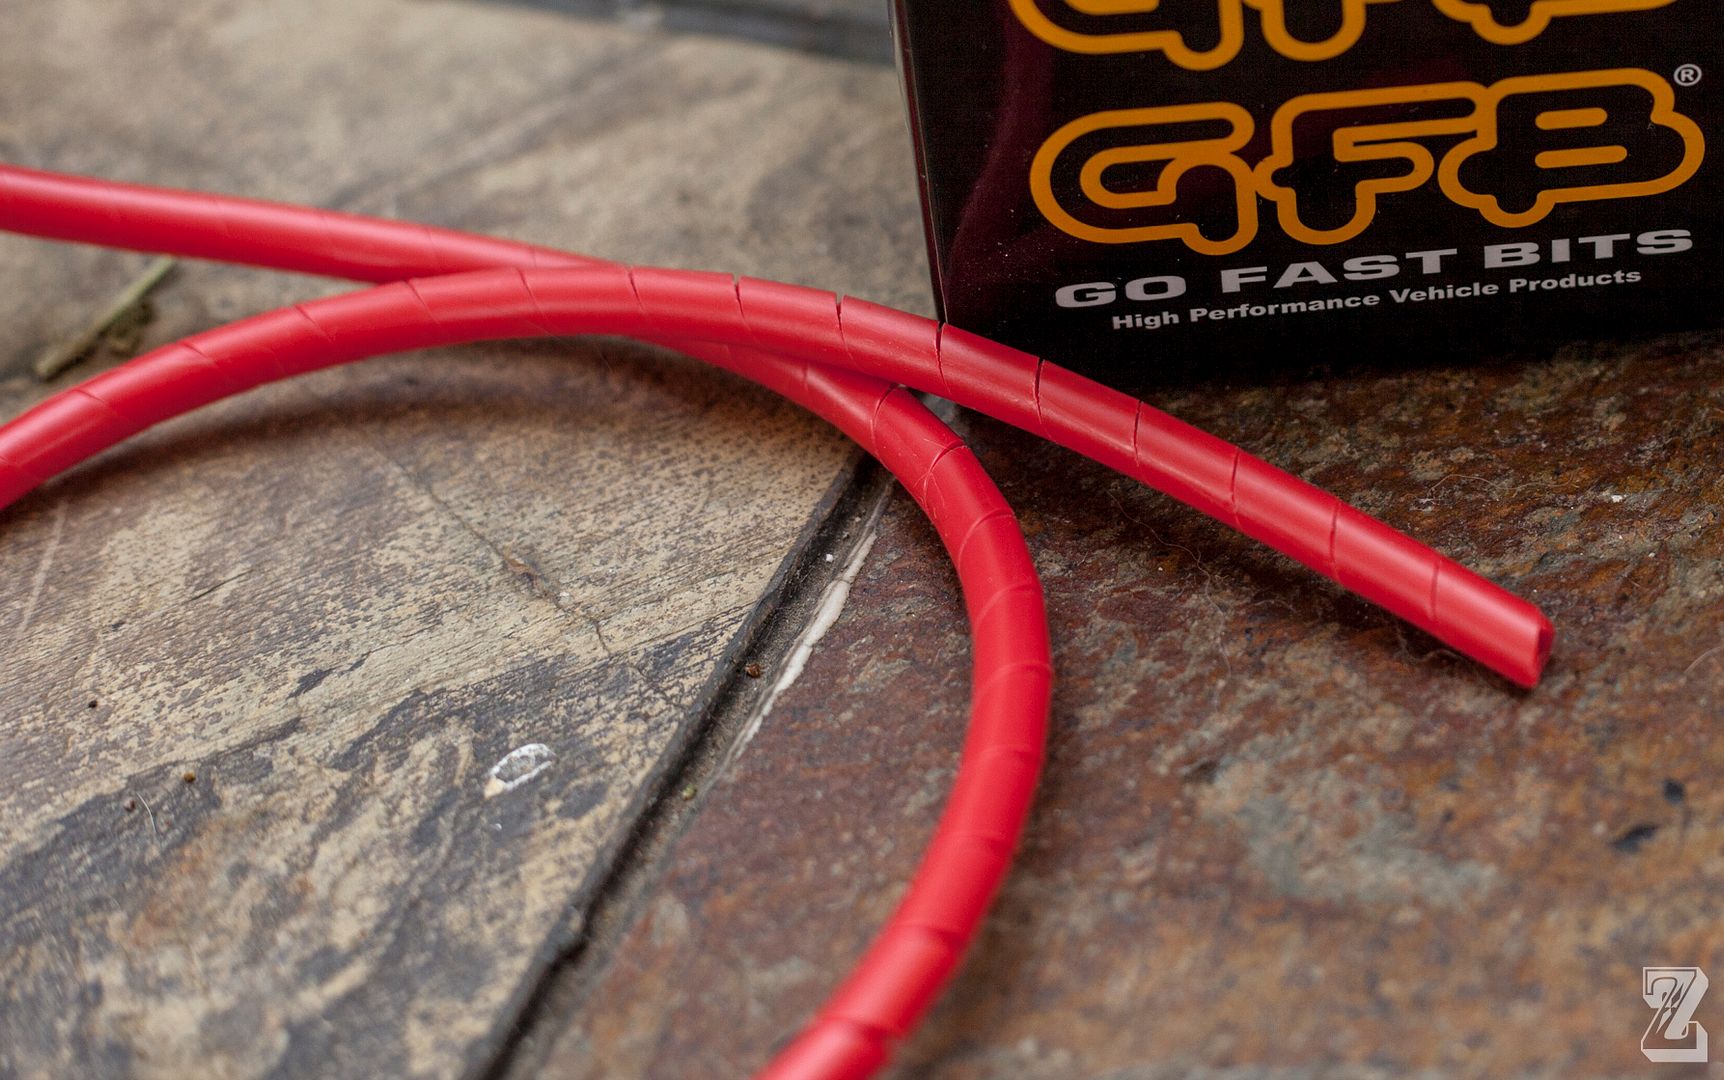
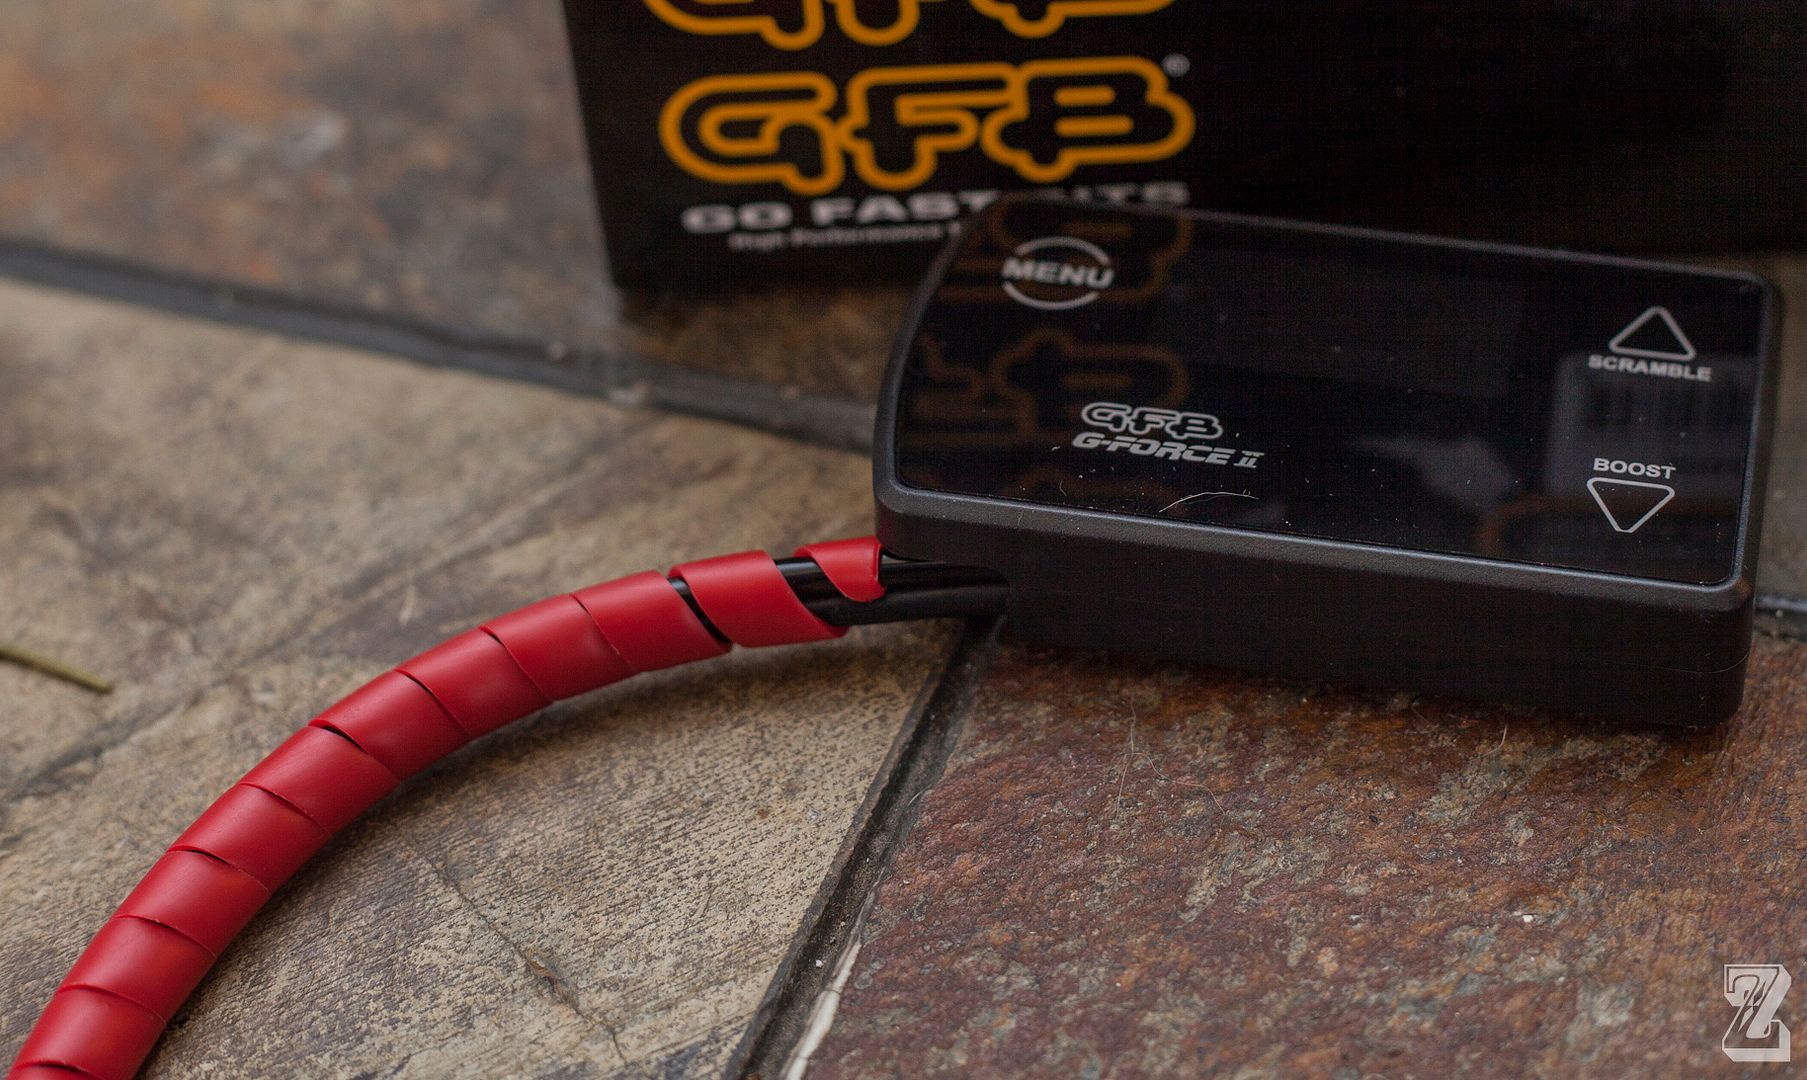
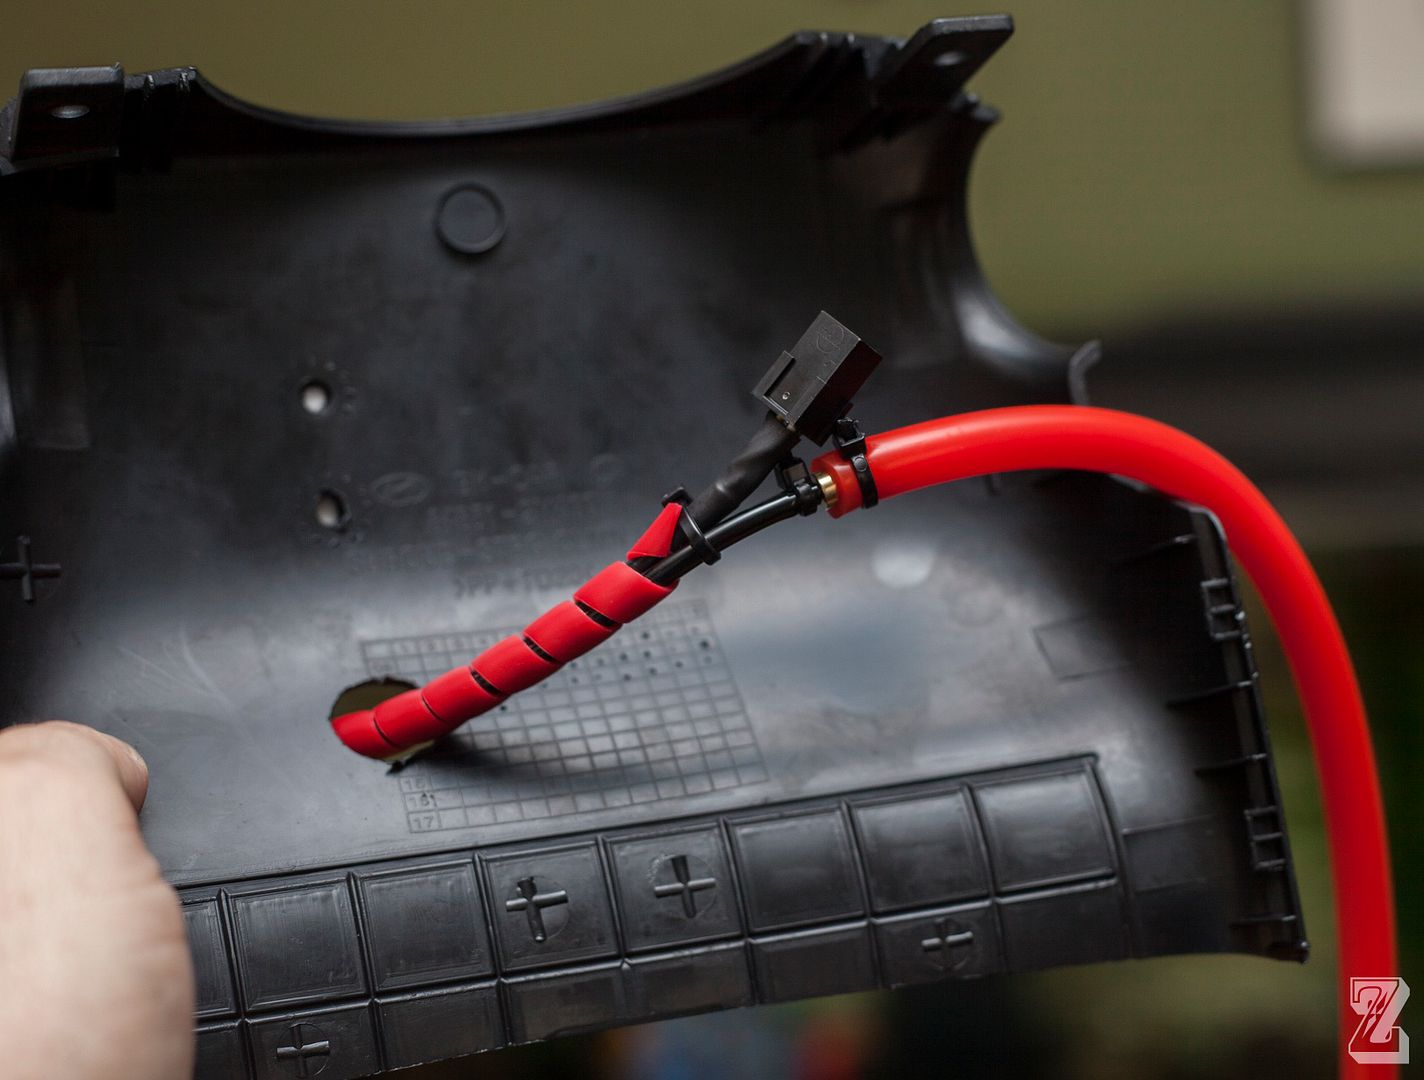
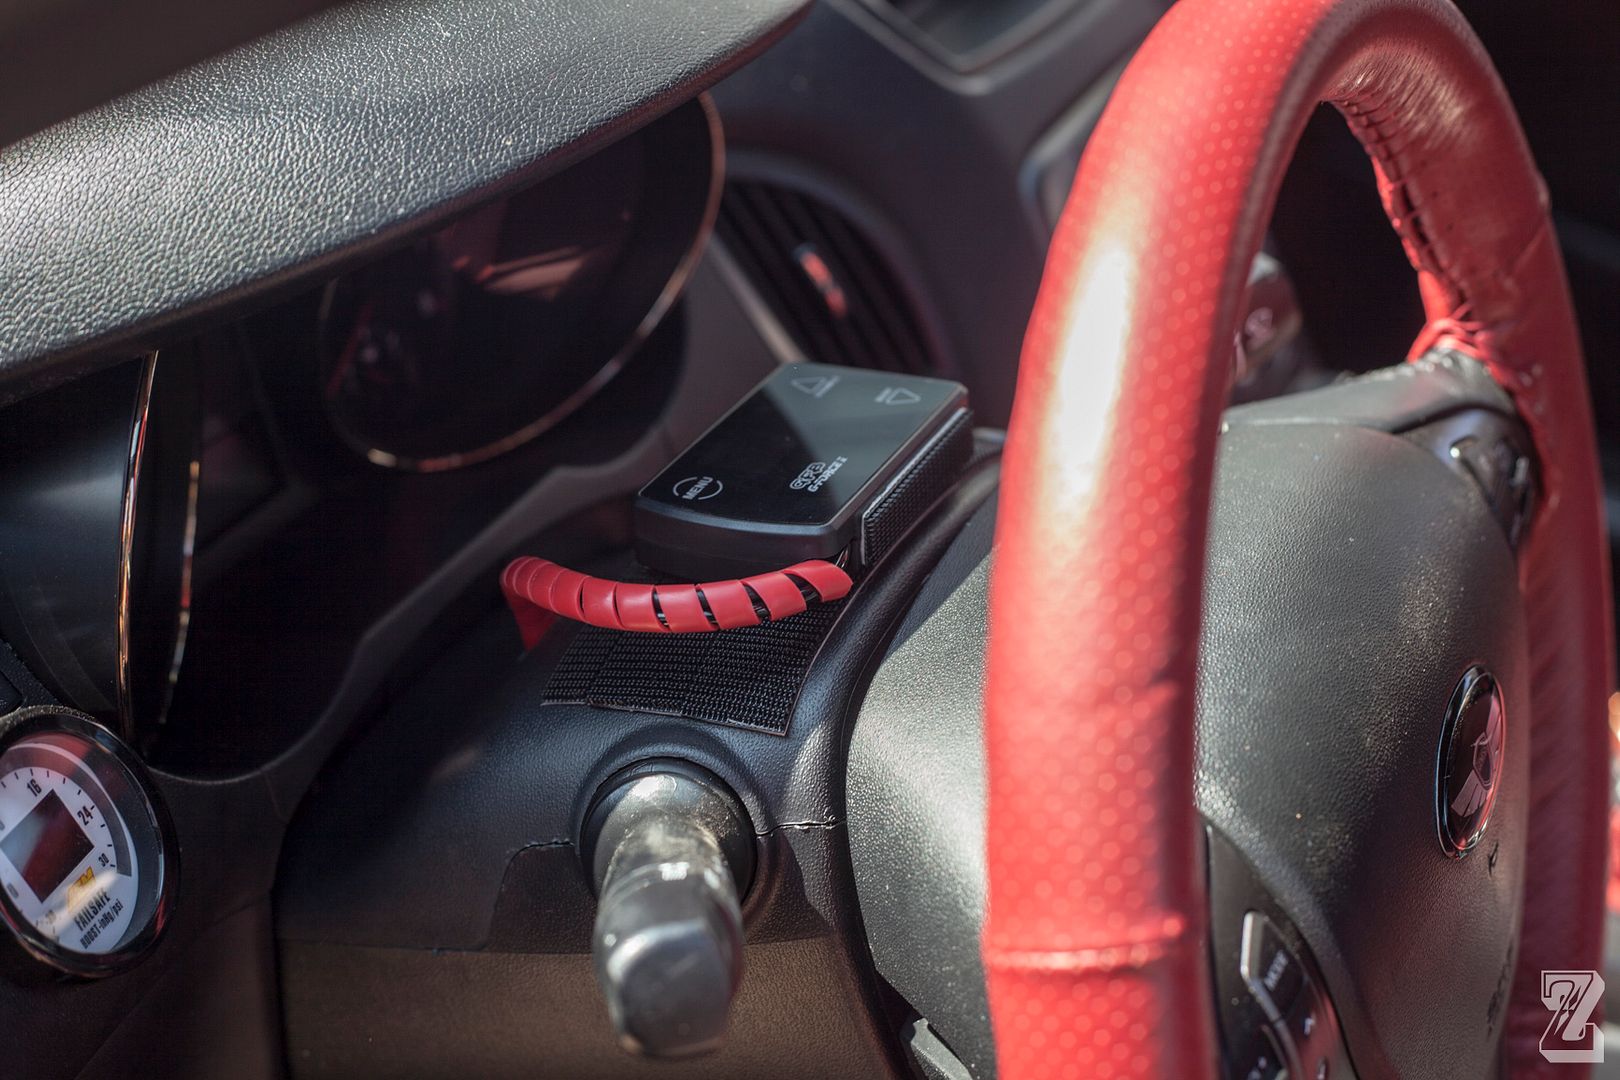
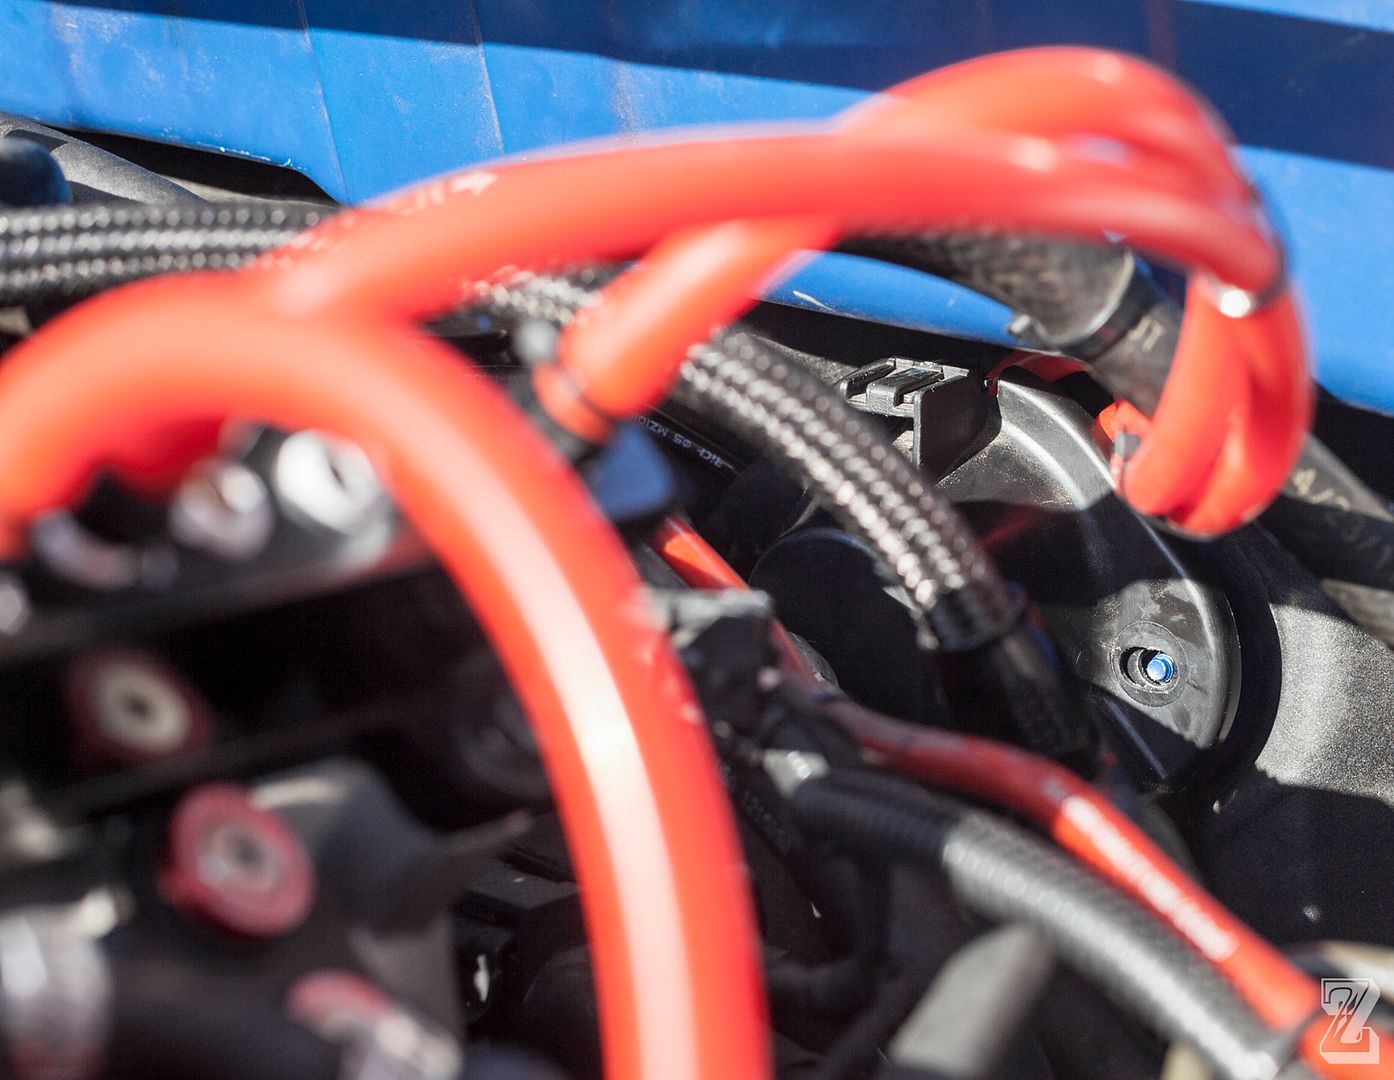
Also, since mounting it on top of the steering column left the boost source hose and harness plug exposed, I wrapped it in some red cable wrap to keep it neat and safe from outside damage. The boost hose that's built into the control unit is flexible, but hard and plasticky. Be careful not to kink this hose.
![Image]()
Finished product
![Image]()
![Image]()
3M Dual Lock velcro applied
![Image]()
![Image]()
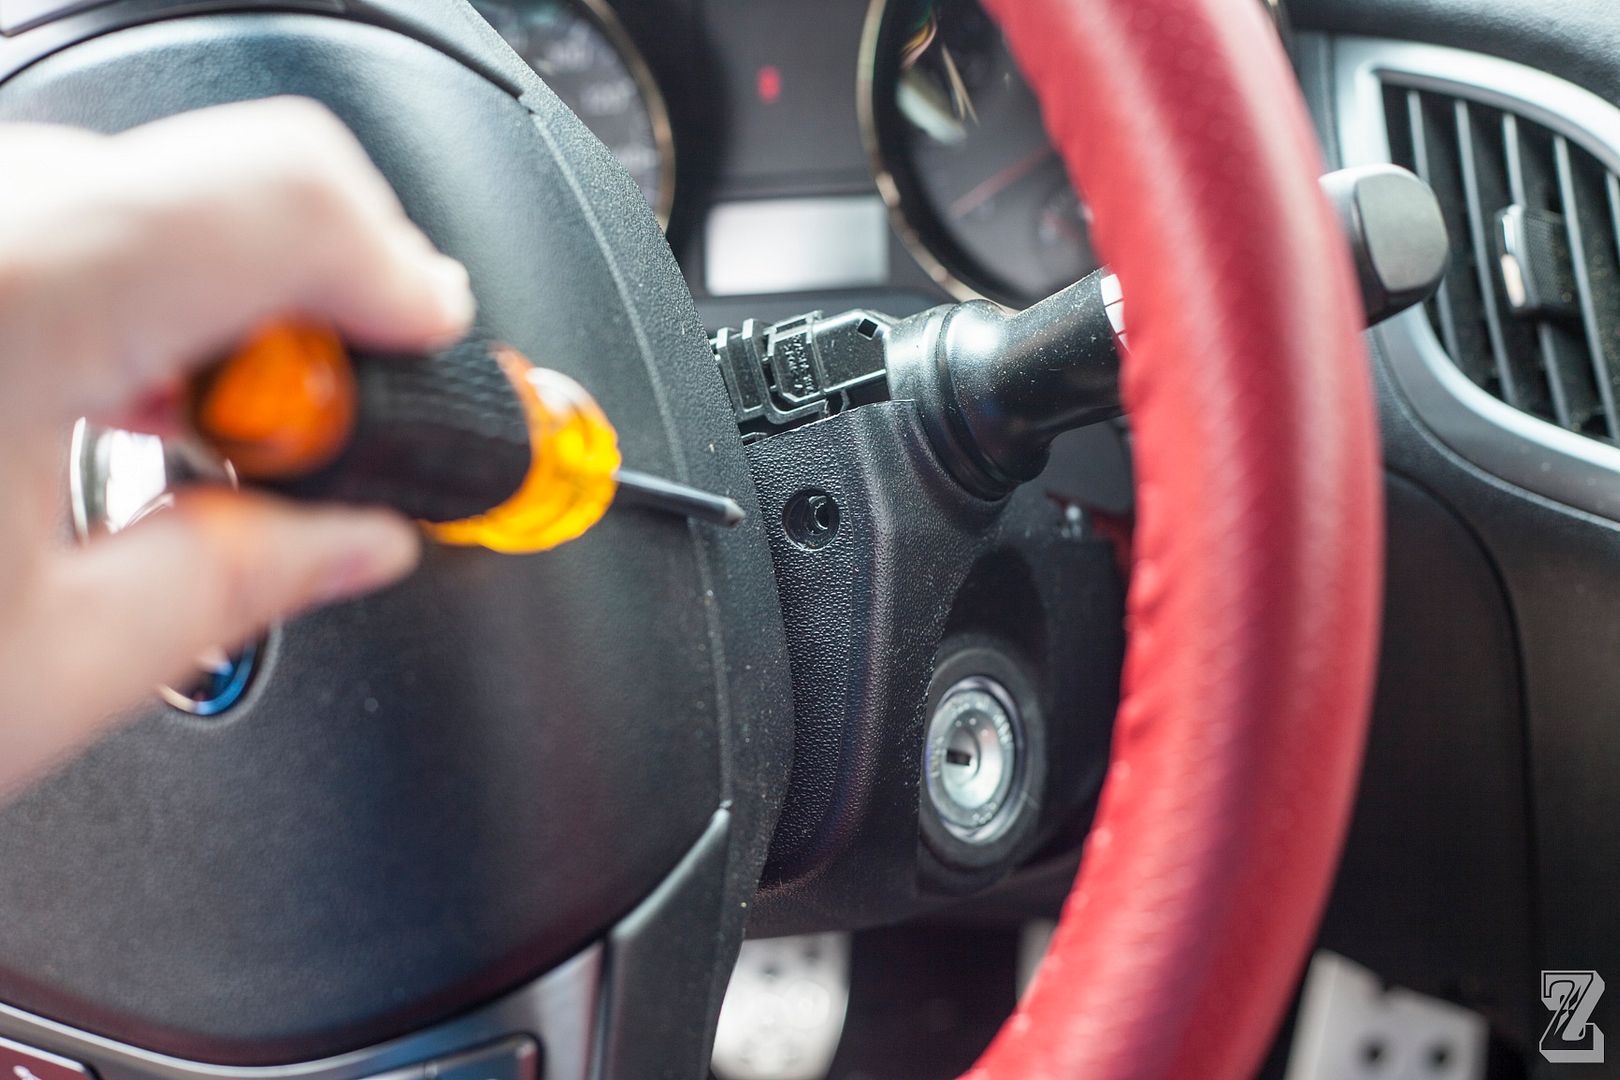
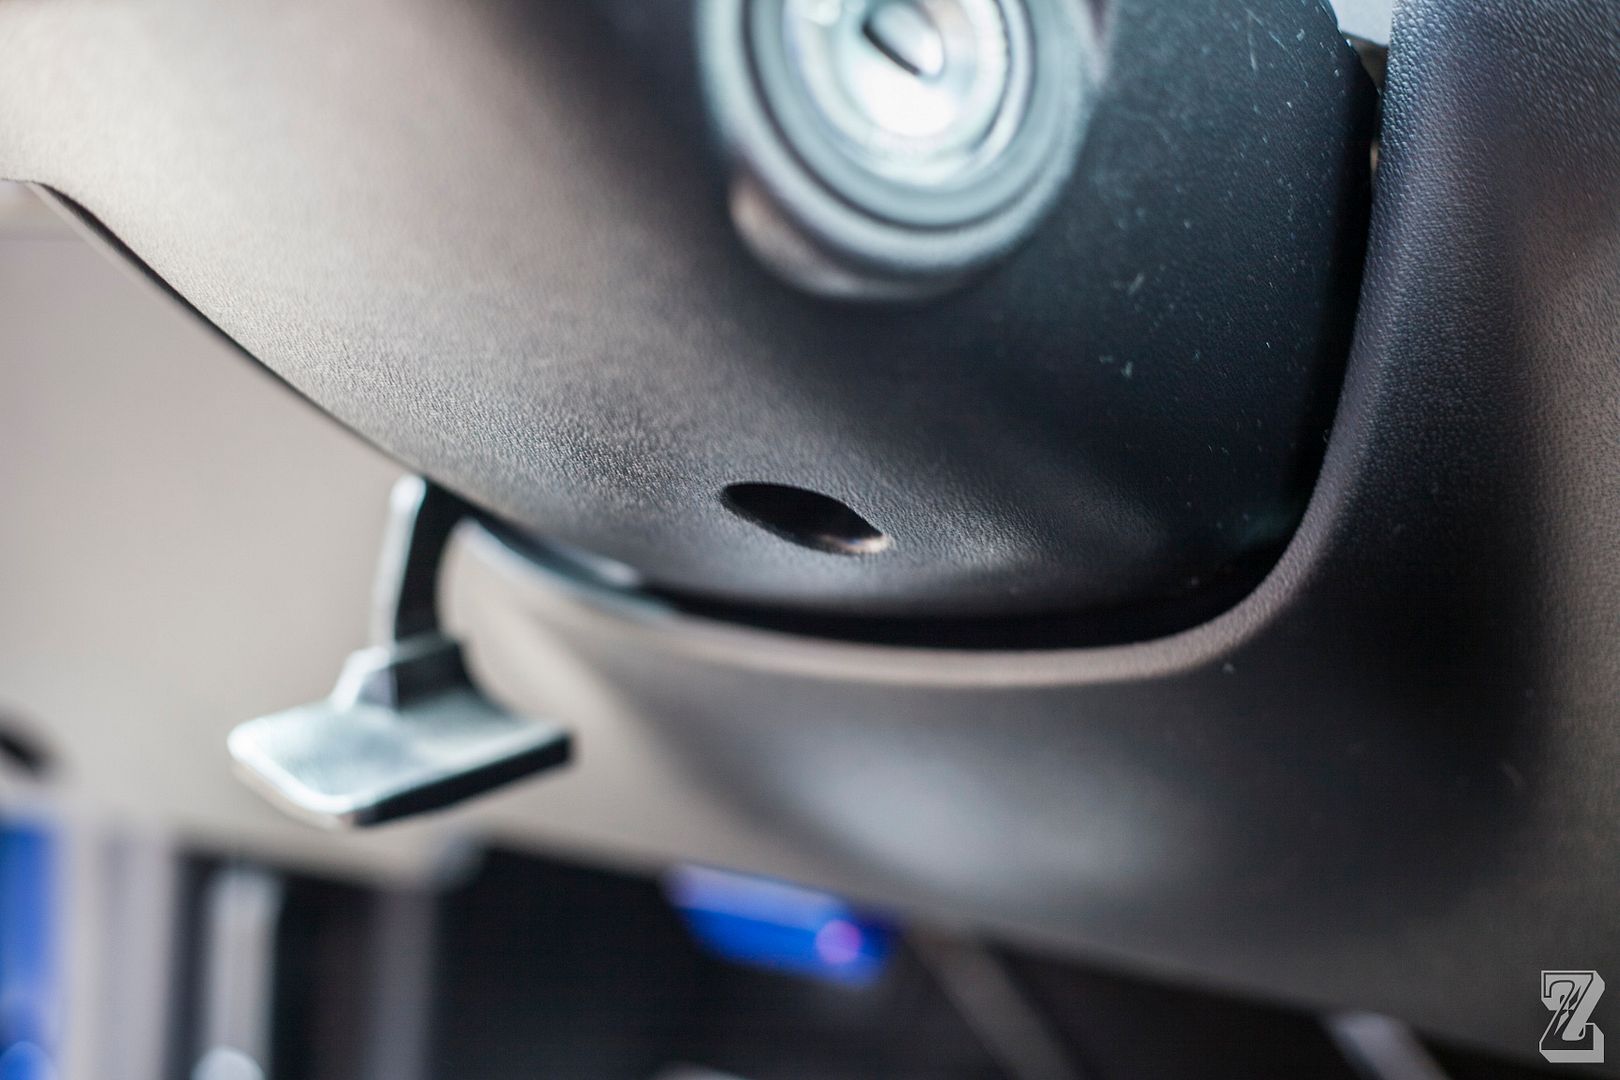
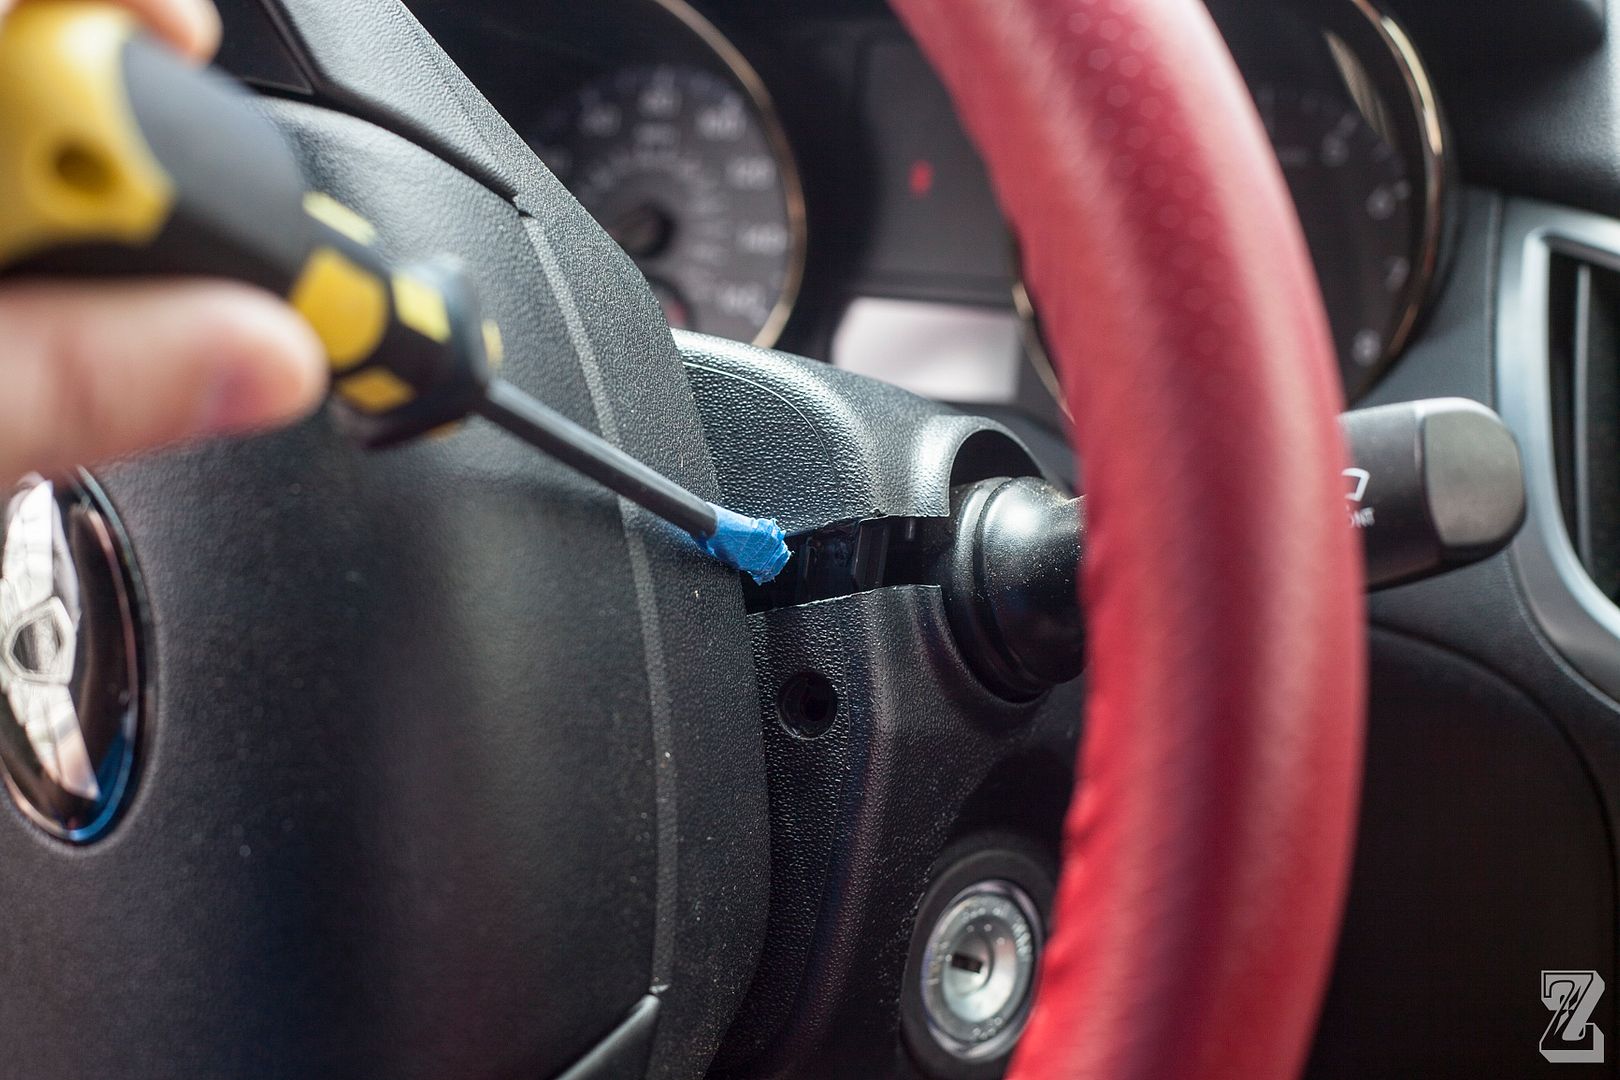
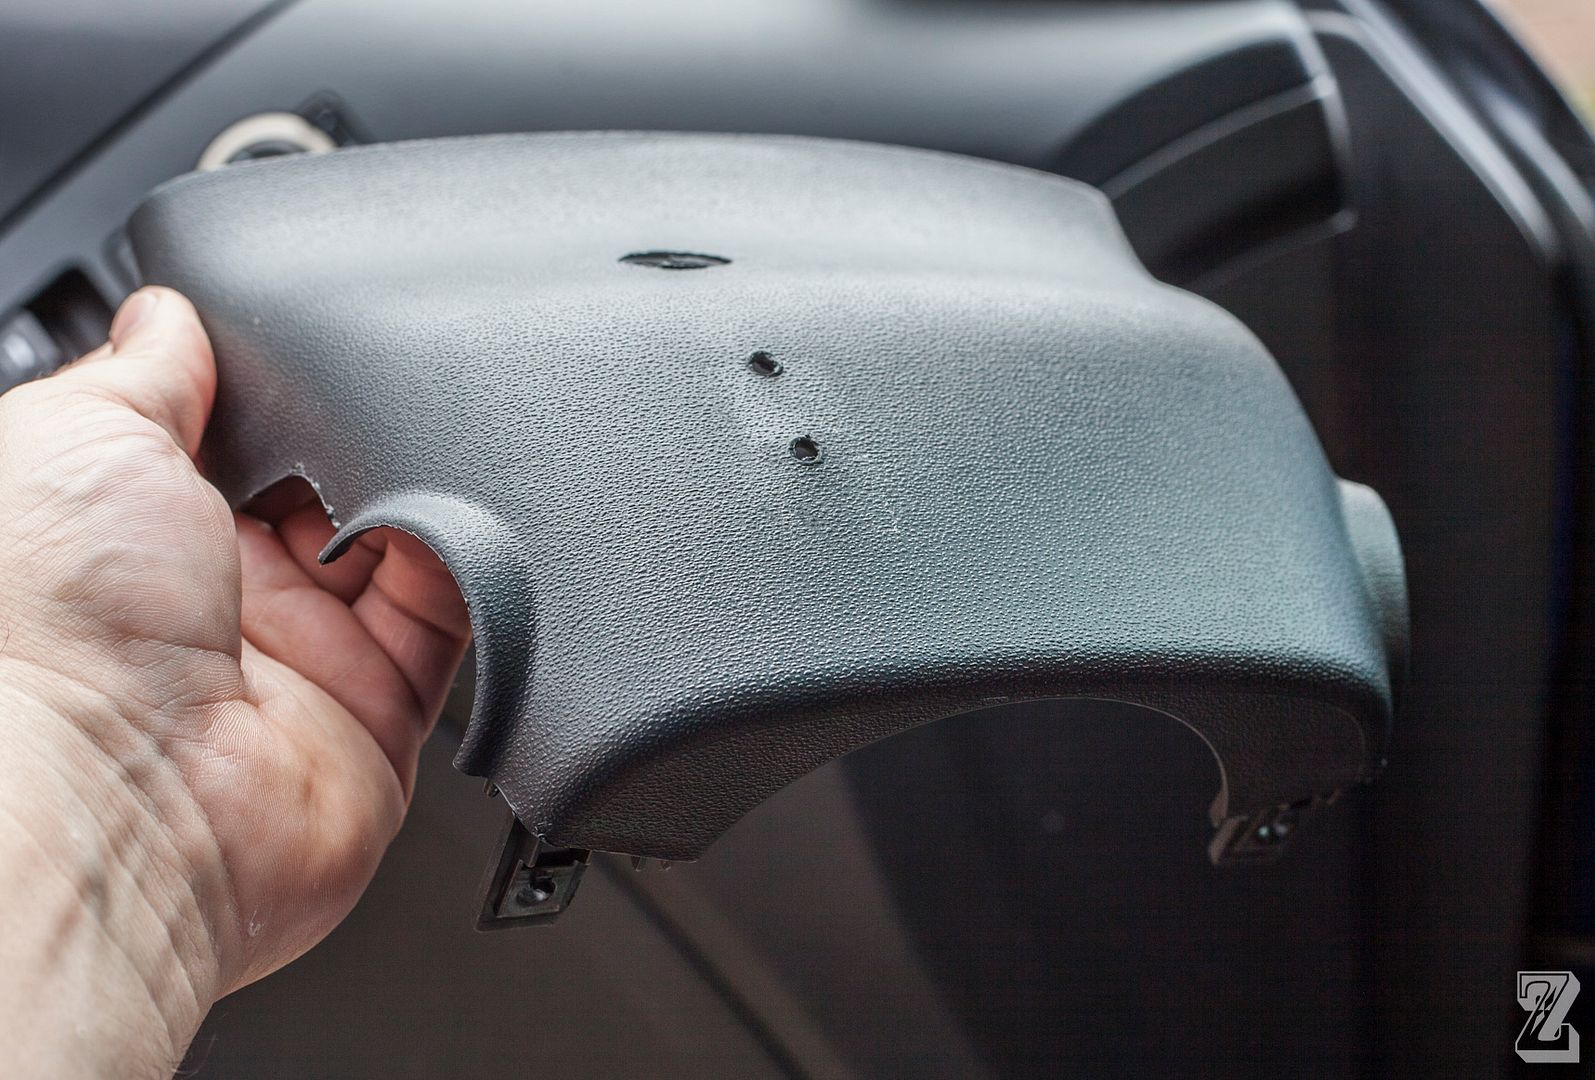
Next step was to remove the upper steering colum trim piece :
![Image]()
![Image]()
![Image]()
![Image]()
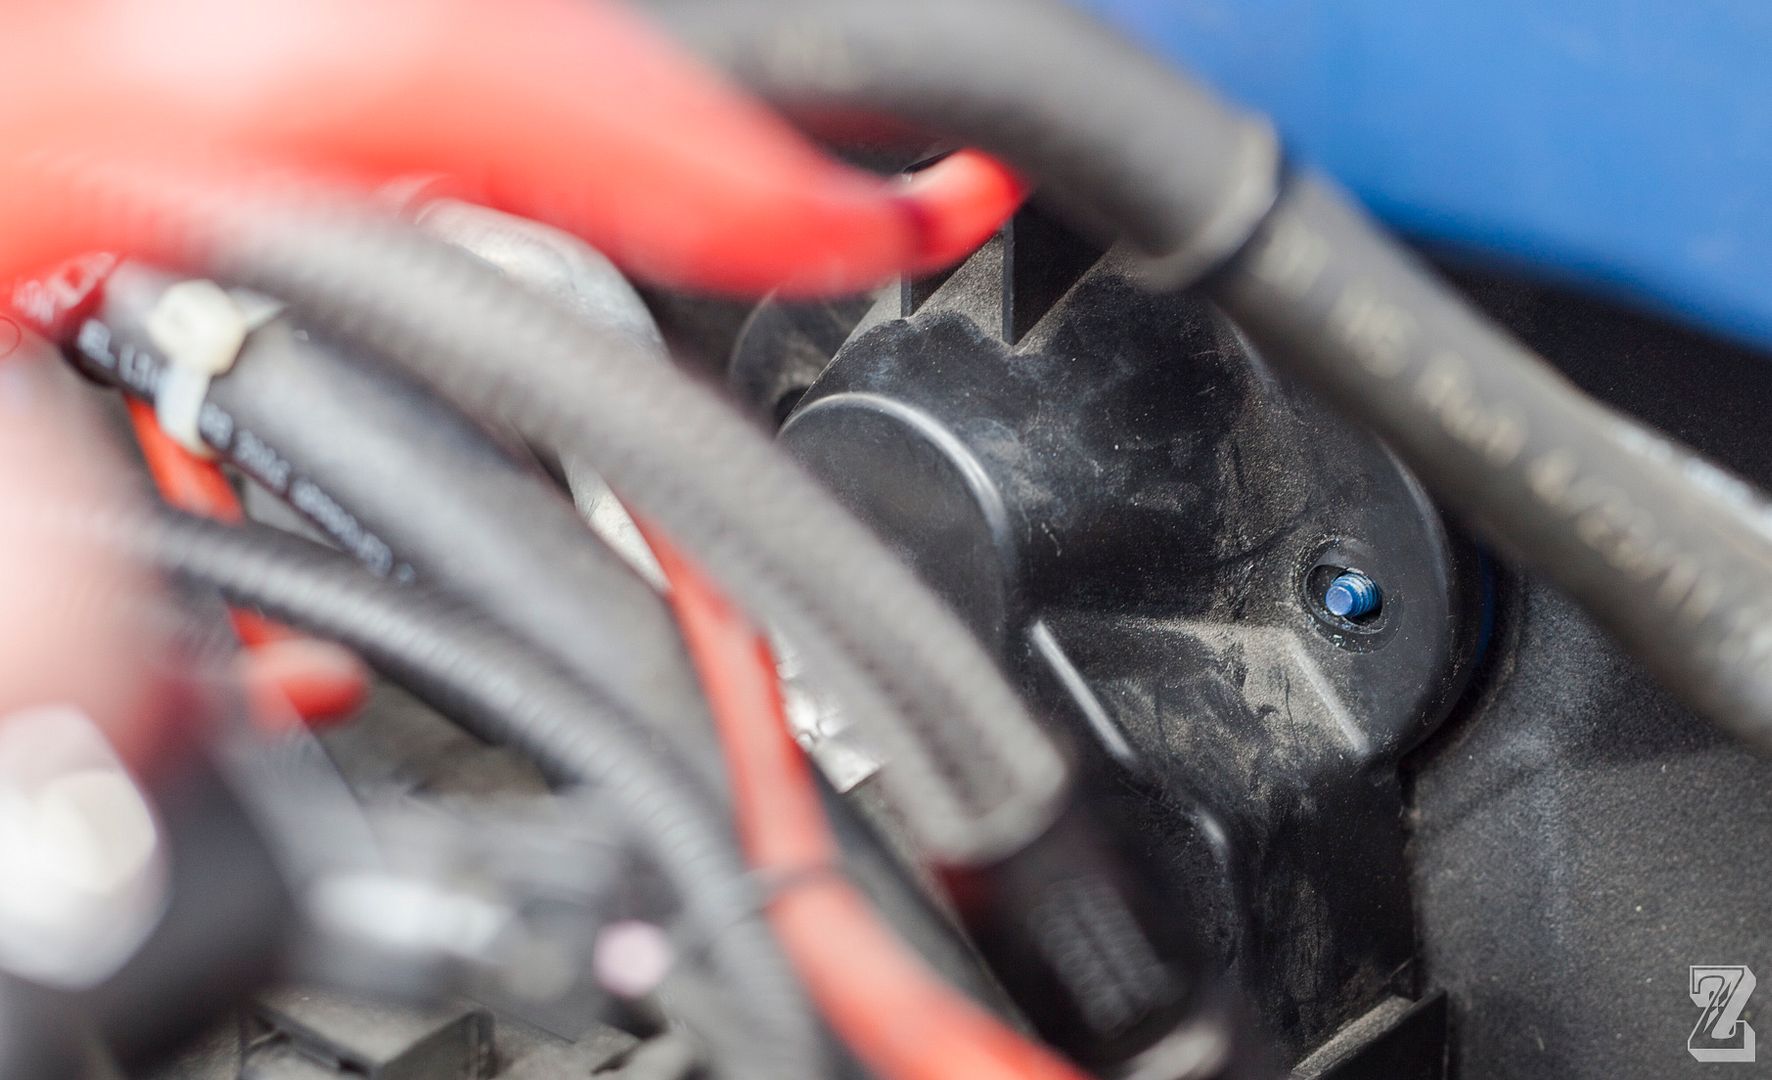
Use this to pass your hoses and harness through, from the engine bay to under the dash
![Image]()
Velcro applied
![Image]()
![Image]()
Use the included fittings to attach the boost source hose from the intake manifold to the hose on the control unit,
![Image]()
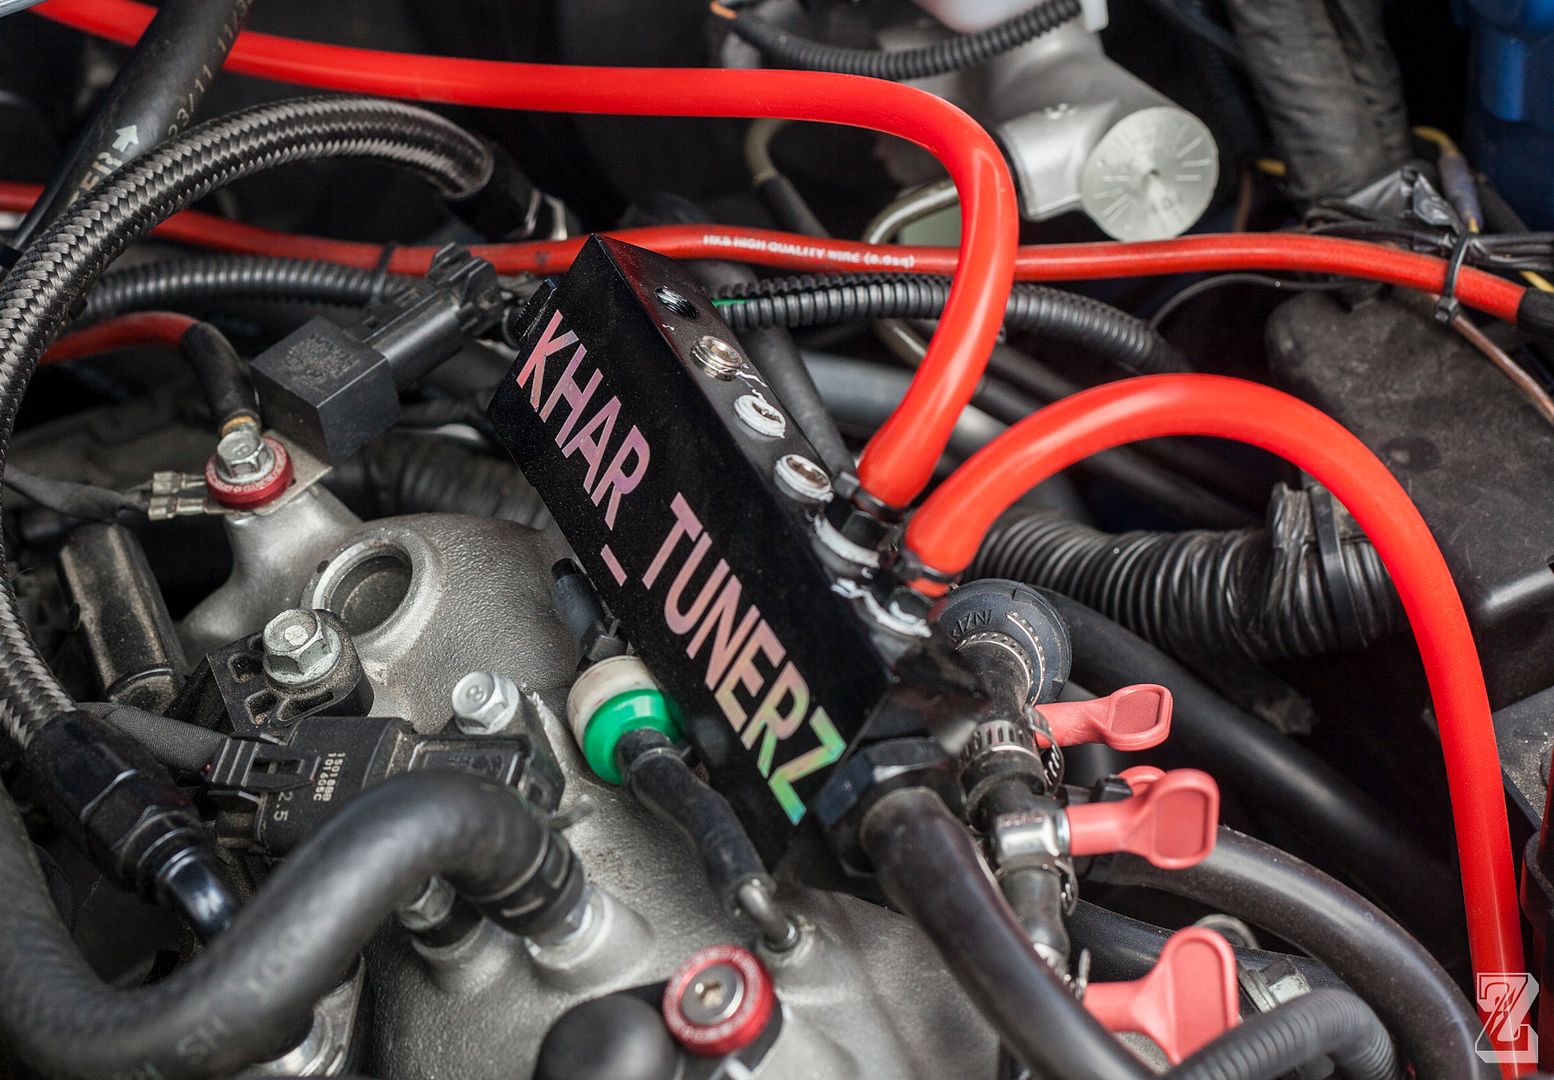
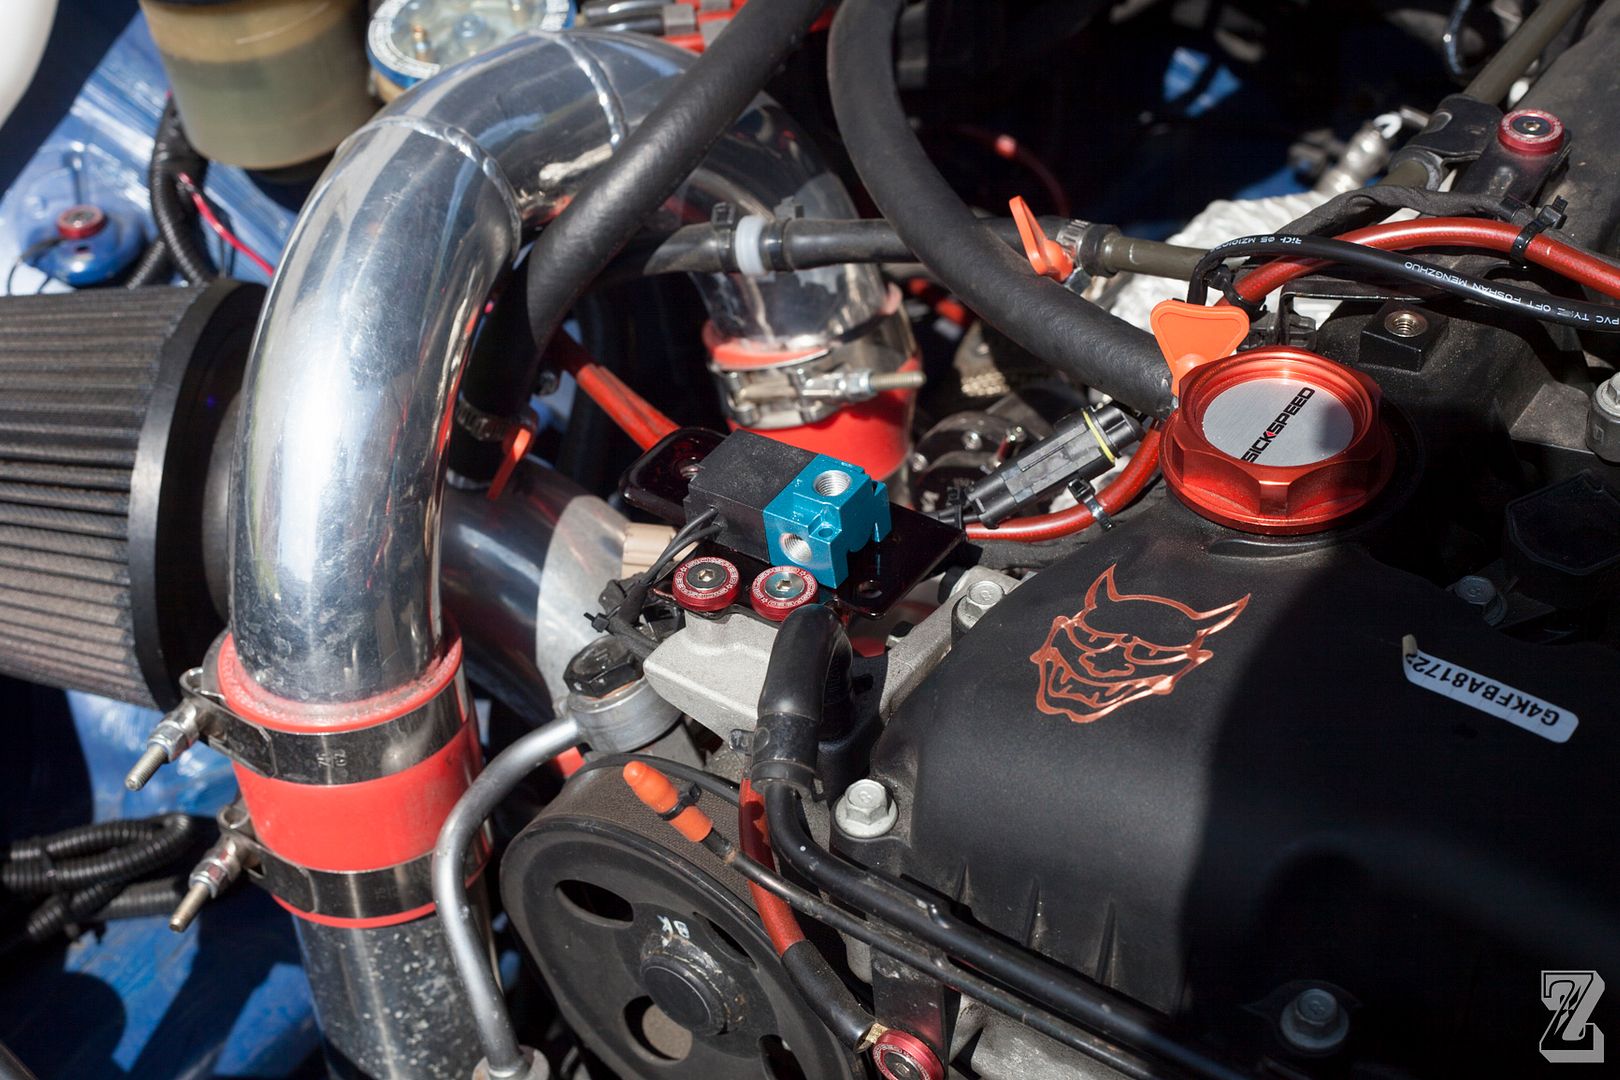
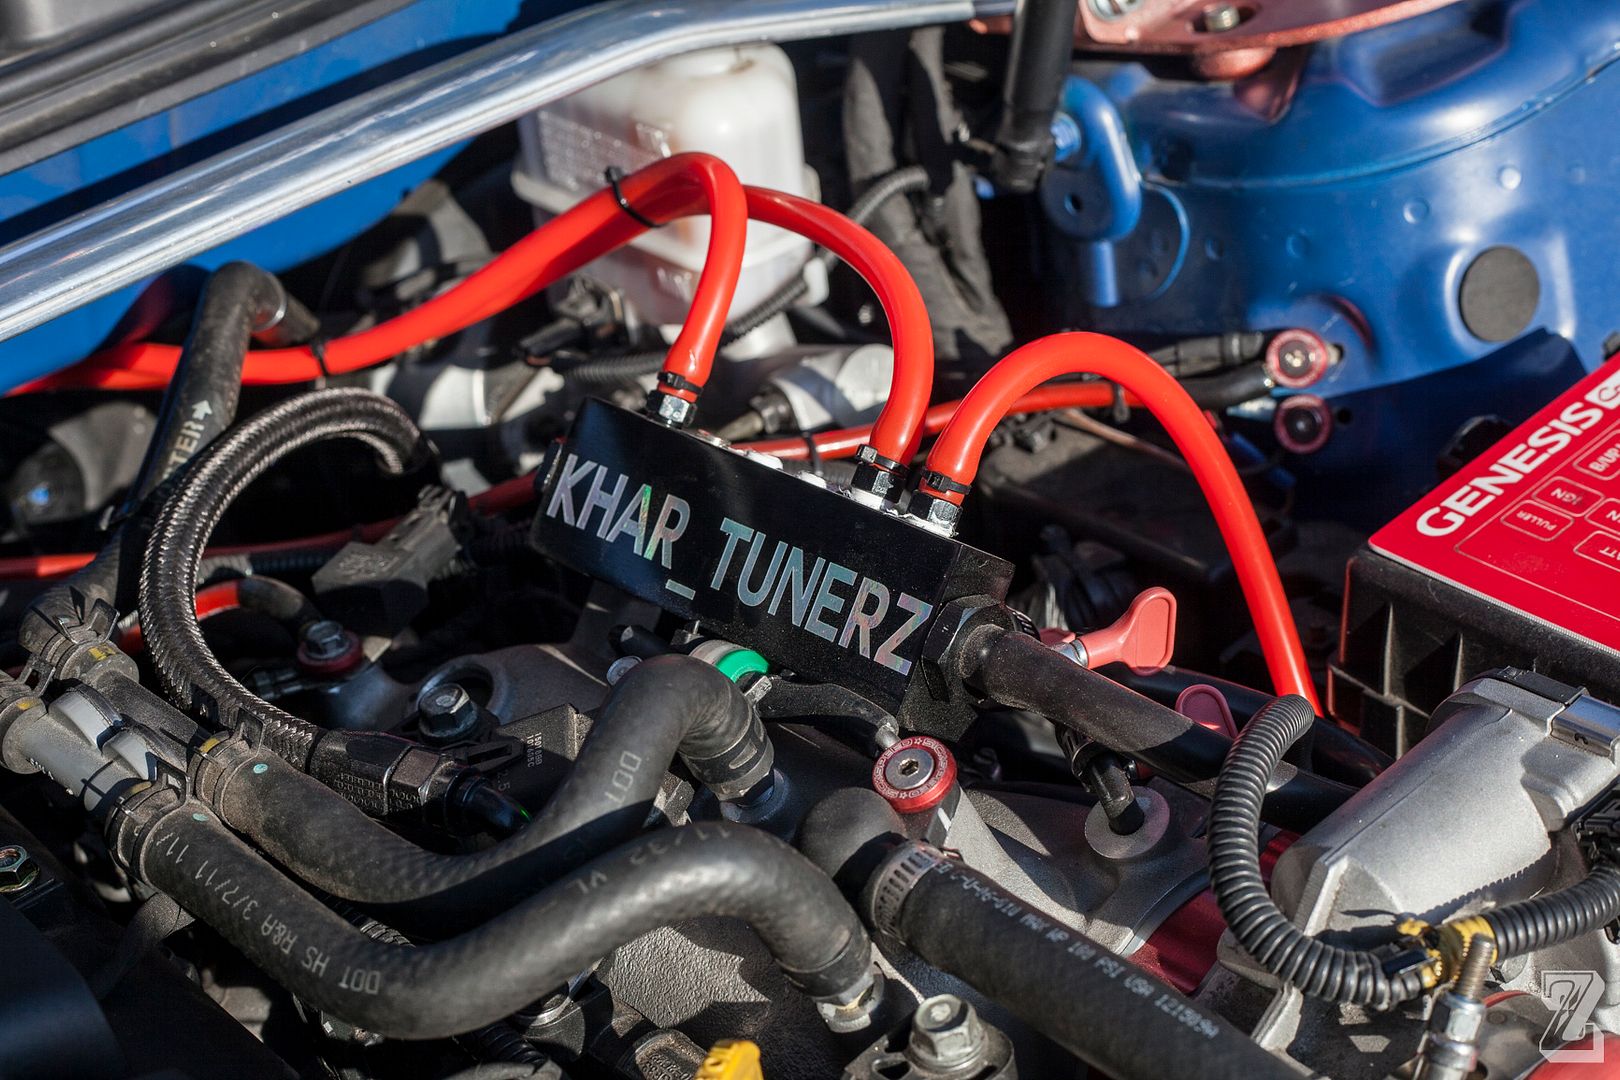
I'm running mine off my Khartunerz vacuum block, this thing is handy as hell! Cheap too!
![Image]()
I found it helpful to remove the strut bar for this install, it makes it much easier to get to that panel on the fire wall that you need to route the hoses through
![Image]()
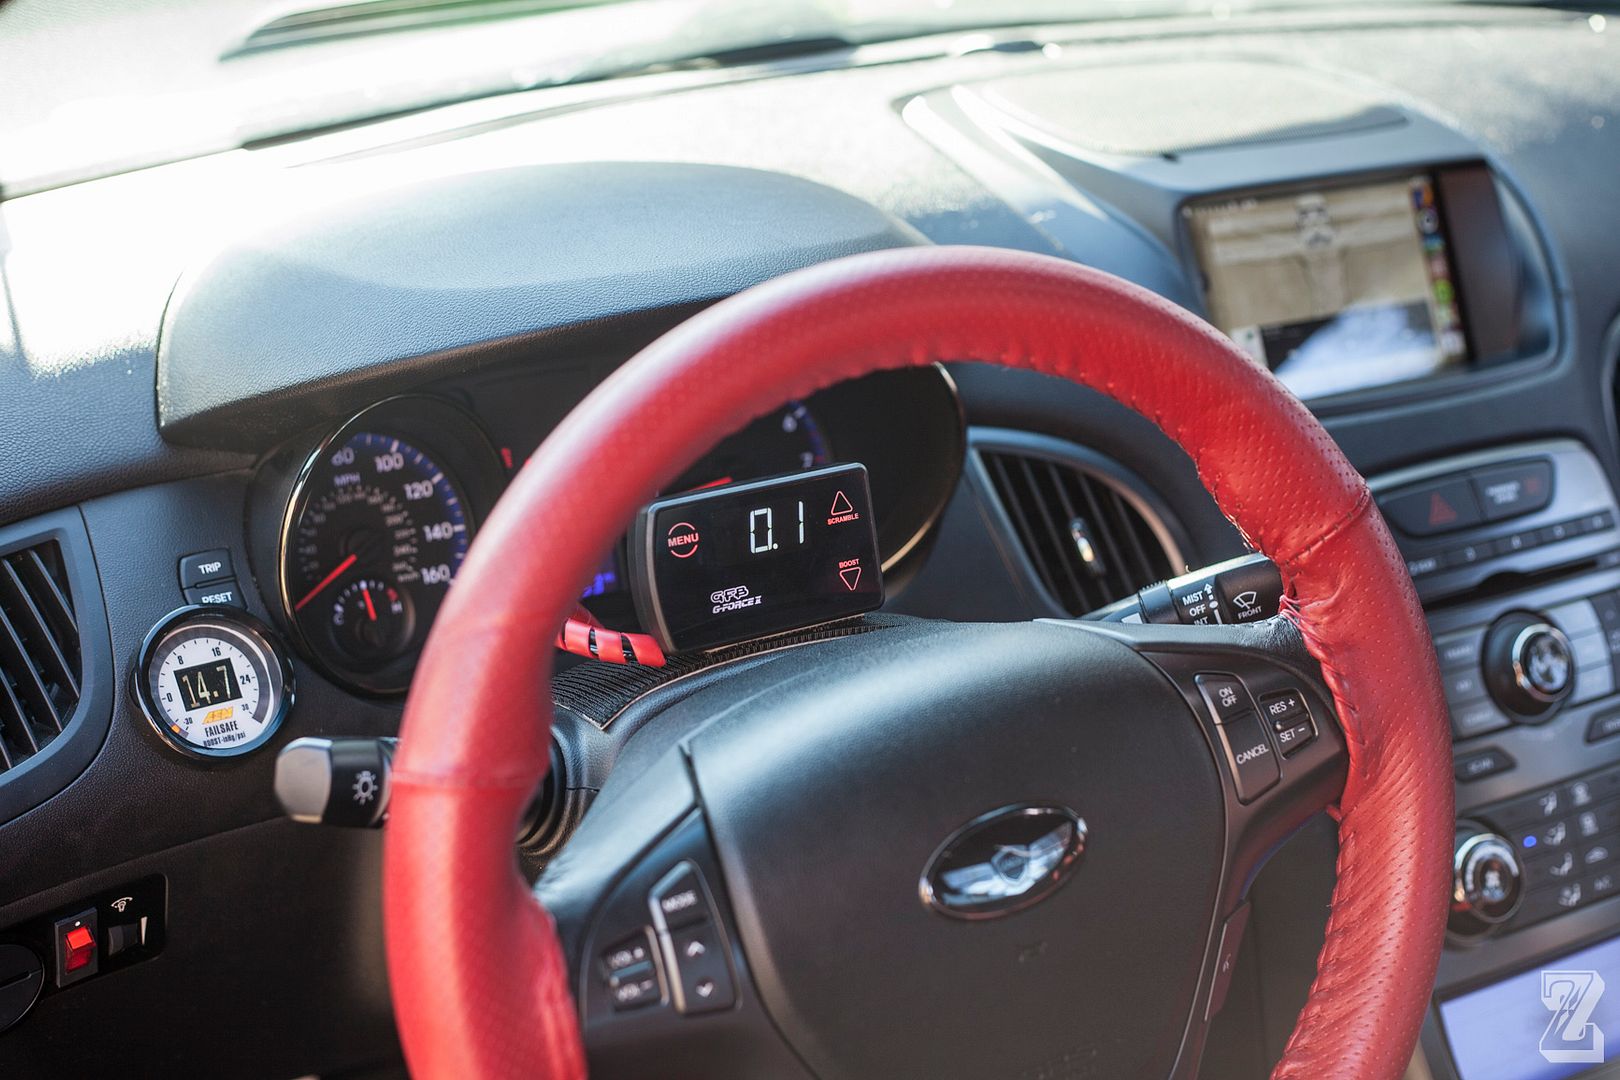
Here's how the EBC looks mounted in the car
![Image]()
![Image]()
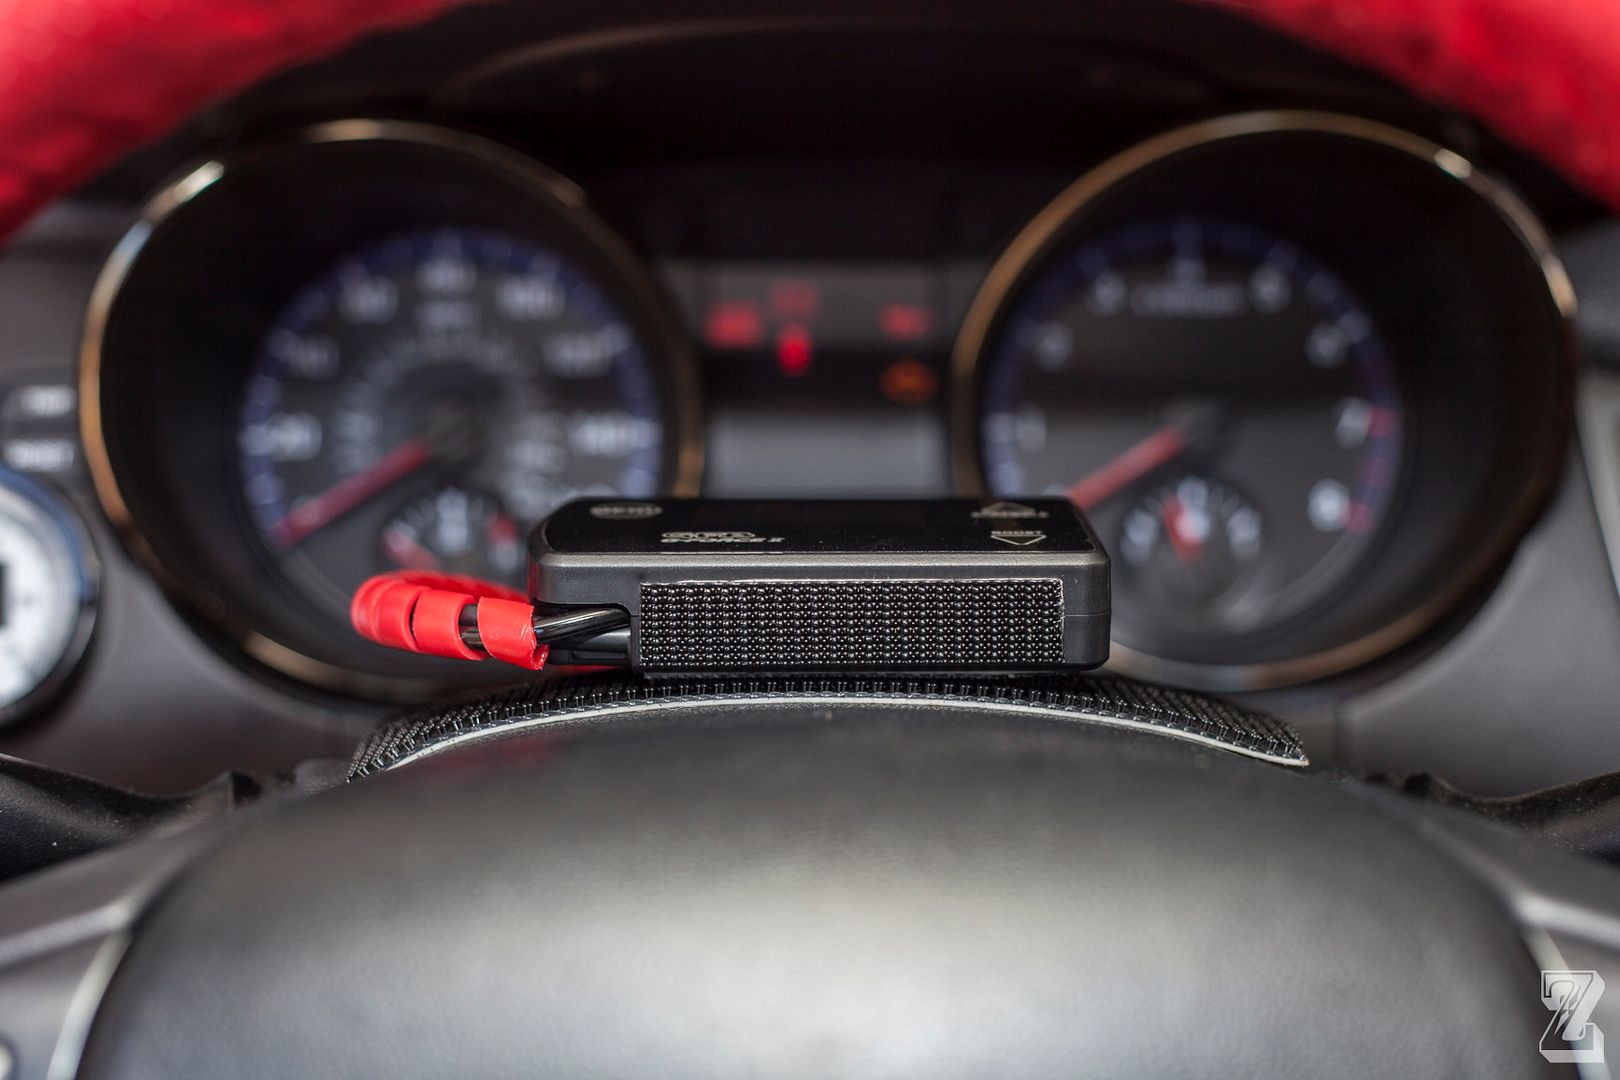
When I don't need to mess with it, I can lay it down so it doesn't block anything on the dashboard. Even when it's laying down you can still see the display at a shallow angle, and it is just as easy to press the buttons. It's a capacitive touch display btw, not physical buttons. You just need to very lightly tap the screen.
![Image]()
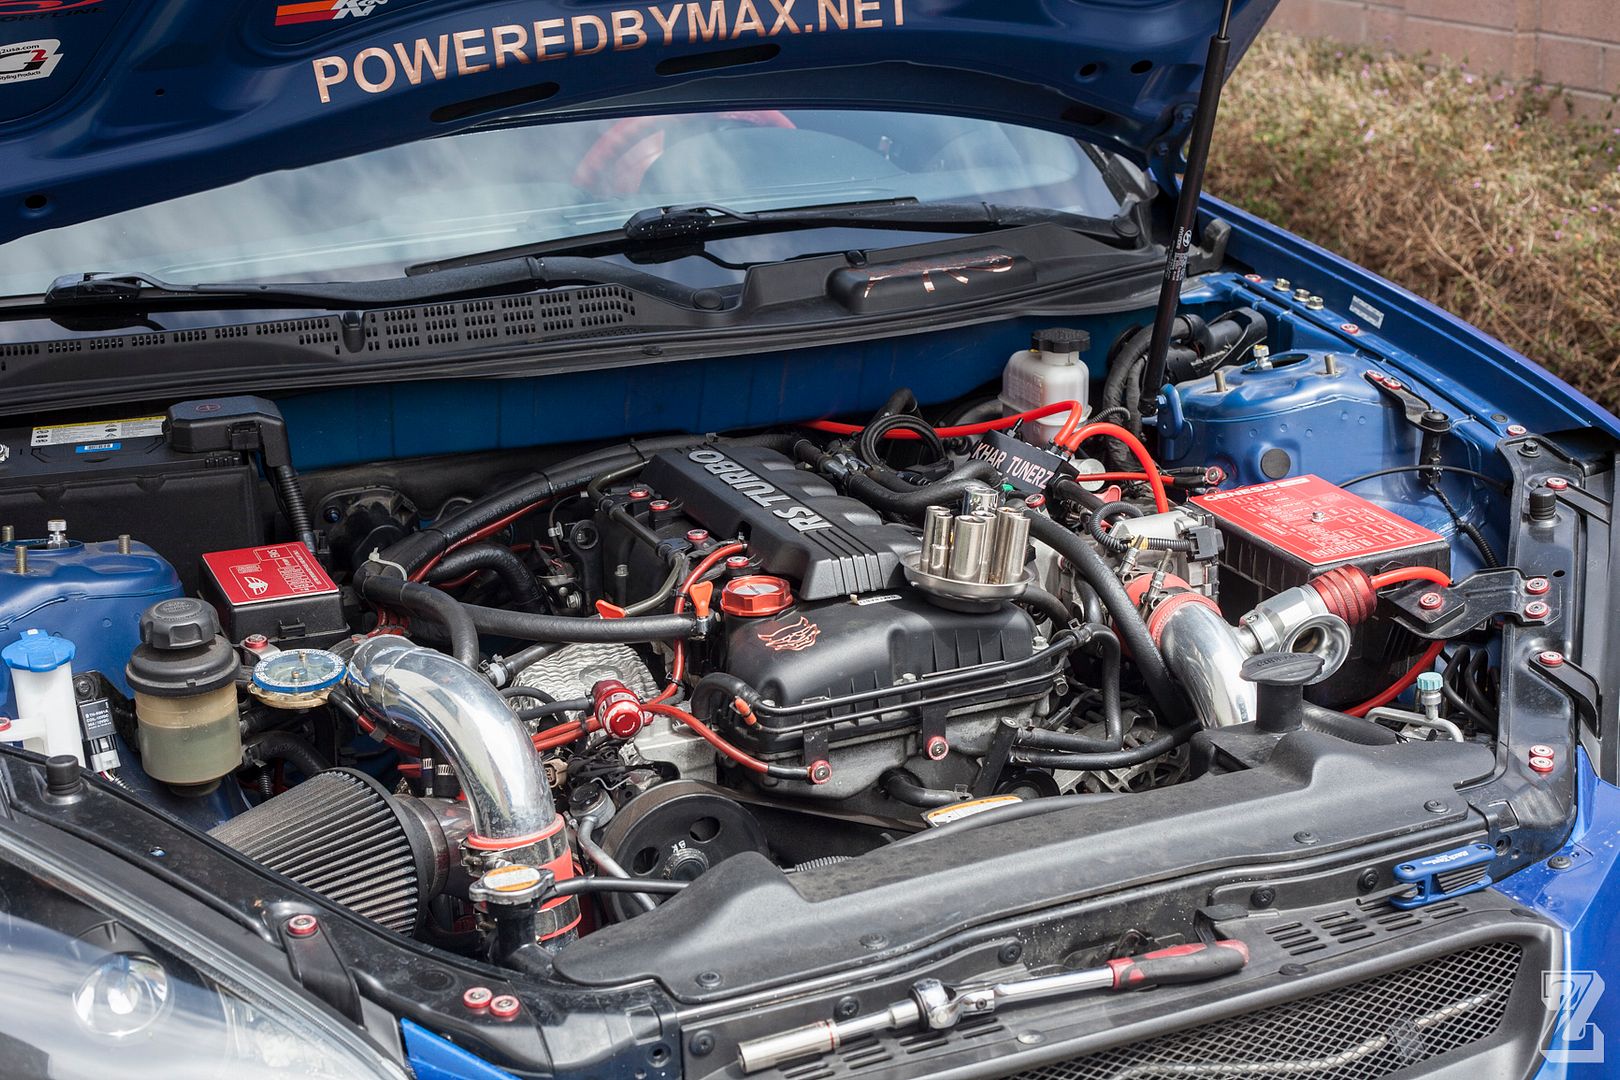
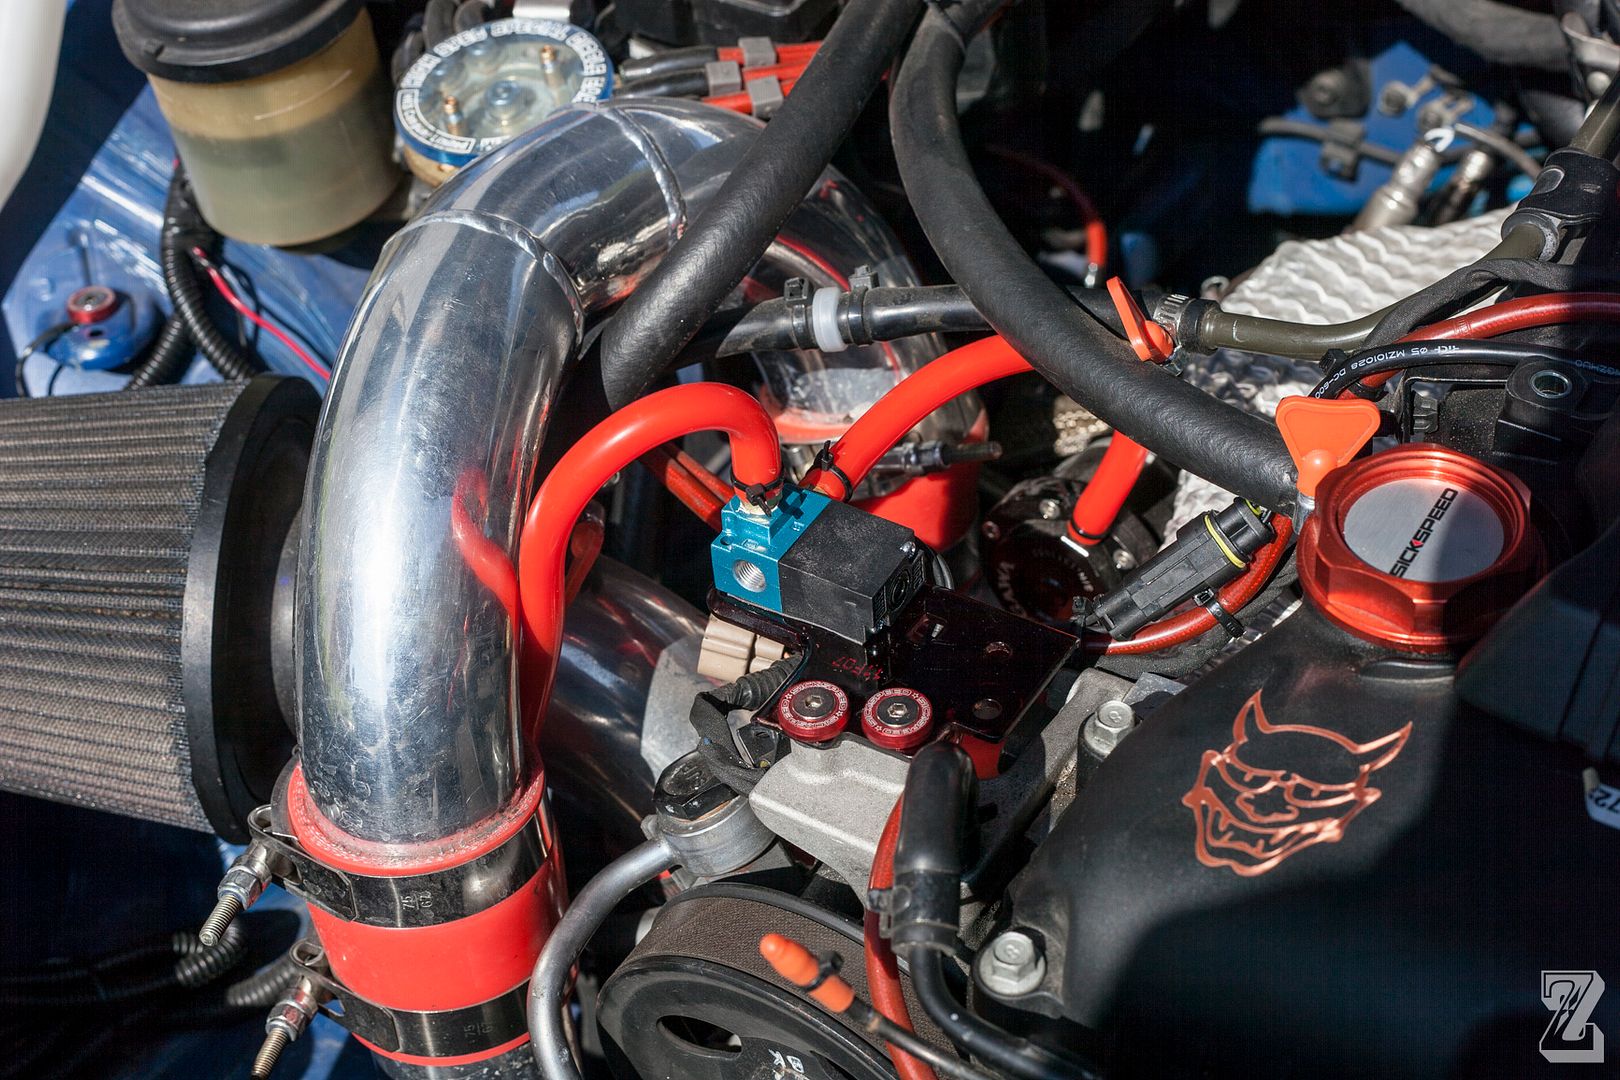
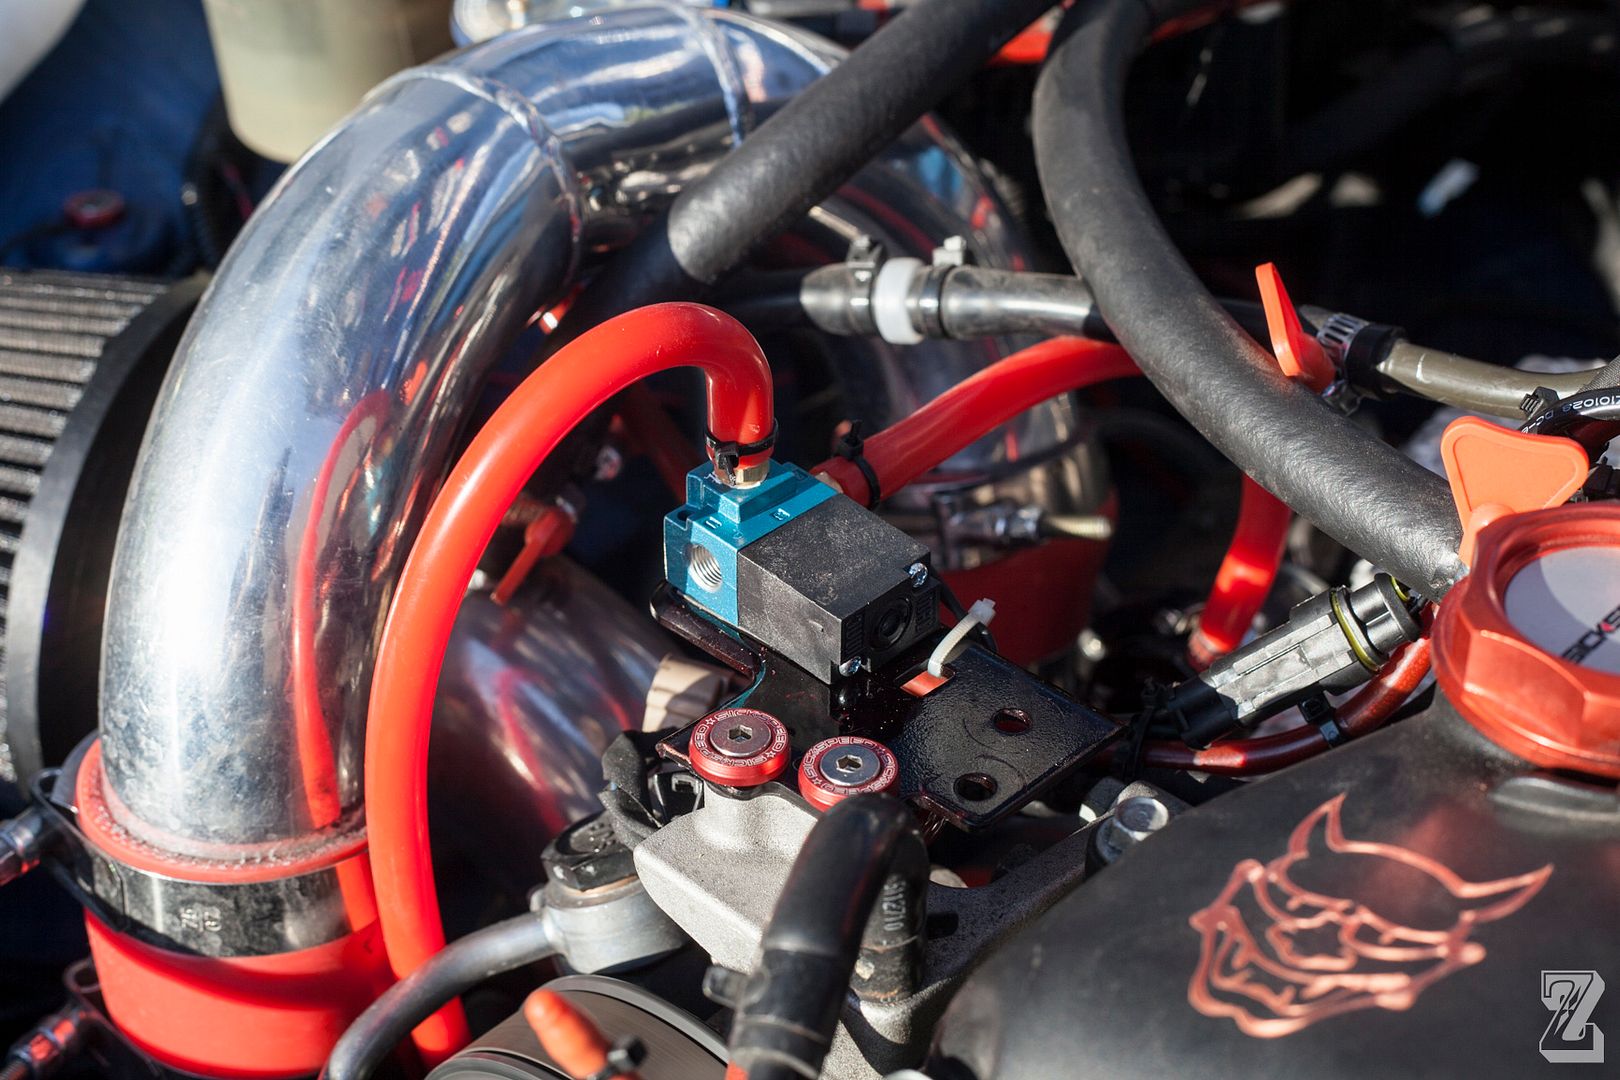
Here's the new solenoid mounted in the engine bay, I mounted it exactly where the OEM solenoid was
![Image]()
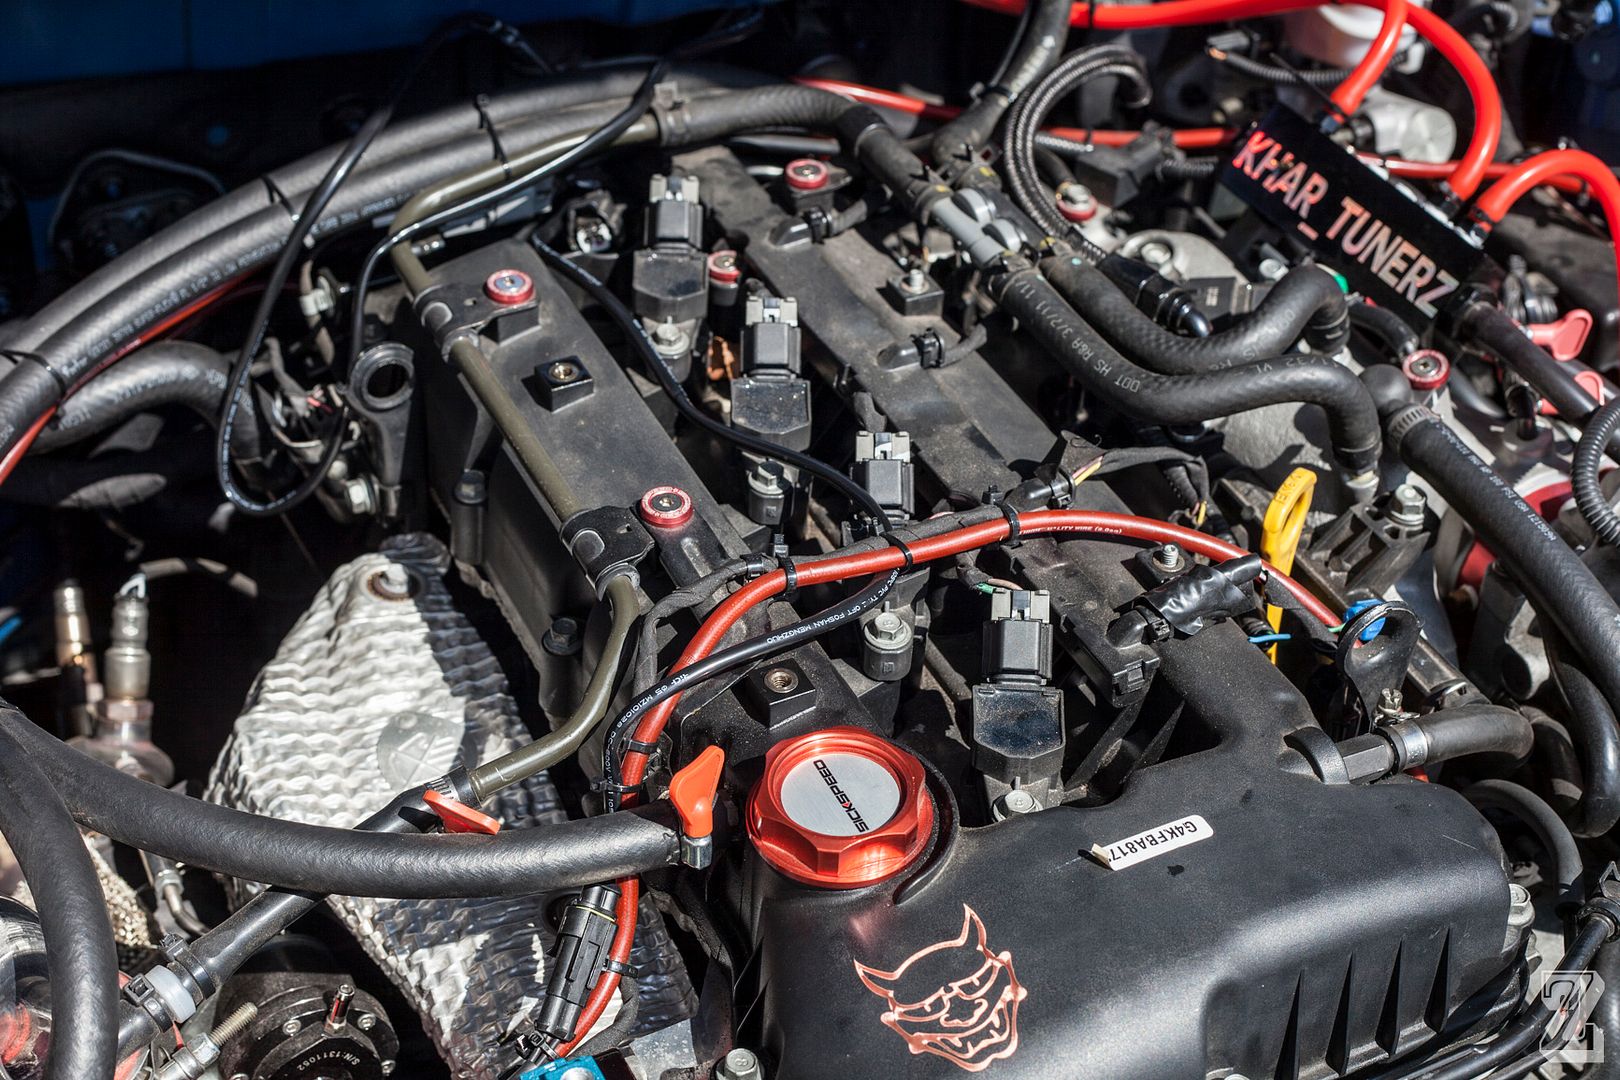
I ran the solenoid harness across the valve cover and back toward the firewall
![Image]()
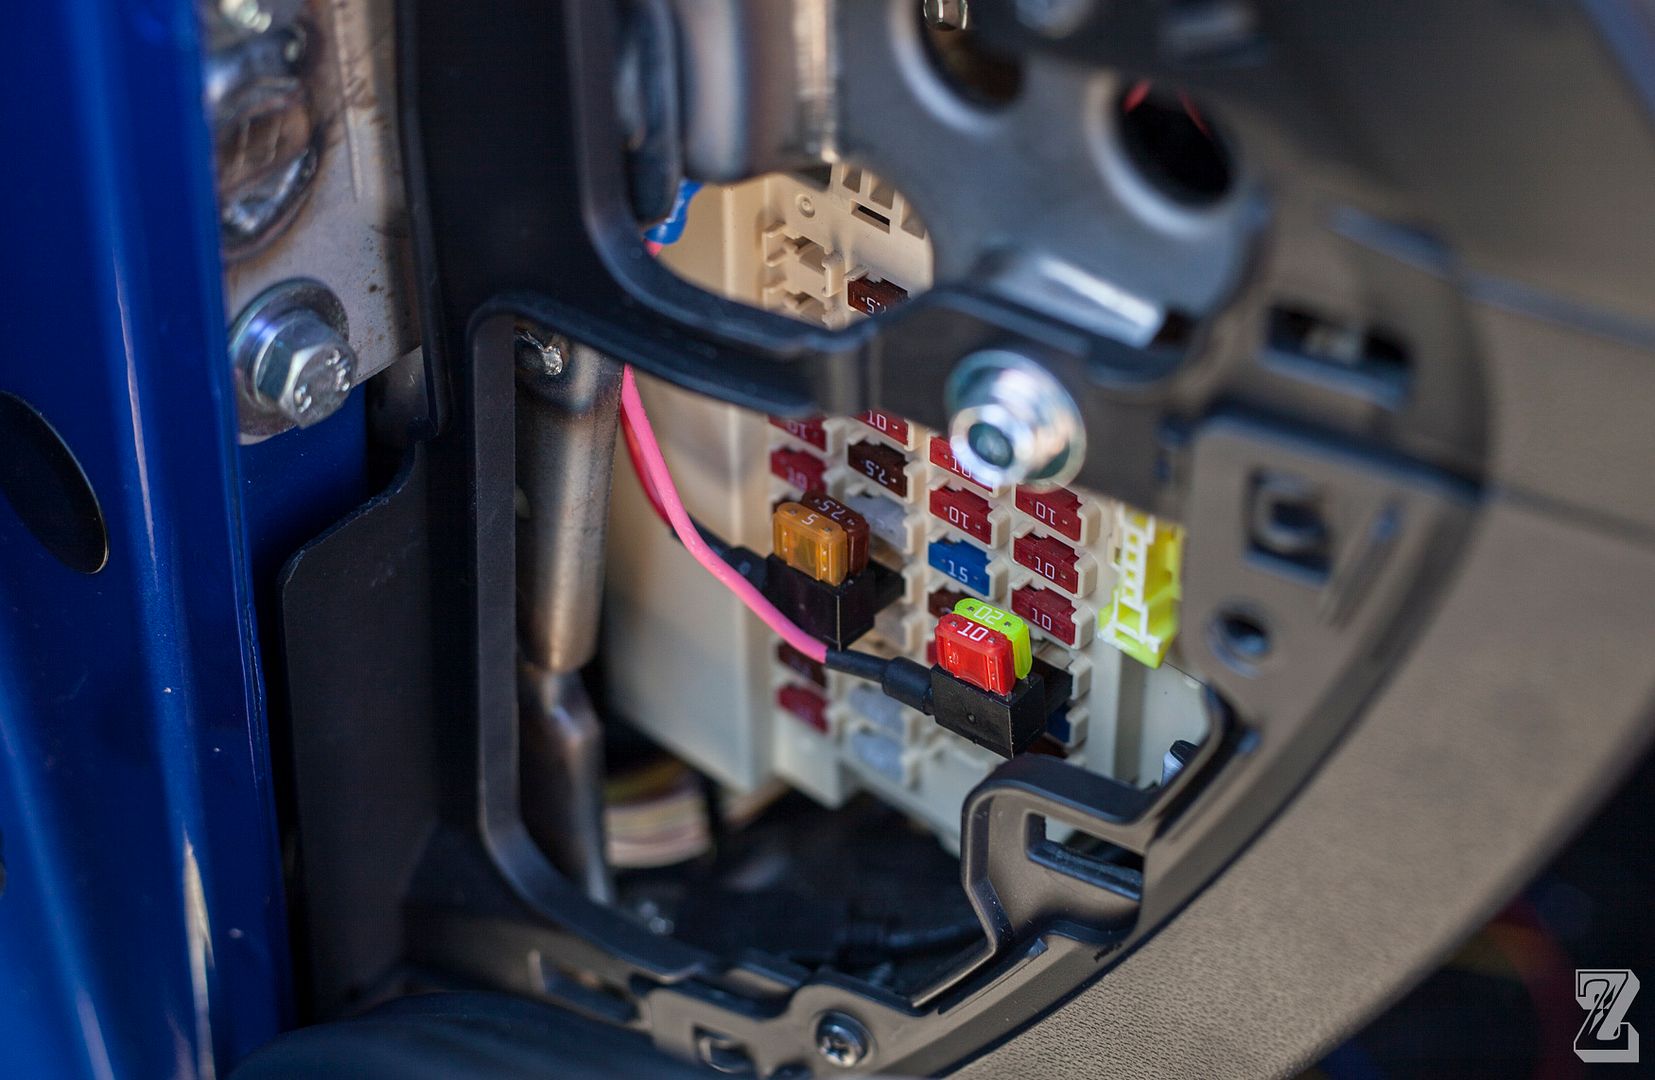
Use an inline fuse tap for power to the EBC
![Image]()
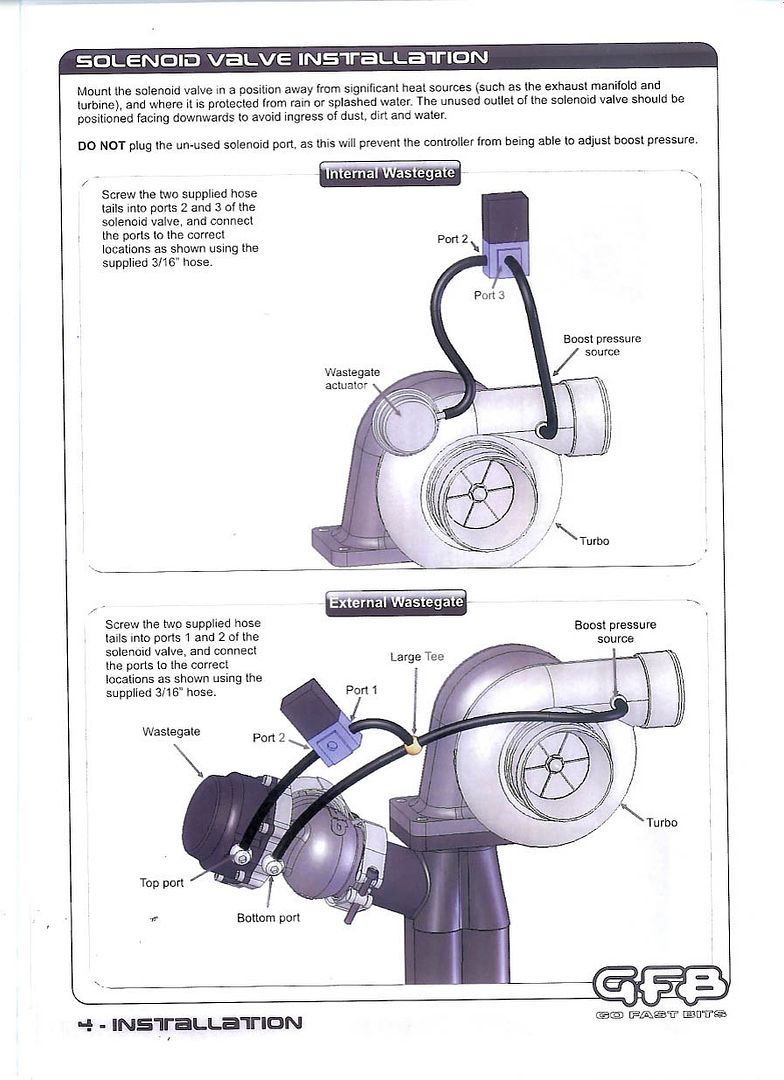
Boost hoses attached to solenoid, the ports are different for IWG vs EWG. I will have to change the ports and hose layout when I install the new turbo, but this will be the final solenoid location
![Image]()
![Image]()
KHARtunerz vacuum block all set up, i'll have to run one more hose to this when I install my EWG with the new build
![Image]()
Boost hoses and harness routed through the firewall. I did not bother putting the nuts back on this plastic panel.
![Image]()
It's alive!!
![Image]()
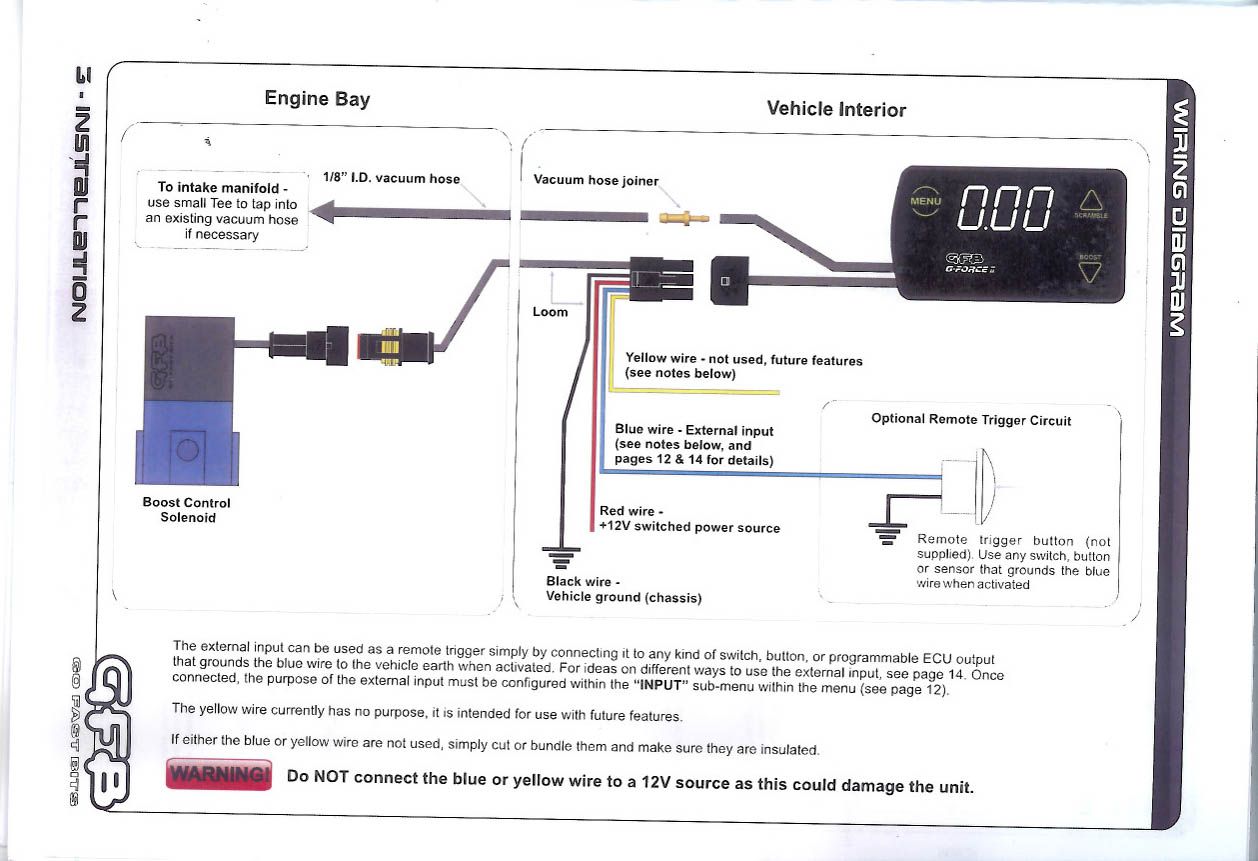
So the install wasn't bad. You really only have to connect 3 hoses, two wires, and the harness. The yellow and blue wire are not used, I just capped them off and zip tied them out of the way. You only need to connect the red-power and black-ground wires.
How to set it up and not blow up your engine:
Luckily, this boost controller has turned out to be crazy easy to use. Tapping the menu button takes you through the different functions, then hold the menu for like 2 seconds at the end to return to operating mode. There's only 6 menu options to cycle through, and each one is adjusted with the up/down arrows. You can also adjust while driving, you do not need to stop to make any changes.
The options are:
1. DUT= Duty cycle. This is the actual peak boost pressure, measured from 0-100. 0-10= wastegate pressure , 90-100= max pressure the EBC can safely put out. You probably will not feel any changes until around 25. The manual says that the higher the duty cycle goes, the more difficult it is to control the boost. Don't go above 90. They can't just give a specific PSI because everyone's running different wastegates and they have no way of knowing what psi on the controller relates to what wastegate spring you are using, so we go by duty cycle instead. I ended up using 67 to get 20-20.5 psi reliably every single time. Keep in mind that this is a potentiometer, and every point you increase, also exponentially increases the amount of boost you get for that point. So going from 25 to 26 will not be the same boost increase as going from 67-68, and 67-68 will be a smaller boost increase than 89-90. For example, it took me from 0-67 to hit 20psi, but by the time I get from 67-72 i'm already at 24psi.
2. GAI= Gain. This adjusts a delay time with when the solenoid opens, which can make your boost build a lot faster. If you adjust the gain too high you will get boost spikes, mild boost spikes aren't necessarily bad though, some people enjoy a midrange torque spike for highway passing power at part throttle. Big boost spikes are bad bad bad, but at least you do have control over them with this unit. 0 gain is the same as the controller making no adjustment and letting your wastegate do all the work. 100 gain is maxed out delay and your boost will build as fast as the laws of physics will allow with your equipment. The manual says that optimal gain is to adjust until you begin spiking beyond your target boost pressure, then back it down to just a hair below when the spiking starts. I ended up using 32 for the gain
3. SEN = Sensitivity. This adjusts the boost curve correction, if you're getting boost falloff up top, increase the sensitivity. This is the setting that will always ensure that you get 20psi all the time. However if you set it too high it seems to lower your peak boost, or make you take much longer to get there, so you may need to increase duty cycle a little to account for that. If you go way too high with the sensitivity, it will eventually cause weird boost oscillations at high RPM's, so instead of holding 20psi, it will oscillate from 16-20-16-20-16-20, etc. I ended up using 22 for sensitivity which flattened out my boost curve very nicely.
4. OVE= Overboost protection. This is a simple user selectable setting for what PSI will shut off the solenoid for protection. I chose 24psi.
5. DIS= Display units. Another simple user selectable setting, you can choose PSI, BAR, or KPA. I chose PSI of course since i'm a 'murican.
6. SCR= Scramble boost. This is a really neat feature that can add or reduce boost based on an external switch. You might want to add a steering wheel button for a quick burst of boost for passing power, or to reduce boost for off the line traction when drag racing, then have full boost be available after a few seconds. It requires an external switch that you ground to the blue wire. I did not use this feature so I set it to OFF
7. INP= Input. You have several options for what to do with that blue wire. It can trigger scramble boost, or switch to a different boost preset, or turn off the controller. I did not buy a switch, so i have no input to set up. I turned this setting to OFF, and capped off the blue wire.
8. COL= Color. There are ~~6 user select-able colors to choose from. None of them match our dashboard perfectly lol
That's really about it for the settings.
You want to start out by first going to DIS and set it to PSI, also turn on the Peak Hold feature. Next go to DUT and set the duty cycle maybe at 20-25 to start, and GAI and SEN at 0. Get out on the highway into a high gear, and do boost runs until your peak boost is what you want, in my case 20PSI. Don't judge this based on flying off the line at traffic lights, get on the highway, go fast in a high gear, and use the peak hold feature to see your peak sustained boost. Again I had to set my DUT to 67 to get 20PSI peak. When it is where you want, tap the menu button to move on to GAI. Dial the GAI upward 5 points at a time until your boost starts spiking past your target boost point, then back it down a little just until the spiking stops, for me that was 32. Then tap menu again and move on to SEN. Adjust sensitivity until the boost feels strong and linear across the power band band, and you have little to no top end boost fall off. You guys with stock turbos need to be careful with the SEN, but bigger turbo guys can have more fun with it. Tap menu a few more times to go back to DUT, and measure your peak boost again one last time. If it is still where you wanted it, then you're done. If it dropped a little, then add in some more duty cycle until it's back where you want. It took all of one 15 minute car ride to dial in the GFB EBC how I wanted. When everything is set up how you like, hold the menu button for 2-3 seconds to lock in those settings and go back to operating mode. You can do separate settings for each of the 6 user preset spots.
Review:
Yes, the thing works. My midrange boost spike is gone, boost onset is much quicker, builds much more predictably, holds better. My AFR's are a LOT better.. I wonder if the MBC induced midrange boost spikes were causing the ecu to trim down to those crazy rich AFR's I have been experiencing? I will need more time to investigate that but I kid you not, the moment I dialed in this EBC my AFR's were back in the 11's. My top end power is so much better now ! Wow!
So far I really like this thing, it seems easily worth the money. It is definitely better than my Grimmspeed MBC. It offers much much more control than any MBC could ever hope to, and it costs half as much as any other EBC that is worth getting. The install takes only about 2 hours, and it comes with everything you need, all fittings, zip ties, double sided tape, hoses,etc. Very very good value for the money, the only competitor in this price range is the AEM True Boost, and that thing doesn't have 1/4 of the features that the GFB EBC has.
I highly recommend it! I picked mine up for about $265 shipped on ebay.
Pretty easy install overall, took about 2 hours. Here's a quick review and basic install walkthrough:This is a very complete kit! It comes with everything you need for install other than tools. All hoses, zip ties, brass fittings, etc are included.
First I relocated my AEM Failsafe gauge, using D!RTYLOUD's walkthrough for a dash mount gauge:
http://www.gencoupe.com/interior-20...terior-2008-2012/247689-dash-aem-wideband-install-mounting-wiring-pictures.html
Here's how mine came out:
I definitely prefer that location vs where I had it before, on top of the steering wheel
Old location:
New location:
The real reason I moved it though, was to make room for the new boost controller
Beyond what I already bought, I needed a couple more things to make a somewhat clean install. My one and only complaint about this GFB EBC is how stupid the control unit is shaped, and the angle that the harness and boost source hose come out of the control unit- that combination of things makes finding a good mounting spot really tough. I chose to mount it on top of the steering wheel with 3M Dual Lock Velcro. I lined the back and bottom of the control box with the velcro, then made as big of an area on top of the steering wheel be covered in the Dual Lock Velcro so I have a lot of flexibility in where i put the control unit ( really anywhere on top of the steering column ). I can also lay it down flat when I am not using it, and stand it up when I need to adjust something. It was the best solution I could come up with that did not have it stuck to the dashboard somewhere at an odd angle. The next best spot I could think of was the upper left corner of the windshield, but I was afraid that the velcro tape would not stay stuck in that location on hot days, with the sun blasting it directly all day. I really wish GFB just made a mount for this thing lol.
Here's that 3M Dual Lock velcro, this stuff is crazy strong.
Also, since mounting it on top of the steering column left the boost source hose and harness plug exposed, I wrapped it in some red cable wrap to keep it neat and safe from outside damage. The boost hose that's built into the control unit is flexible, but hard and plasticky. Be careful not to kink this hose.
Finished product
3M Dual Lock velcro applied
Next step was to remove the upper steering colum trim piece :
Use this to pass your hoses and harness through, from the engine bay to under the dash
Velcro applied
Use the included fittings to attach the boost source hose from the intake manifold to the hose on the control unit,
I'm running mine off my Khartunerz vacuum block, this thing is handy as hell! Cheap too!
I found it helpful to remove the strut bar for this install, it makes it much easier to get to that panel on the fire wall that you need to route the hoses through
Here's how the EBC looks mounted in the car
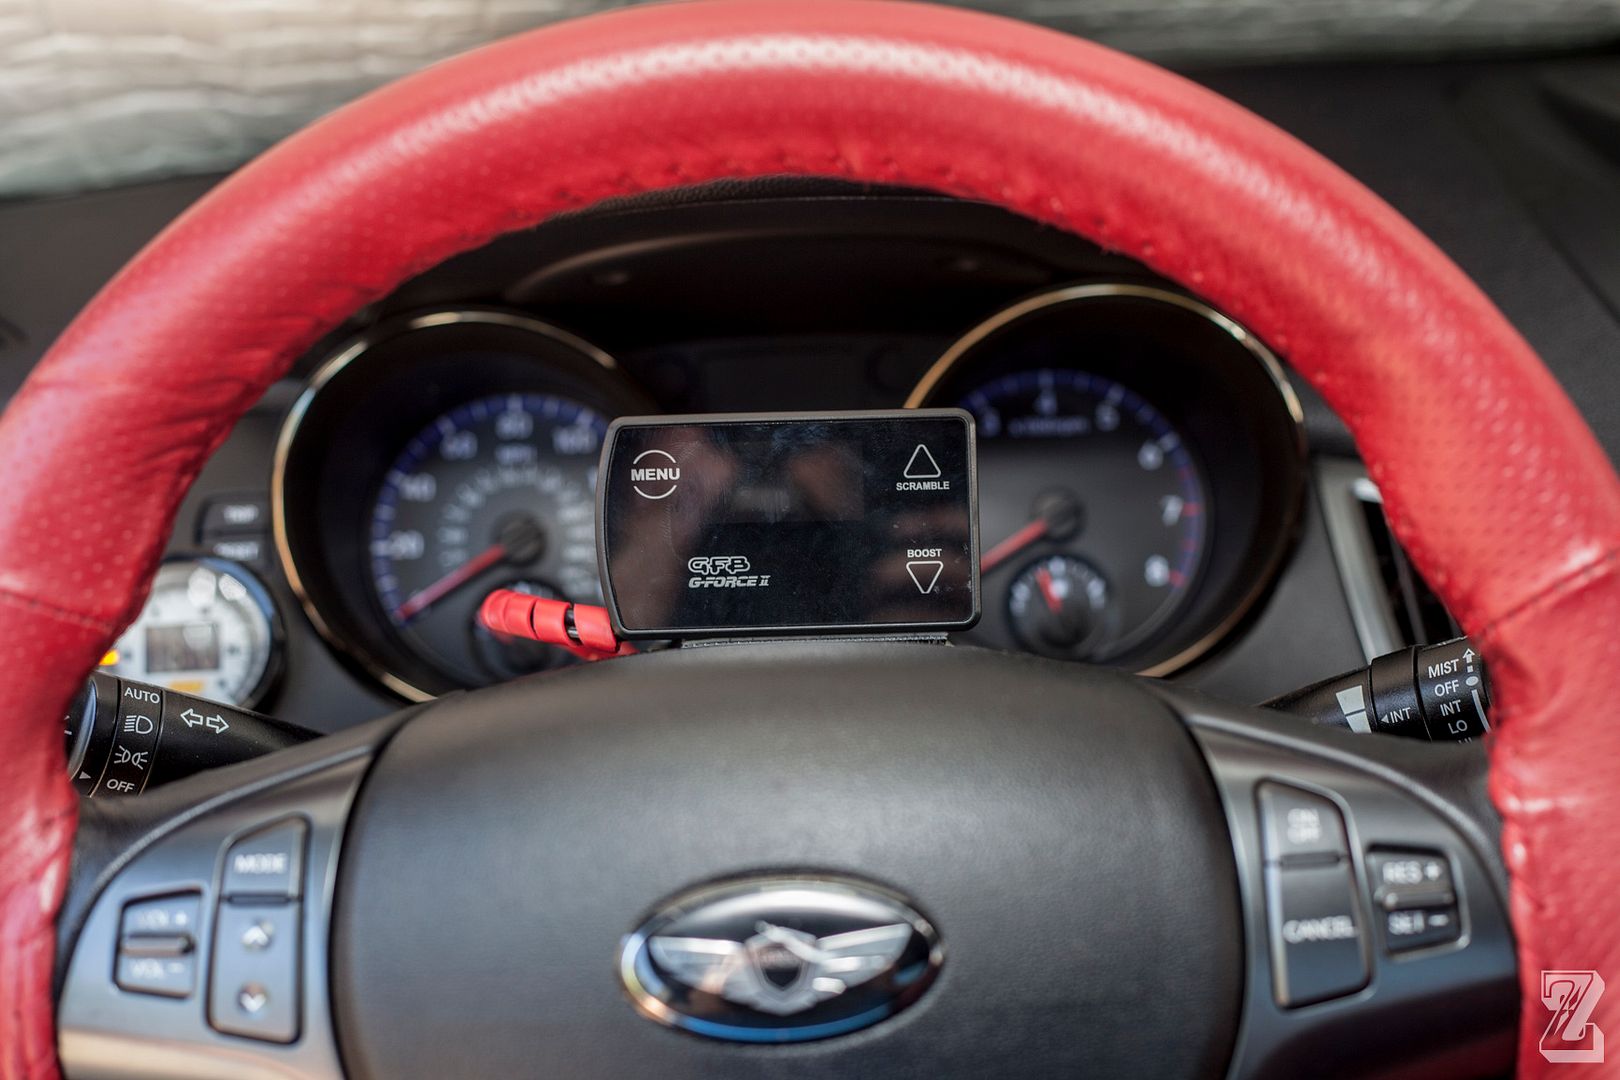
When I don't need to mess with it, I can lay it down so it doesn't block anything on the dashboard. Even when it's laying down you can still see the display at a shallow angle, and it is just as easy to press the buttons. It's a capacitive touch display btw, not physical buttons. You just need to very lightly tap the screen.
Here's the new solenoid mounted in the engine bay, I mounted it exactly where the OEM solenoid was
I ran the solenoid harness across the valve cover and back toward the firewall
Use an inline fuse tap for power to the EBC
Boost hoses attached to solenoid, the ports are different for IWG vs EWG. I will have to change the ports and hose layout when I install the new turbo, but this will be the final solenoid location
KHARtunerz vacuum block all set up, i'll have to run one more hose to this when I install my EWG with the new build
Boost hoses and harness routed through the firewall. I did not bother putting the nuts back on this plastic panel.
It's alive!!
So the install wasn't bad. You really only have to connect 3 hoses, two wires, and the harness. The yellow and blue wire are not used, I just capped them off and zip tied them out of the way. You only need to connect the red-power and black-ground wires.
How to set it up and not blow up your engine:
Luckily, this boost controller has turned out to be crazy easy to use. Tapping the menu button takes you through the different functions, then hold the menu for like 2 seconds at the end to return to operating mode. There's only 6 menu options to cycle through, and each one is adjusted with the up/down arrows. You can also adjust while driving, you do not need to stop to make any changes.
The options are:
1. DUT= Duty cycle. This is the actual peak boost pressure, measured from 0-100. 0-10= wastegate pressure , 90-100= max pressure the EBC can safely put out. You probably will not feel any changes until around 25. The manual says that the higher the duty cycle goes, the more difficult it is to control the boost. Don't go above 90. They can't just give a specific PSI because everyone's running different wastegates and they have no way of knowing what psi on the controller relates to what wastegate spring you are using, so we go by duty cycle instead. I ended up using 67 to get 20-20.5 psi reliably every single time. Keep in mind that this is a potentiometer, and every point you increase, also exponentially increases the amount of boost you get for that point. So going from 25 to 26 will not be the same boost increase as going from 67-68, and 67-68 will be a smaller boost increase than 89-90. For example, it took me from 0-67 to hit 20psi, but by the time I get from 67-72 i'm already at 24psi.
2. GAI= Gain. This adjusts a delay time with when the solenoid opens, which can make your boost build a lot faster. If you adjust the gain too high you will get boost spikes, mild boost spikes aren't necessarily bad though, some people enjoy a midrange torque spike for highway passing power at part throttle. Big boost spikes are bad bad bad, but at least you do have control over them with this unit. 0 gain is the same as the controller making no adjustment and letting your wastegate do all the work. 100 gain is maxed out delay and your boost will build as fast as the laws of physics will allow with your equipment. The manual says that optimal gain is to adjust until you begin spiking beyond your target boost pressure, then back it down to just a hair below when the spiking starts. I ended up using 32 for the gain
3. SEN = Sensitivity. This adjusts the boost curve correction, if you're getting boost falloff up top, increase the sensitivity. This is the setting that will always ensure that you get 20psi all the time. However if you set it too high it seems to lower your peak boost, or make you take much longer to get there, so you may need to increase duty cycle a little to account for that. If you go way too high with the sensitivity, it will eventually cause weird boost oscillations at high RPM's, so instead of holding 20psi, it will oscillate from 16-20-16-20-16-20, etc. I ended up using 22 for sensitivity which flattened out my boost curve very nicely.
4. OVE= Overboost protection. This is a simple user selectable setting for what PSI will shut off the solenoid for protection. I chose 24psi.
5. DIS= Display units. Another simple user selectable setting, you can choose PSI, BAR, or KPA. I chose PSI of course since i'm a 'murican.
6. SCR= Scramble boost. This is a really neat feature that can add or reduce boost based on an external switch. You might want to add a steering wheel button for a quick burst of boost for passing power, or to reduce boost for off the line traction when drag racing, then have full boost be available after a few seconds. It requires an external switch that you ground to the blue wire. I did not use this feature so I set it to OFF
7. INP= Input. You have several options for what to do with that blue wire. It can trigger scramble boost, or switch to a different boost preset, or turn off the controller. I did not buy a switch, so i have no input to set up. I turned this setting to OFF, and capped off the blue wire.
8. COL= Color. There are ~~6 user select-able colors to choose from. None of them match our dashboard perfectly lol
That's really about it for the settings.
You want to start out by first going to DIS and set it to PSI, also turn on the Peak Hold feature. Next go to DUT and set the duty cycle maybe at 20-25 to start, and GAI and SEN at 0. Get out on the highway into a high gear, and do boost runs until your peak boost is what you want, in my case 20PSI. Don't judge this based on flying off the line at traffic lights, get on the highway, go fast in a high gear, and use the peak hold feature to see your peak sustained boost. Again I had to set my DUT to 67 to get 20PSI peak. When it is where you want, tap the menu button to move on to GAI. Dial the GAI upward 5 points at a time until your boost starts spiking past your target boost point, then back it down a little just until the spiking stops, for me that was 32. Then tap menu again and move on to SEN. Adjust sensitivity until the boost feels strong and linear across the power band band, and you have little to no top end boost fall off. You guys with stock turbos need to be careful with the SEN, but bigger turbo guys can have more fun with it. Tap menu a few more times to go back to DUT, and measure your peak boost again one last time. If it is still where you wanted it, then you're done. If it dropped a little, then add in some more duty cycle until it's back where you want. It took all of one 15 minute car ride to dial in the GFB EBC how I wanted. When everything is set up how you like, hold the menu button for 2-3 seconds to lock in those settings and go back to operating mode. You can do separate settings for each of the 6 user preset spots.
Review:
Yes, the thing works. My midrange boost spike is gone, boost onset is much quicker, builds much more predictably, holds better. My AFR's are a LOT better.. I wonder if the MBC induced midrange boost spikes were causing the ecu to trim down to those crazy rich AFR's I have been experiencing? I will need more time to investigate that but I kid you not, the moment I dialed in this EBC my AFR's were back in the 11's. My top end power is so much better now ! Wow!
So far I really like this thing, it seems easily worth the money. It is definitely better than my Grimmspeed MBC. It offers much much more control than any MBC could ever hope to, and it costs half as much as any other EBC that is worth getting. The install takes only about 2 hours, and it comes with everything you need, all fittings, zip ties, double sided tape, hoses,etc. Very very good value for the money, the only competitor in this price range is the AEM True Boost, and that thing doesn't have 1/4 of the features that the GFB EBC has.
I highly recommend it! I picked mine up for about $265 shipped on ebay.