
**Please Sticky this so we don't have a million more questions on fog lights**
I finally got all the parts together and the time to do it! This will work for the wiring of after market lights as well.
I will list the parts I used, where I got them and what I paid, but you can use what ever works for you.
Parts required:
OEM fog lights: Ebay seller kdmsource.1735 $95.00 shipped.
Fused and relayed HID harness: Ebay seller traderightly $9.99 shipped
**This harness is for HID lights so the plugs do not fit the 881 bulbs, so you will need to get 881 pigtails for the harness, or look for one that has them, but I had no luck**But for 9.99 shipped it is worth it**Or you can build you own!
881 pigtails: While we find your parts, please enter your ZIP Code at CSK Auto $8.59 each
Switch: AutoZone.com | Blue LED rocker switch | Blue LED rocker switch
Connectors and other supplies:
Ring terminals, heat-shrink tubing, heat shrinkable butt connectors, zip ties, self tapping screws and extra wire.
**The above will vary depending on how you want to do you connections, as long as they are weather resistant. You may chose to solder your connections, but heat shrinkable butt connectors work great if you can find them**
Tools: Ramps or jack and jack stands, Screw gun, test light, soldering iron, wire strippers, flush-cut pliers (for zip-ties) crimpers, small socket set and BEER!!! (or beverage of choice)
1. Raise the front of the car to gain access to the underside of the front bumper. Locate and remove the 4 clips (2 on each side) that hold the plastic cover on under the fog lights.
![Image]()
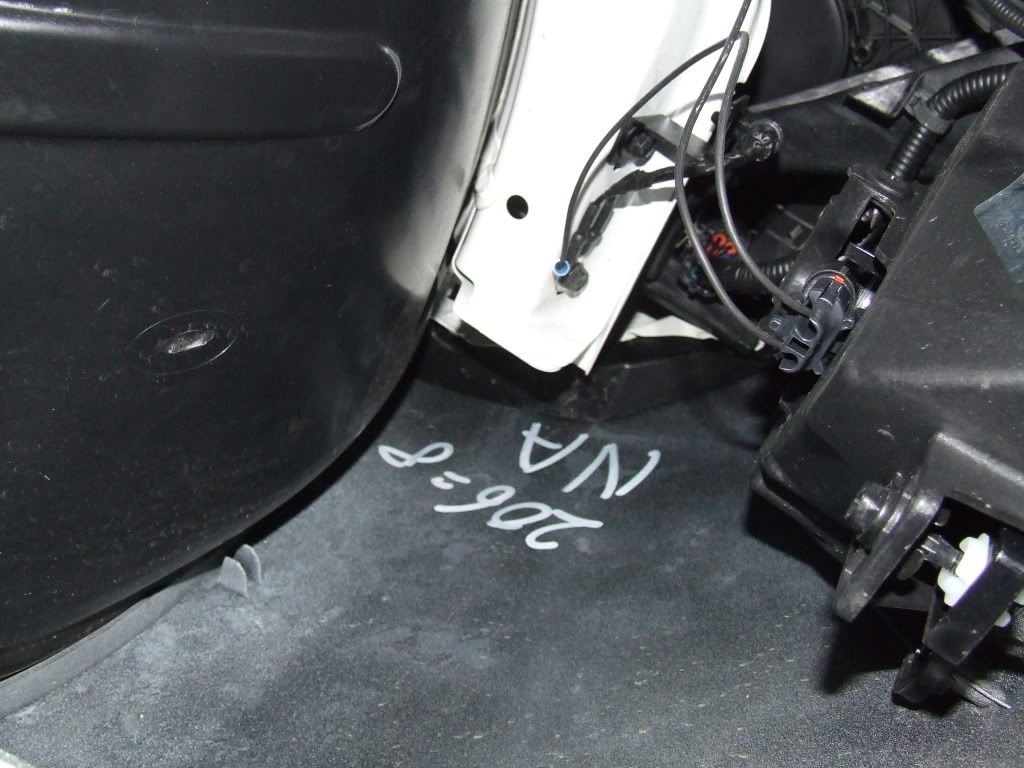
2.Remove the vent-like covers where fog lights go (4 screws each) and install the fog lights in the holes using the same screws.
![Image]()
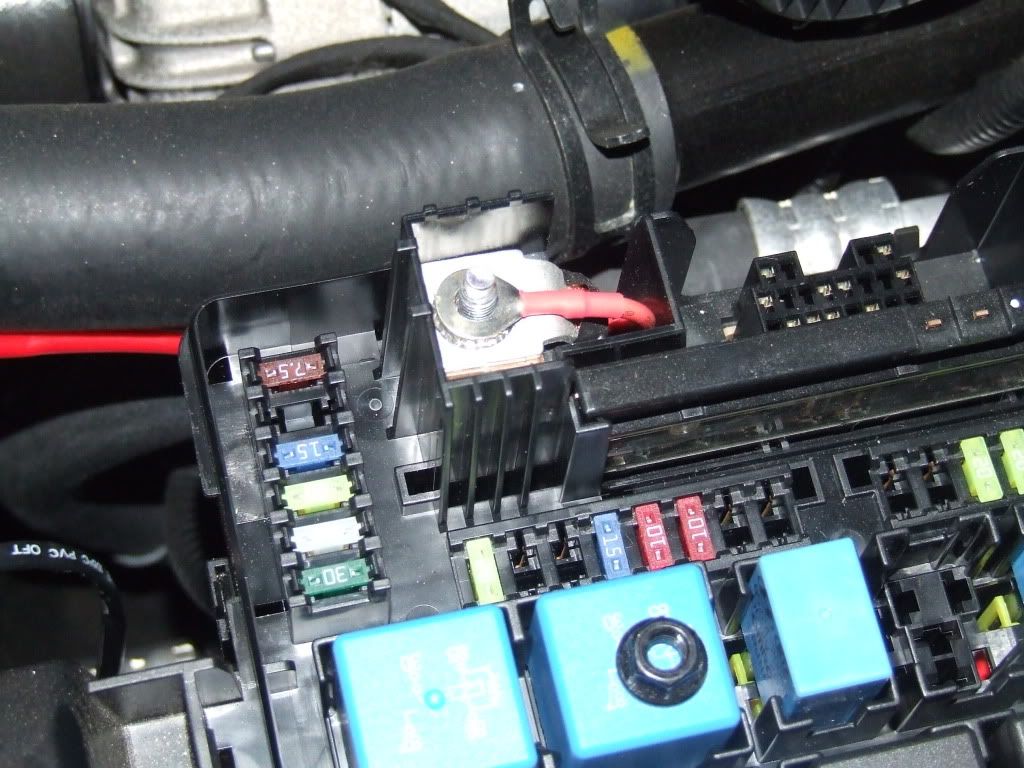
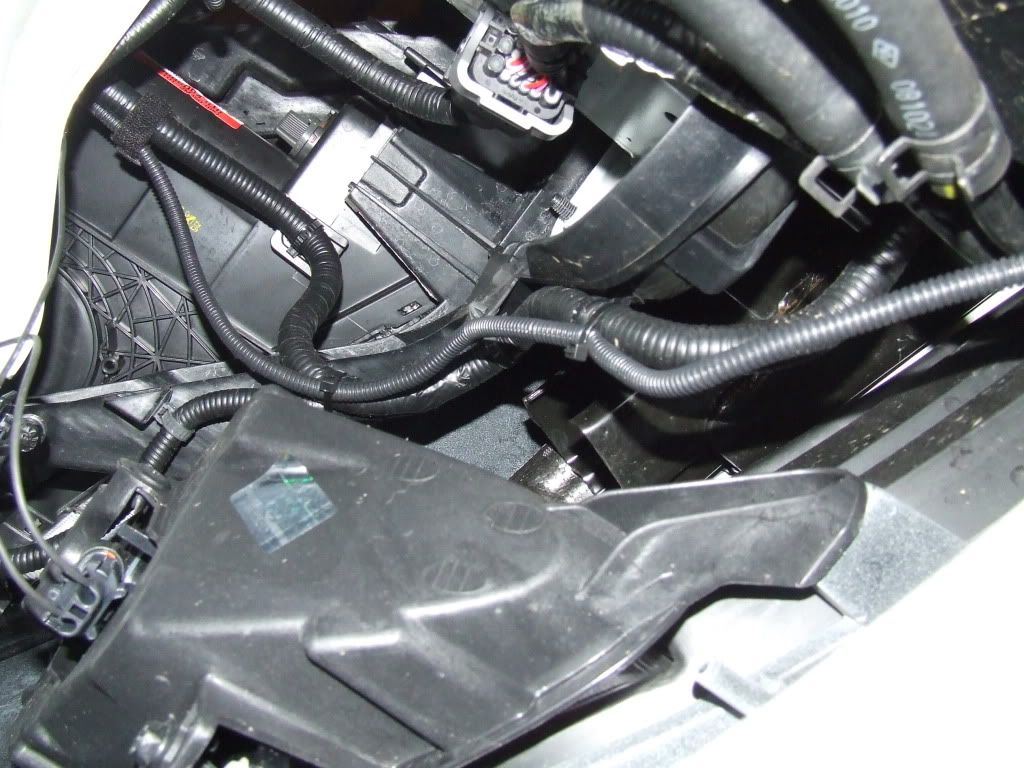
3.Locate the under hood fuse block and use the POS lead for main power to relay.
![Image]()
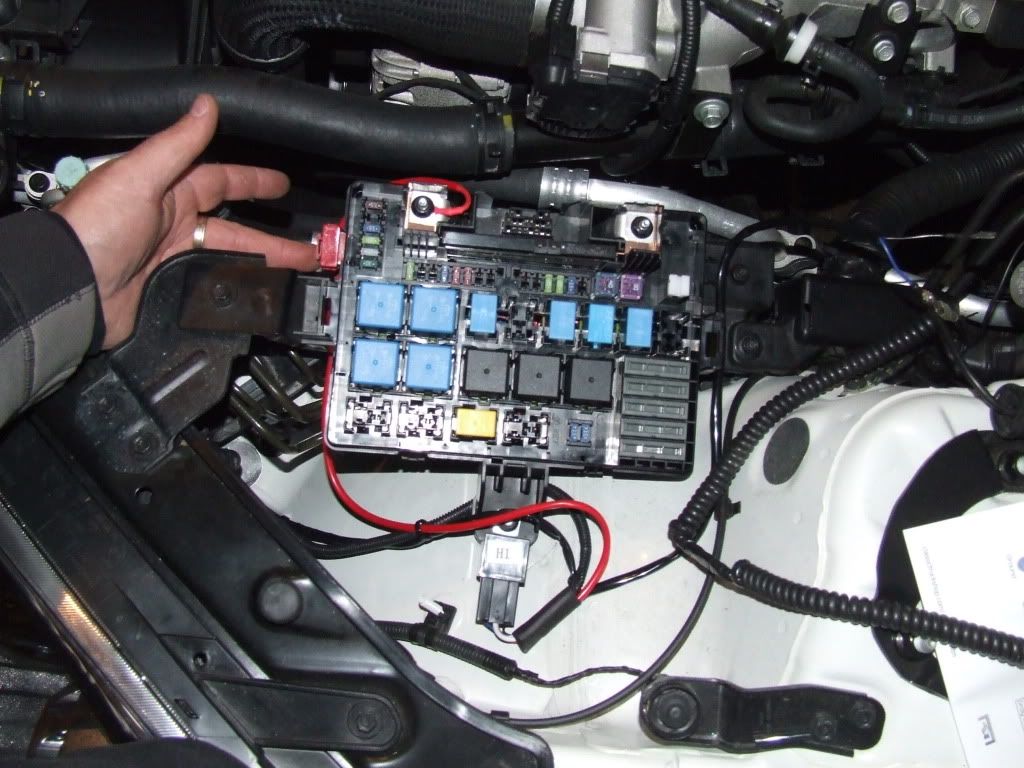
3.5. Mount relay and route and secure harness, ground the switch to the ground point near the fuse block. Splice in a length of wire to go through firewall.
![Image]()
4. Route the wires for each light down to the area near the left light, add a ring terminal to the ground side of one pig tail and ground to the body ground near the light.
![Image]()
5. Add a ring terminal to a length of wire to run to the right fog light and ground on the same point as the left, splice-in a length of wire from the harness for the power for the right light and send both across to the right fog and pigtail and splice and seal all connections, secure with zip ties.
![Image]()
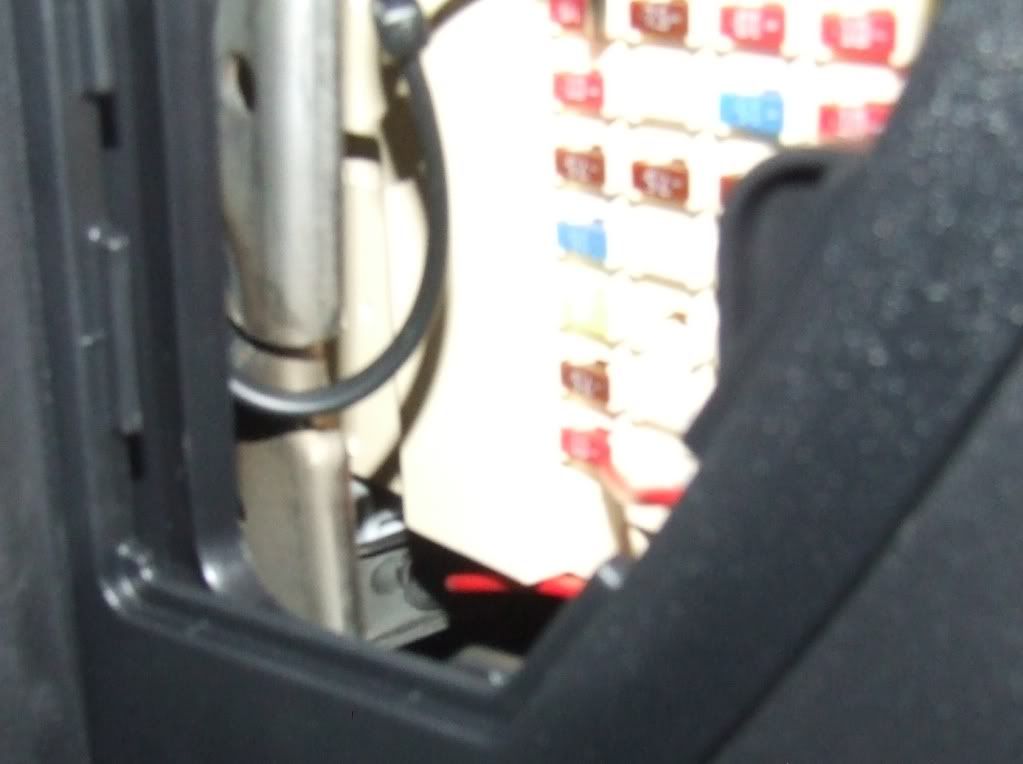
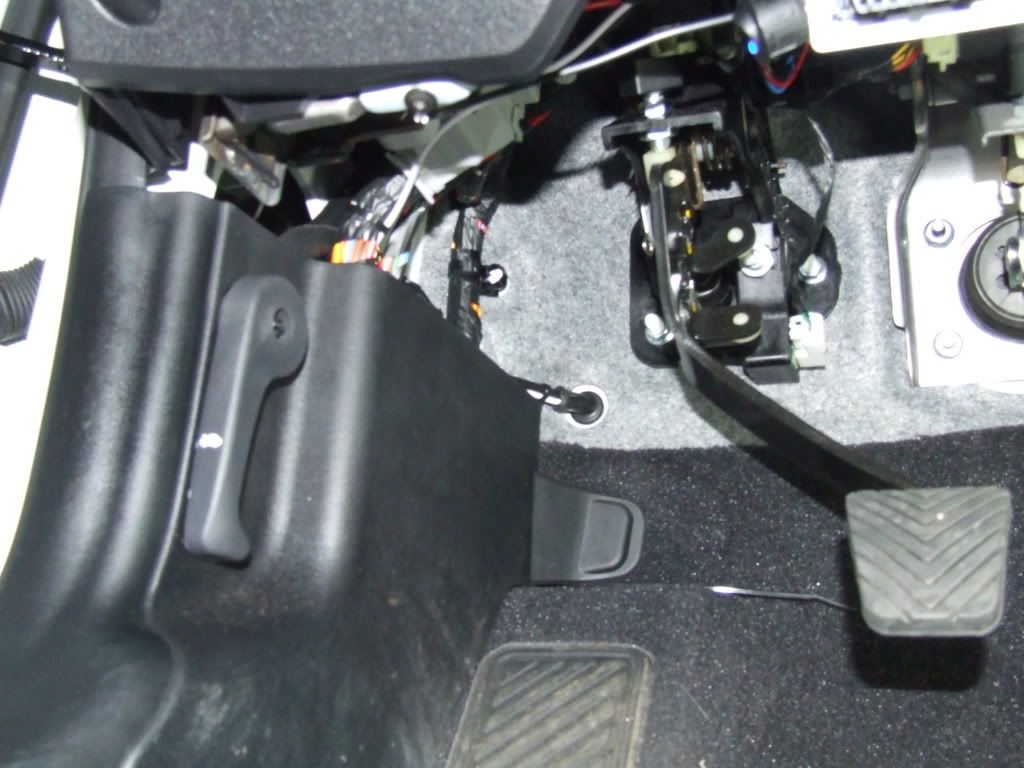
6. Use a small screw driver or something similar to open up the grommet for the hood release cable and push the switch wire in from the outside.
![Image]()
7. Tap power for switch from the fuse box (or find and tap wire) for the RT tail light (10amp) ground switch to the metal dash support and connect the wire from the relay to the switch. Test that all is well and mount the switch if desired. I did not mount mine because I will not turn it off much and I did not want a hole in my dash, so I zip-tied it to the OBDII plug bracket so I could get to it if I needed.
![Image]()
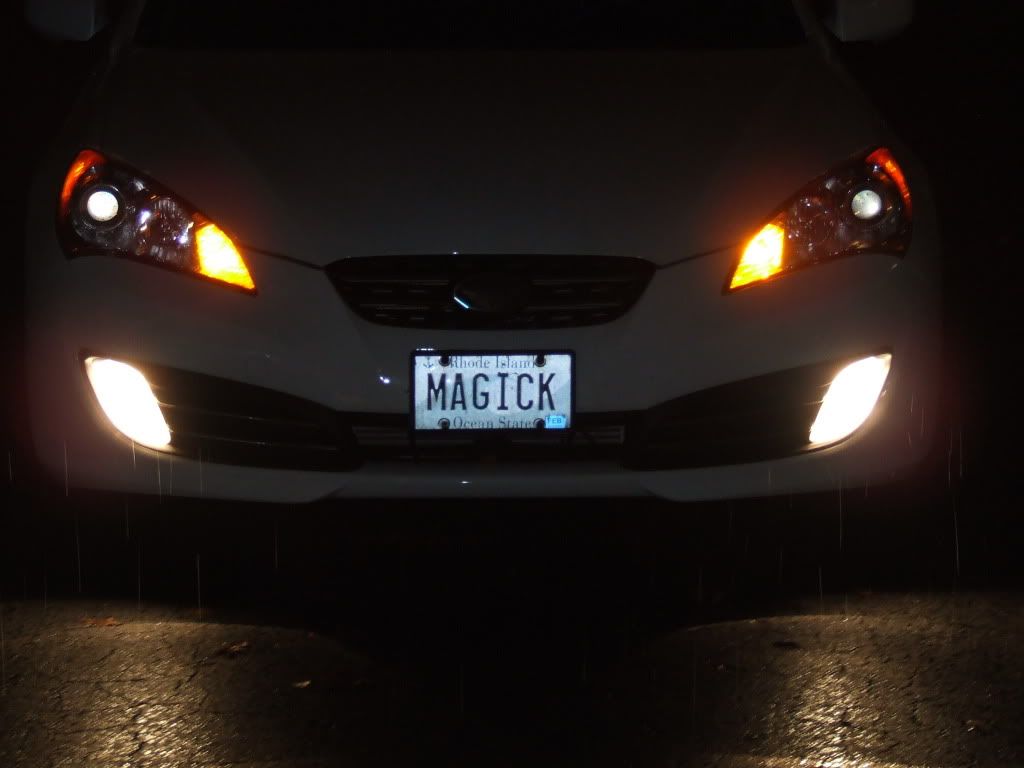
Completed and switch location *note blue light at the top of picture*
![Image]()
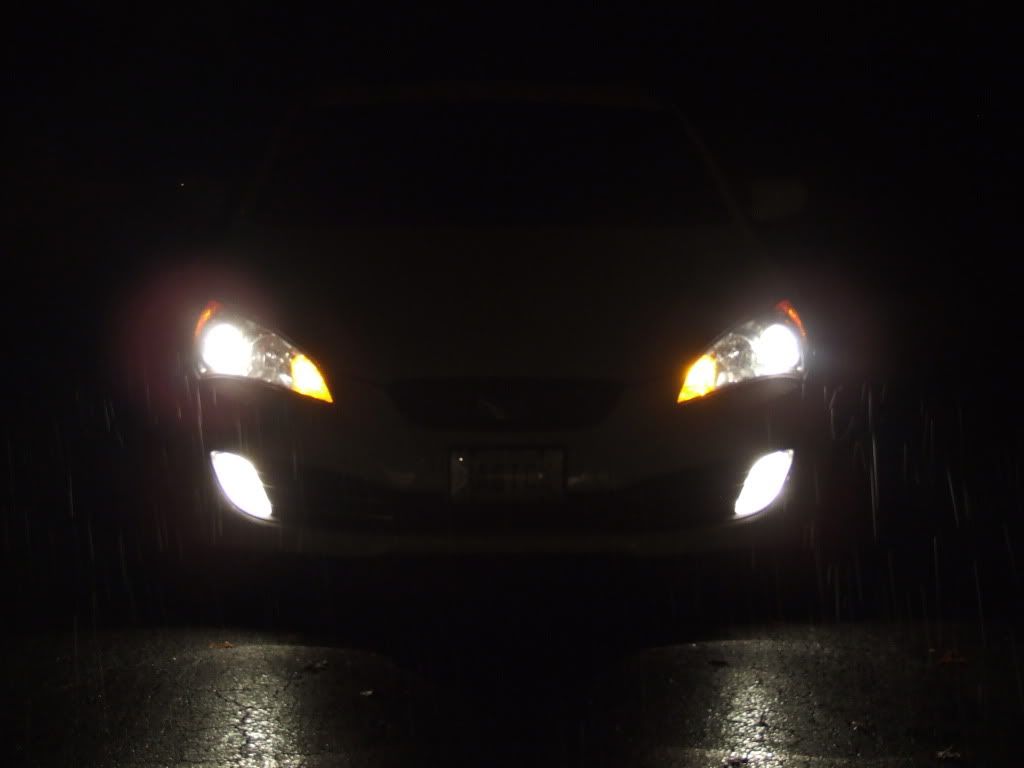
In this wiring configuration the fog lights will come on with the Autolamps, parking lights or head lights (as long as the switch is on ) and go off when the ignition is turned off.
![Image]()
![Image]()
I finally got all the parts together and the time to do it! This will work for the wiring of after market lights as well.
I will list the parts I used, where I got them and what I paid, but you can use what ever works for you.
Parts required:
OEM fog lights: Ebay seller kdmsource.1735 $95.00 shipped.
Fused and relayed HID harness: Ebay seller traderightly $9.99 shipped
**This harness is for HID lights so the plugs do not fit the 881 bulbs, so you will need to get 881 pigtails for the harness, or look for one that has them, but I had no luck**But for 9.99 shipped it is worth it**Or you can build you own!
881 pigtails: While we find your parts, please enter your ZIP Code at CSK Auto $8.59 each
Switch: AutoZone.com | Blue LED rocker switch | Blue LED rocker switch
Connectors and other supplies:
Ring terminals, heat-shrink tubing, heat shrinkable butt connectors, zip ties, self tapping screws and extra wire.
**The above will vary depending on how you want to do you connections, as long as they are weather resistant. You may chose to solder your connections, but heat shrinkable butt connectors work great if you can find them**
Tools: Ramps or jack and jack stands, Screw gun, test light, soldering iron, wire strippers, flush-cut pliers (for zip-ties) crimpers, small socket set and BEER!!! (or beverage of choice)
1. Raise the front of the car to gain access to the underside of the front bumper. Locate and remove the 4 clips (2 on each side) that hold the plastic cover on under the fog lights.

2.Remove the vent-like covers where fog lights go (4 screws each) and install the fog lights in the holes using the same screws.

3.Locate the under hood fuse block and use the POS lead for main power to relay.
3.5. Mount relay and route and secure harness, ground the switch to the ground point near the fuse block. Splice in a length of wire to go through firewall.
4. Route the wires for each light down to the area near the left light, add a ring terminal to the ground side of one pig tail and ground to the body ground near the light.
5. Add a ring terminal to a length of wire to run to the right fog light and ground on the same point as the left, splice-in a length of wire from the harness for the power for the right light and send both across to the right fog and pigtail and splice and seal all connections, secure with zip ties.
6. Use a small screw driver or something similar to open up the grommet for the hood release cable and push the switch wire in from the outside.

7. Tap power for switch from the fuse box (or find and tap wire) for the RT tail light (10amp) ground switch to the metal dash support and connect the wire from the relay to the switch. Test that all is well and mount the switch if desired. I did not mount mine because I will not turn it off much and I did not want a hole in my dash, so I zip-tied it to the OBDII plug bracket so I could get to it if I needed.
Completed and switch location *note blue light at the top of picture*
In this wiring configuration the fog lights will come on with the Autolamps, parking lights or head lights (as long as the switch is on ) and go off when the ignition is turned off.