

Disclaimer: This is a how to guide for replacing the clutch assembly in your Genesis Coupe 2.0t. This only a guide & should be used for reference. Therefore I hold no responsibility for damage to your vehicle or injury to your person while attempting this DIY as this is only an outline & you work at your own risk.
I would give this a 3 out level of 5 difficulty if using a hydraulic rack & transmission lift, but if done on the ground using jack stands & a floor jack like I did, a 4 out of 5 may be more appropriate.
Tools needed: floor jack, jack stands, 3/8 ratchet, 10mm, 12mm, 14mm, 19mm sockets, short extention, T60 torx socket, torque wrench, small & large flat head screw drivers, 10mm, 12mm, 14mm, 19mm wrenches (preferably ratchet wrenches). Will also need red LockTite.
Helpful tools: ratchet driver (cordless impact), mechanic's pick, air compressor & 3/8 air ratchet.
Note A: If drain M/T fluid (optional), you will additionally need fluid pump, 17mm & 24mm sockets as well.
Note B: If replacing internal slave cylinder / throw out bearing (optional), you wil need 16mm wrench as well.
Note C: If you are installing Exceladyne twin disc clutch, the pilot bearing & starter ring gear must be transferred from the OEM dual mass flywheel to the Exceladyne single mass flywheel.
You may also want to use fender covers to avoid damaging painted surfaces.
Disconnect the (-) terminal from the battery. Then lift the front of the car with floor jack at jacking point under front subframe & install jack stands at lift points behind each front wheel. Next lift the rear using either the subframe or rear differential pumpkin. I prefer the latter as it is a lower point which enables you to lift the vehicle higher. Now place jack stands at lift ponts in front of each rear wheel.
![Image]()
Now you can go ahead & drain the transmission fluid by removing the drain plug if you plan on changing the fluid at the same time as the clutch replacement. It is not required to remove or change the fluid to replace the clutch, however it will make the tranny slightly lighter during the process. The drain bolt is a 24mm & located on the bottom of the transmission. Tightening torque is 60~80 Nm (6.0~8.0 kgf.m, 43.4~57.8 lb-ft). It takes 2qts of fluid to refill & you will need a fluid pump since the refill hole is on the passengers side of the tranny not accessable except by a hose. I recommend RedLine MTL90 fluid.
![Image]()
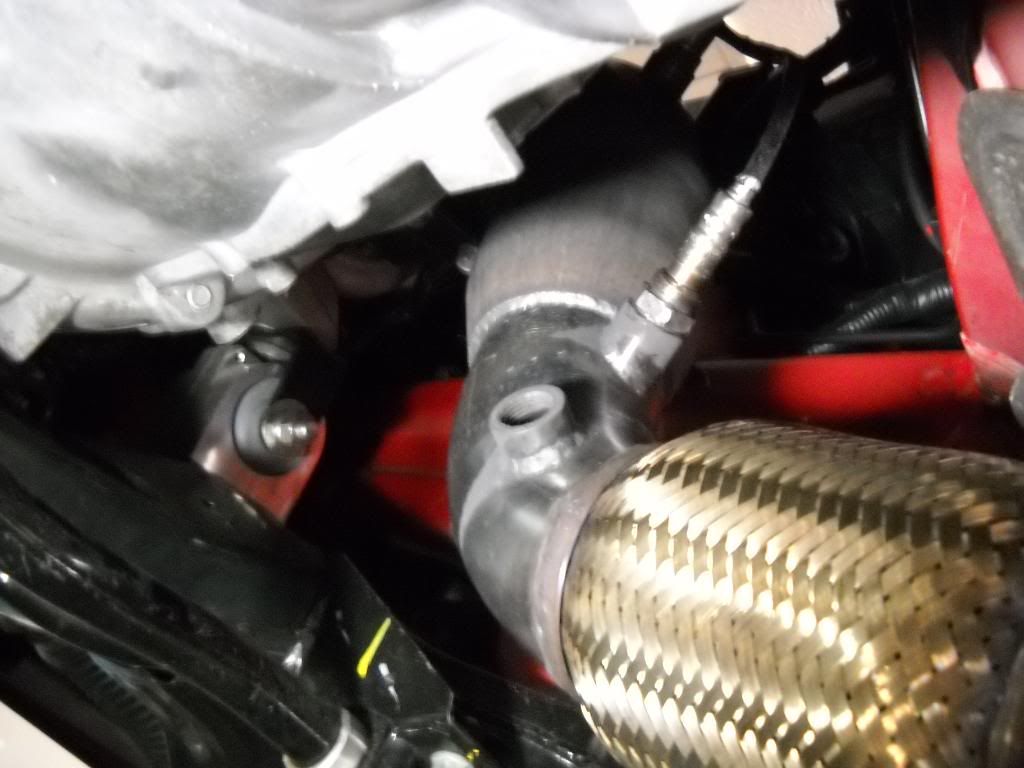
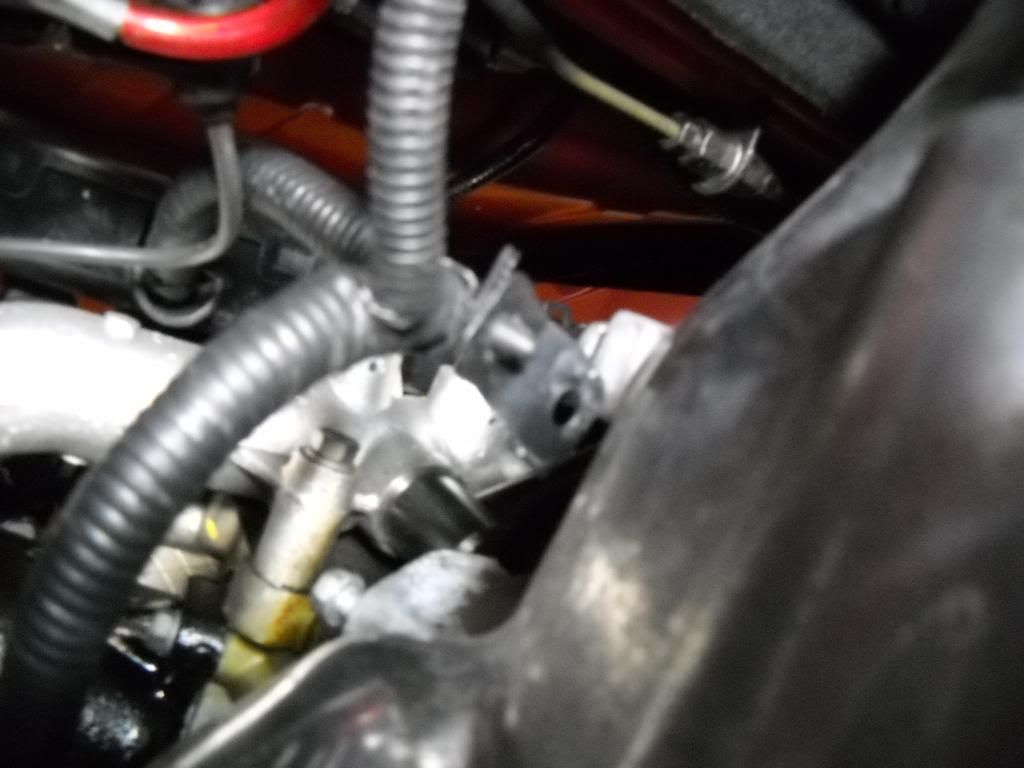
For my transmission extraction I had to also remove the wideband AFR oxygen sensor which was too close to chance.
![Image]()
I found it easiest to remove all wires, cables & sensors first so they would be out of the way of wrenching.
Remove the gound wire by taking out a 10mm bolt located on the passengers side of transmission near the rear towards the tailstock.
![Image]()
Disconnect the back up lamp switch connector on top of the transmission located about 1/2 way back using your fingers to depress the clip to release the connector.
![Image]()
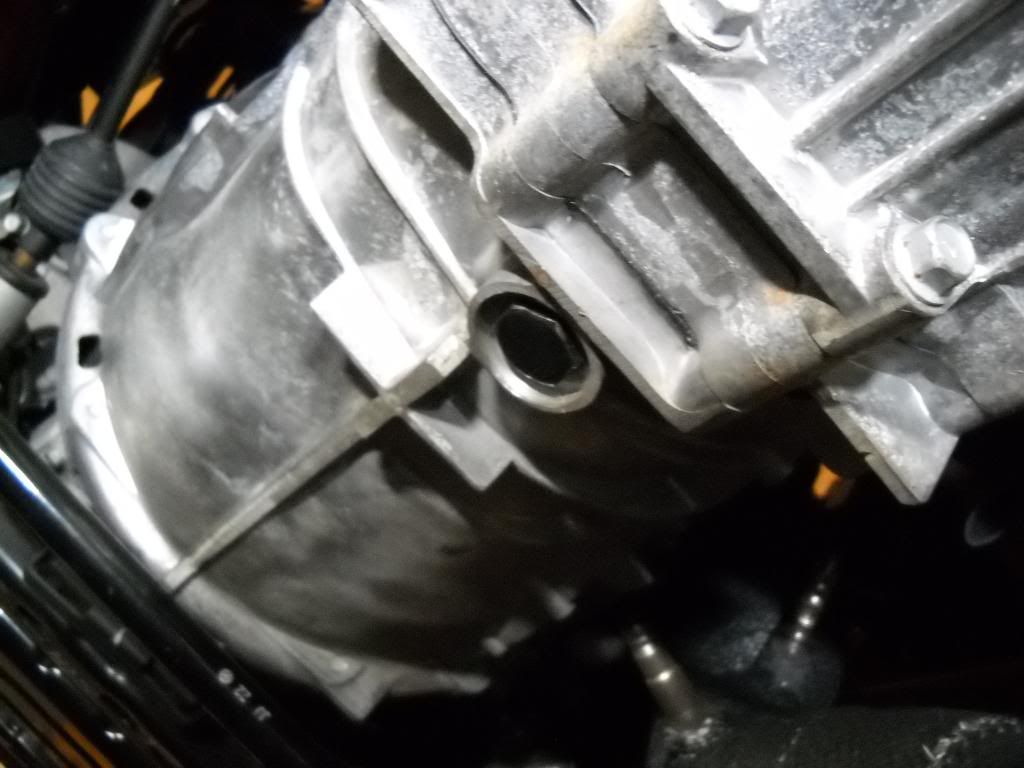
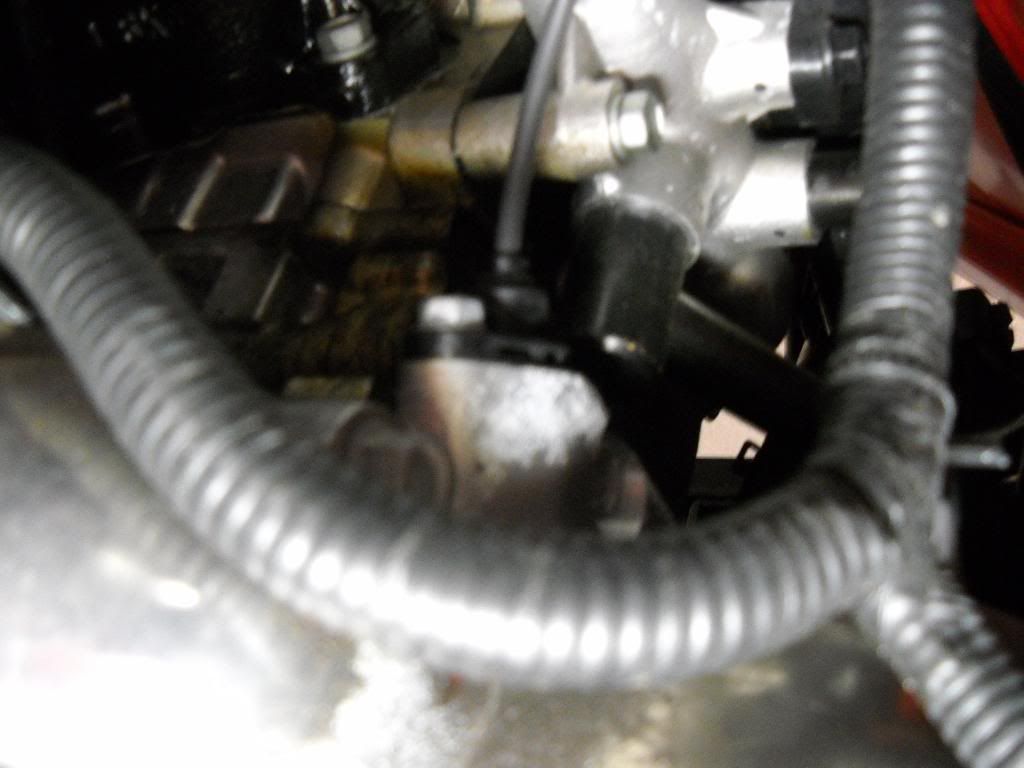
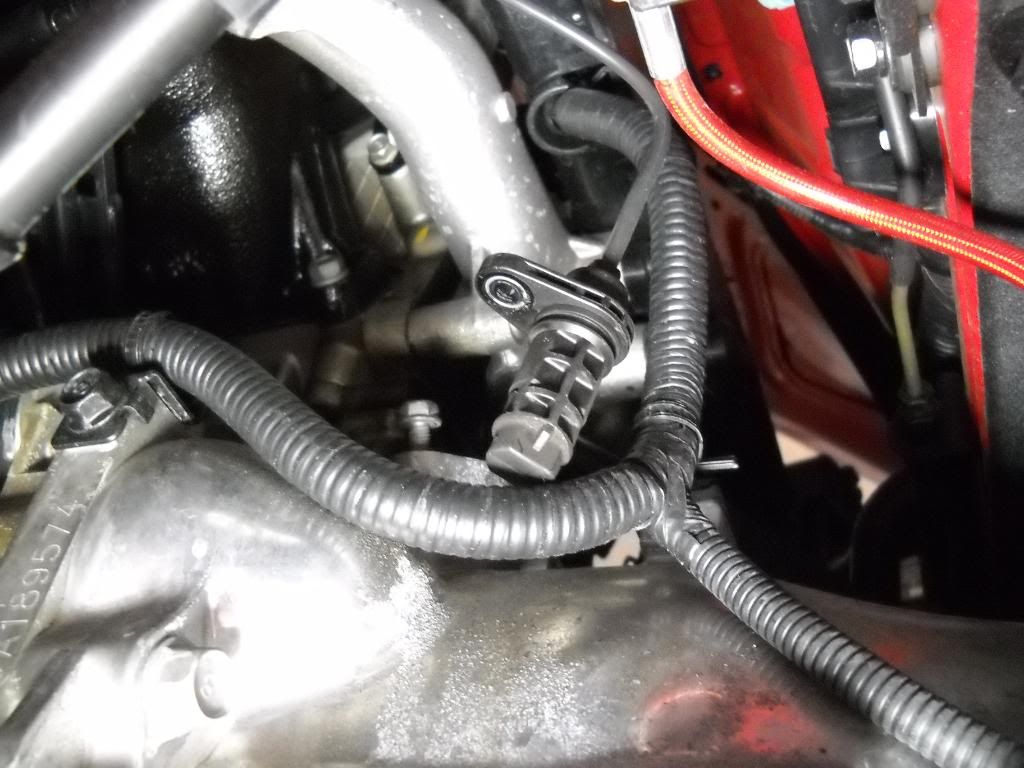
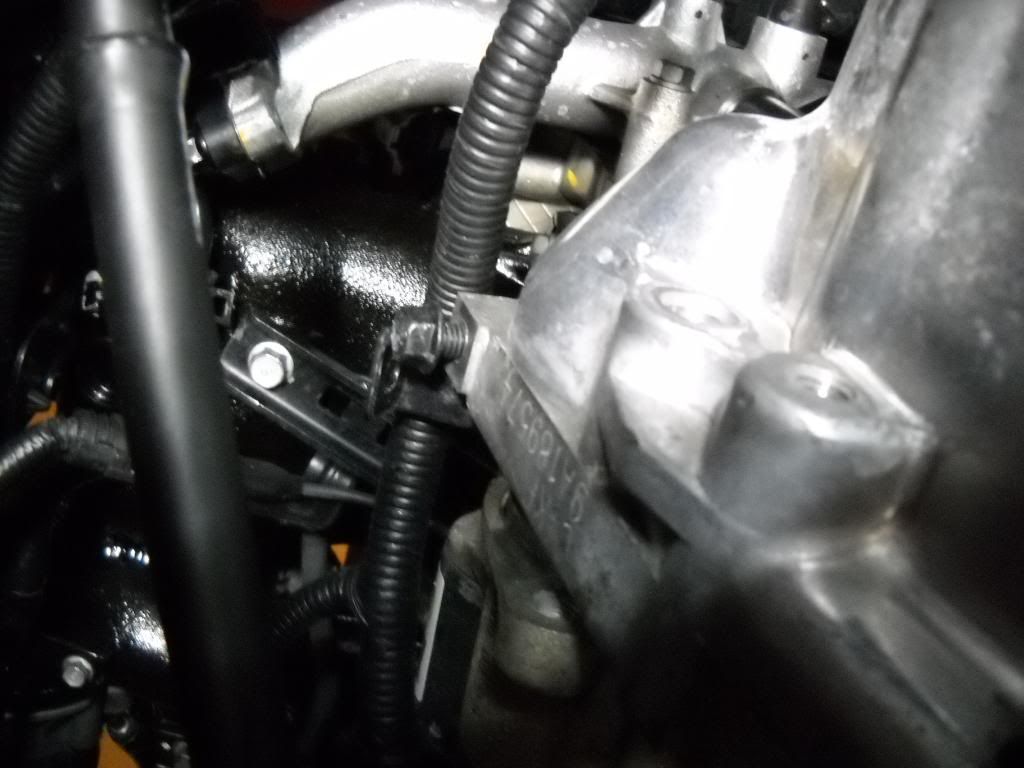
Remove the CKP sensor located at the front passengers side of the transmission on the bell housing by removing the 10mm bolt & place it somewhere safe out of the way.
![Image]()
![Image]()
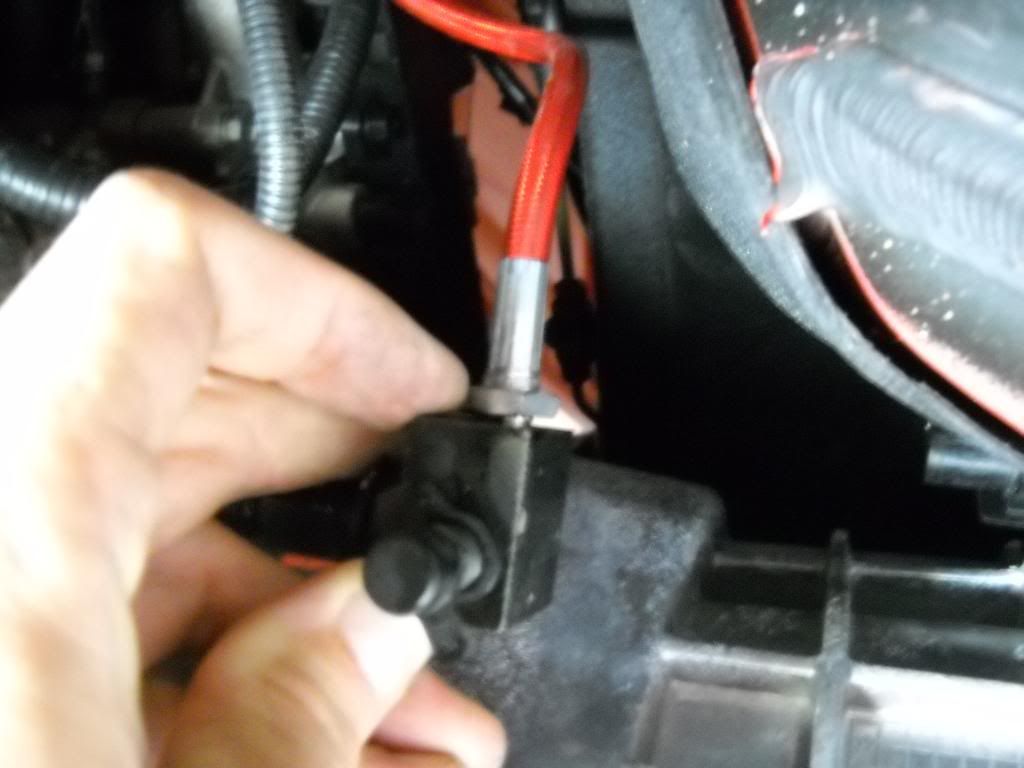
To remove the clutch line you will need to use your mechanic's pick to pull the clip holding the clutch hose to the clutch slave cylinder line.
![Image]()
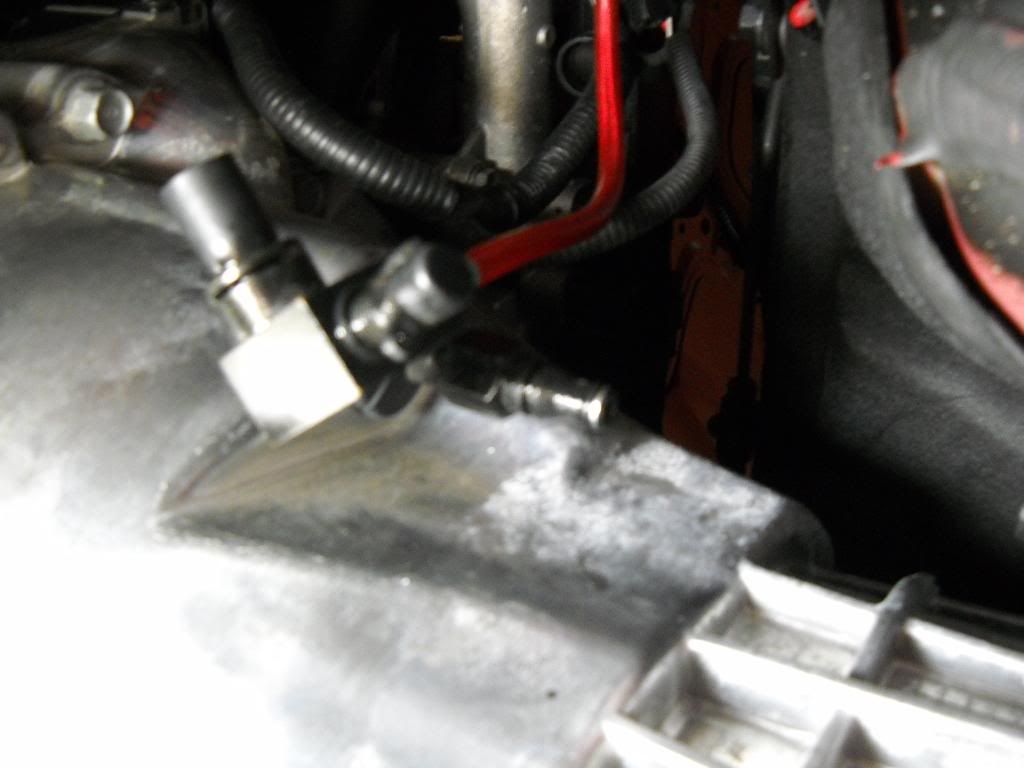
When removing the clutch hose I recommend having a rag handy for fluid spillage & if you have something to plug the hole wth like a rubber grommet, that may be helpful in reducing the amount of fluid lost.
![Image]()
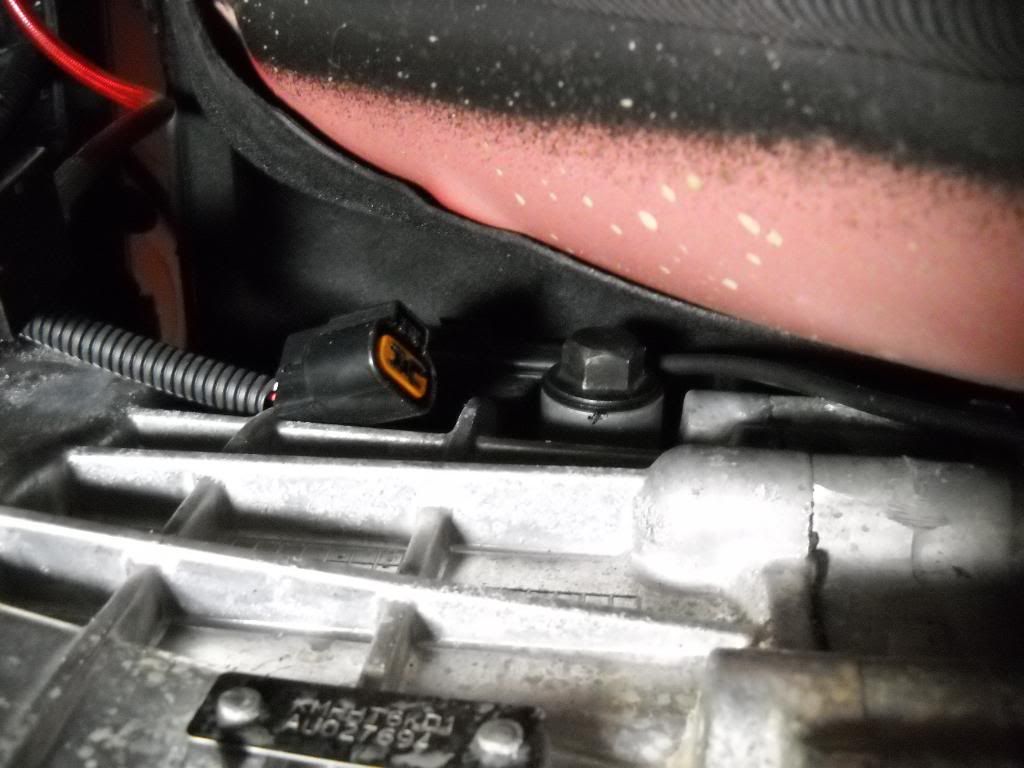
You will need to detach the wiring harness from the front passenger's side of transmission bell housing using a 10mm wrench.
![Image]()
Now remove the 12mm starter ground bolt & move the wiring harness out of the way.
![Image]()
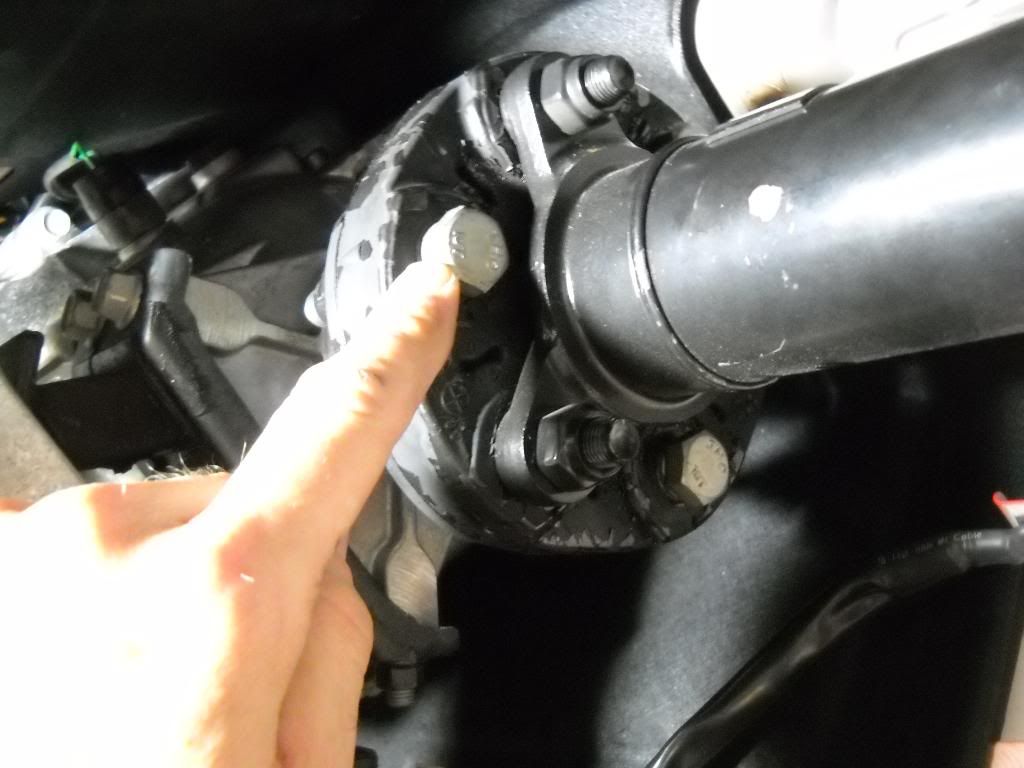
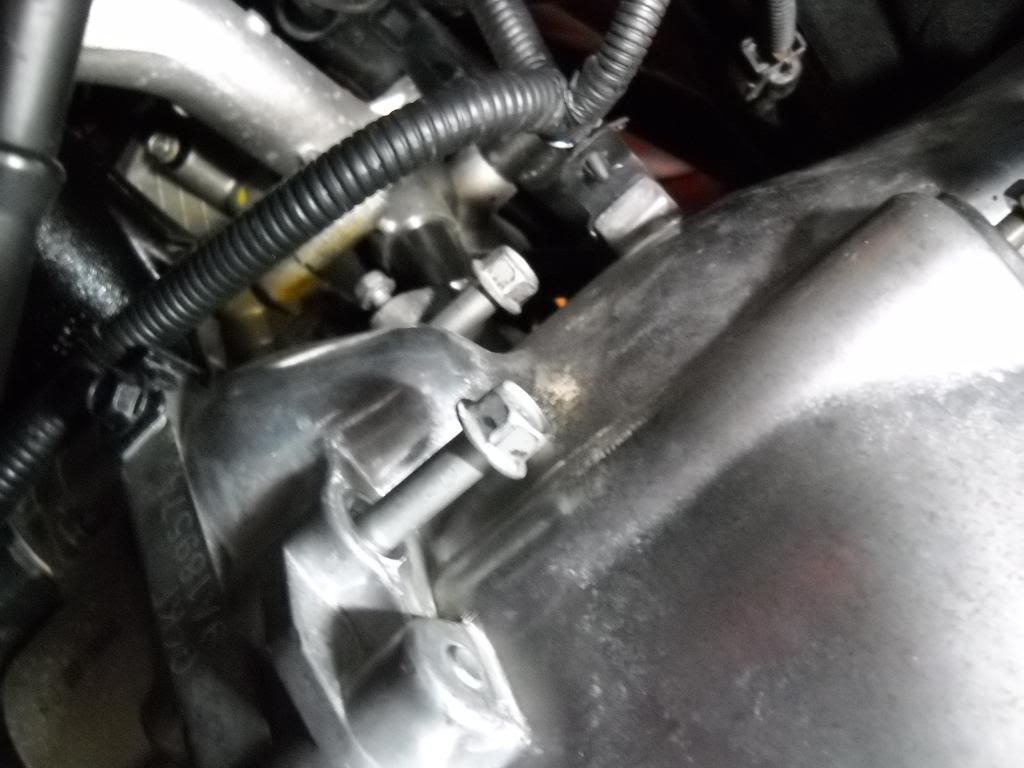
To begin the hardware removal start with removing the (6) 10mm bolts allowing the heat shield to drop down, Then slide it back as far as it will go out of the way.
With the heat shield out of the way you can move on to pulling the propellar shaft from the transmission by removing the (3) 19" bolts facing toward the front of the car. In order to do this you will have to hold the nuts on the back side of the rubber grommet using a 19" wrench to break the bolts free. Continue holding the nuts with the 19" wrench while using your ratchet along with 19" socket to loosen the bolts. I chose to use an air ratchet for this job as it takes a fair bit of cranking.
Tightening torque : 90~110 Nm (9~11 kgf.m, 65.1~79.5 lb-ft).
![Image]()
After removing the (3) propeller shaft bolts & nuts, pull back on the propeller shaft until it comes free, then set it aside. I actually recommend to tie it off so that its weight is not sitting on the heat shield & this gets it somewhat out of the way as well.
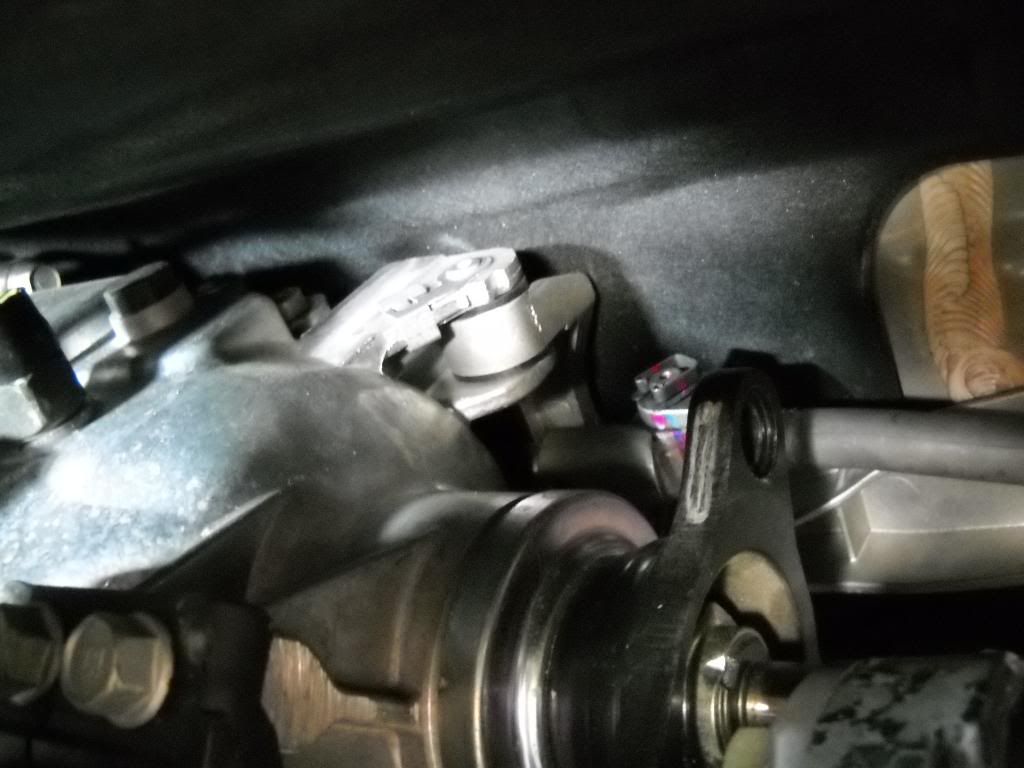
Now you can access the brace bracket & seperate it from the transmission by removing the (2) clips (one on either side) using a long flat head screw driver to reach & pop each hinge up away from the teeth on the brackets on top of the transmission. Once the hinge is free the pin can slide out of each side allowing the base bracket to be pushed up against the roof of the transmission tunnel.
![Image]()
At this point the Hyundai Service Website recommends removing the shift rod on that end of the transmission where you just removed the bracket by way of the snap pin clip. However, I suggest not removing this end of the shift rod due to the extreme difficulty of reinstalling the pin upon reassembly. It is much easier to remove the pin on the shifter end & reinstall it when going back together. You will have the shift rod dangling around with the tranny, but it is not much of an issue as it is rather still firmly in place.
Return to where the transmission bolts up to the engine in order to remove the (4) 14mm mounting bolts along the bottom from the engine side. There will be two at the bottom & one a little further up on either side. You will not be able to get a socket on the bottom two for certain & even the other two will be quite difficult, so I recommend using a 14mm ratchet wrench on these if you have one available to you.
Tightening torque : 43~49 Nm (4.3~4.9 kgf.m, 31.1~35.4 lb-ft).
![Image]()
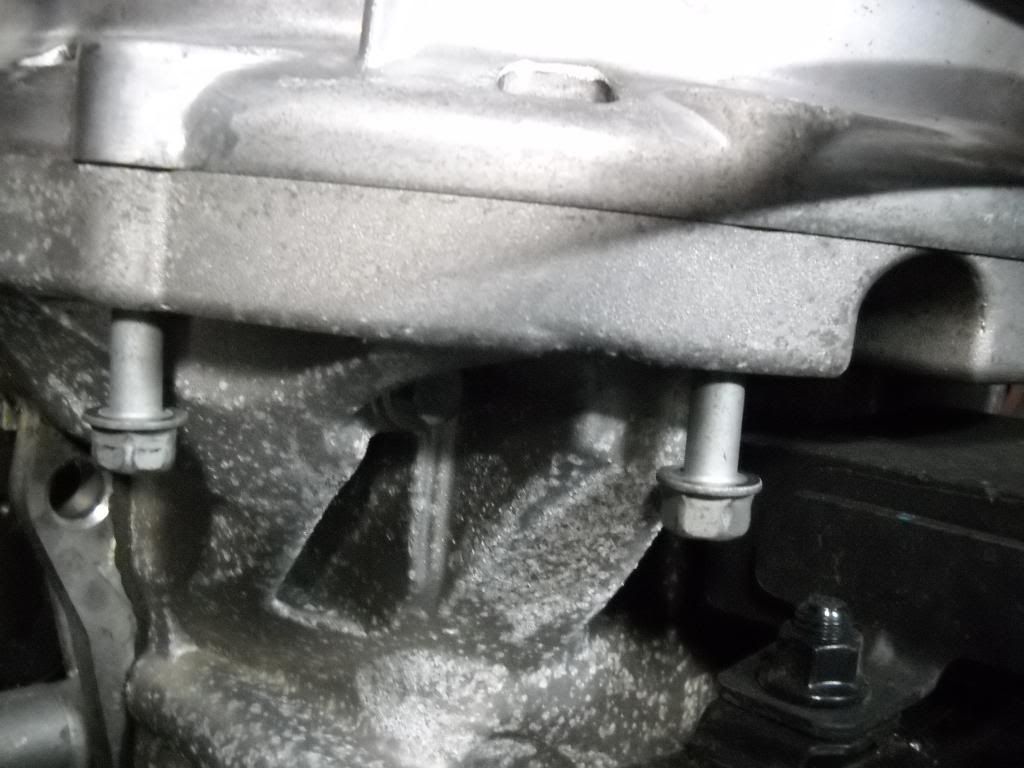
Remove the (2) 14mm mounting bolts (one each side) a little further up on the engine side. These actually have a dial pin they protrude through & will be the 1st ones you installl upon reassembly. These can be gotten to with a proper sized ratchet, but may still be easier with a ratchet wrench.
Tightening torque : 35~47 Nm (3.5~4.7 kgf.m, 25.3~34.0 lb-ft).
![Image]()
Remove the (2) 14mm starter motor mounting bolts from transmission side. They are rather long bolts & I used my air ratchet on these to save time on these two.
Tightening torque : 43~55 Nm (4.3~5.5 kgf.m, 31.1~39.8 lb-ft).
![Image]()
Note: There are still 2 more bolts up top on the transmission side that we leave in place to support the tranny for now.
Optional: I chose to remove the front anti-sway bar for additional clearance when dropping the transmission down. If you choose to do this you will remove the (4) short 14mm bolts, two on each side & just let it swing down careful not to let it smack you in the head.
Tightening torque : 43~49 Nm (4.3~4.9 kgf.m, 31.1~35.4 lb-ft
Move to the rear of the transmission & place your floor jack underneath it for support. There is a raised cross that looks like the perfect place to align the jack, but it is not. Most of the weight of the tranny is near the rear & thus you want to place your jack where you see a flat area directly behind that cross. This point of support will give you the greatest balance when lowering the transmission on the jack as well as allow you to leave it there for an extended period of time. The pic below shows me using a block of wood for additional support & to help refrain from damaging the transmission, but don't bother. You will have better balance without the wood & you are not going to hurt the tranny with the jack plate.
![Image]()
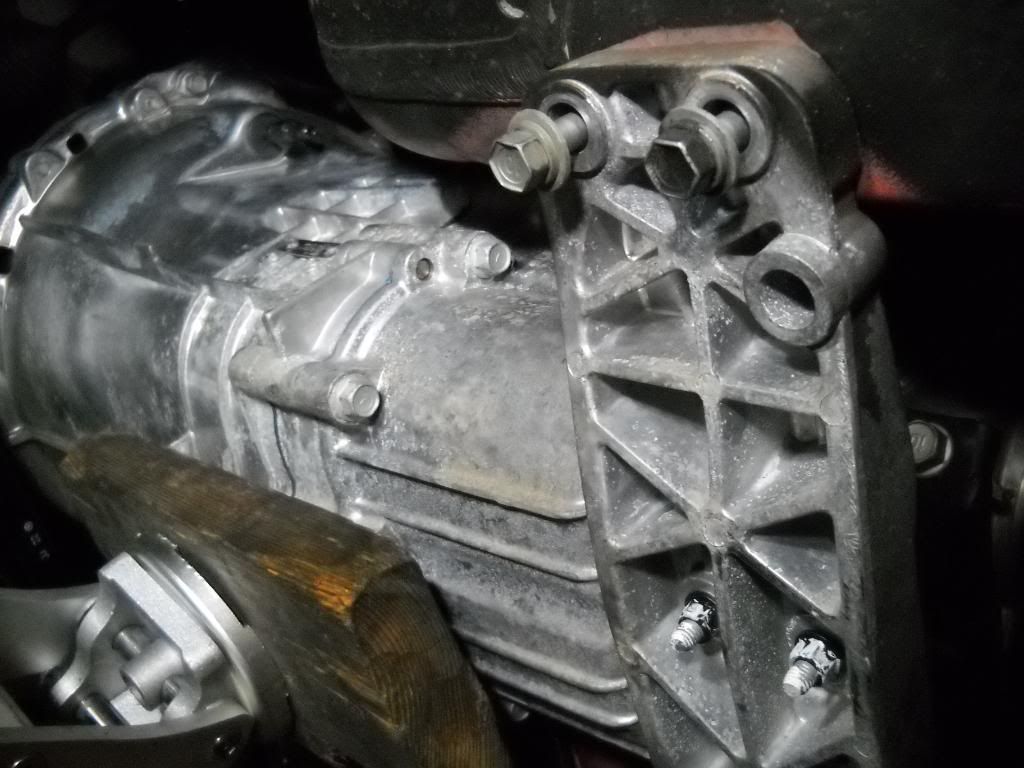
Once the the transmission is supported, remove the (4) 14mm bolts used to hold the rear transmission support bracket in place.
Tightening torque : 50~65 Nm (5.0~6.5 kgf.m, 36.2~47.0 lb-ft).
Once the rear transmission brace is free & the transmission is still supported by the floor jack, go back up to the top of the bell housing & remove the last (2) 14mm bolts up top on the transmission side. Once these bolts are out you will slightly lower the jack & work the tranny back to the rear of the vehicle until it breaks free.
Note: Be careful not to damage wires, lines or hoses while removing the transmission or when reinstalling.
Continue lowering the jack slowly while backing the tranny away from the engine, bringing the transmission assembly level with the ground so that it may balance on the floor jack.
Note: During removal of the transmission without the use of a lift & pneumatic trasmission jack, the angle needed to extract it may possibly cause the internal slave cylinder snap ring clip to get hung on the clutch cover prongs & pop off. If this happens do not fret, it can be reinstalled by compressing the slave cylinder spring while popping it back into place.
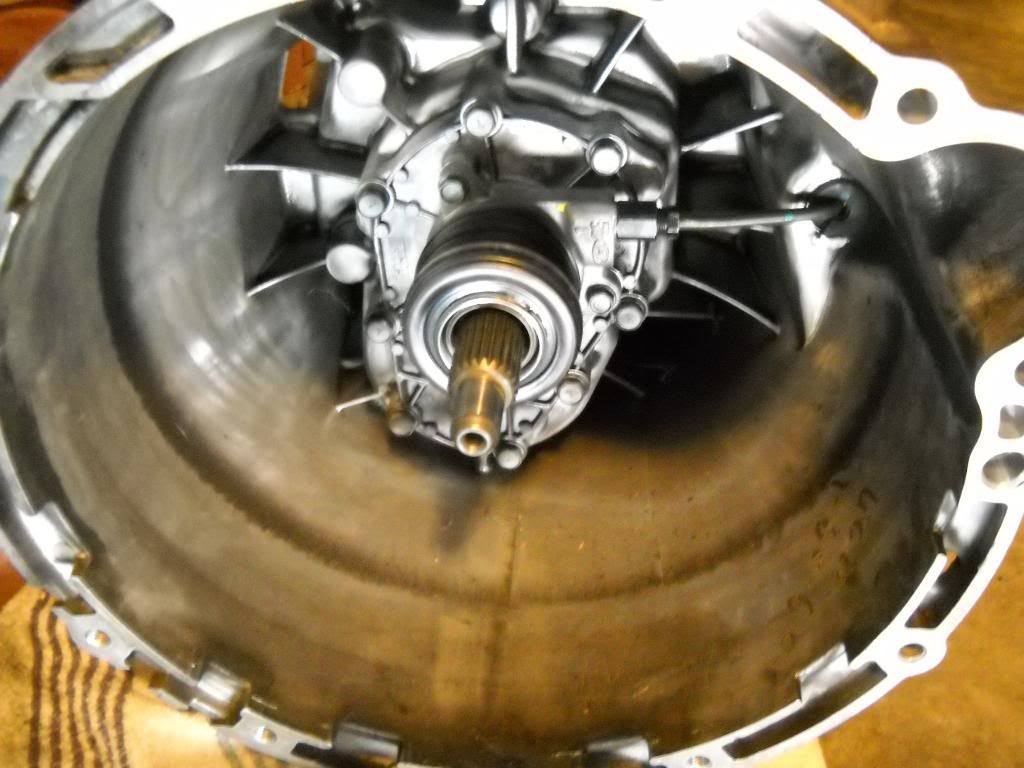
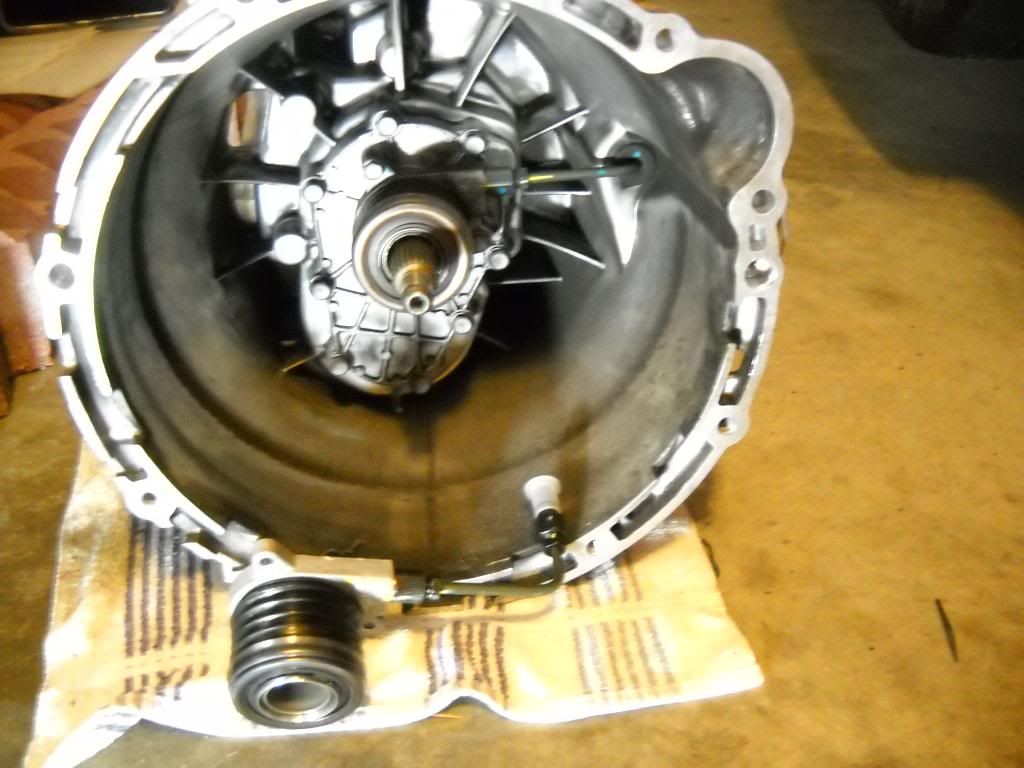
If you plan on replacing the internal slave cylinder while doing the clutch swap, I recommend moving the tranny off of the jack & sliding it out from under the vehicle to be worked on for additonal stability.
![Image]()
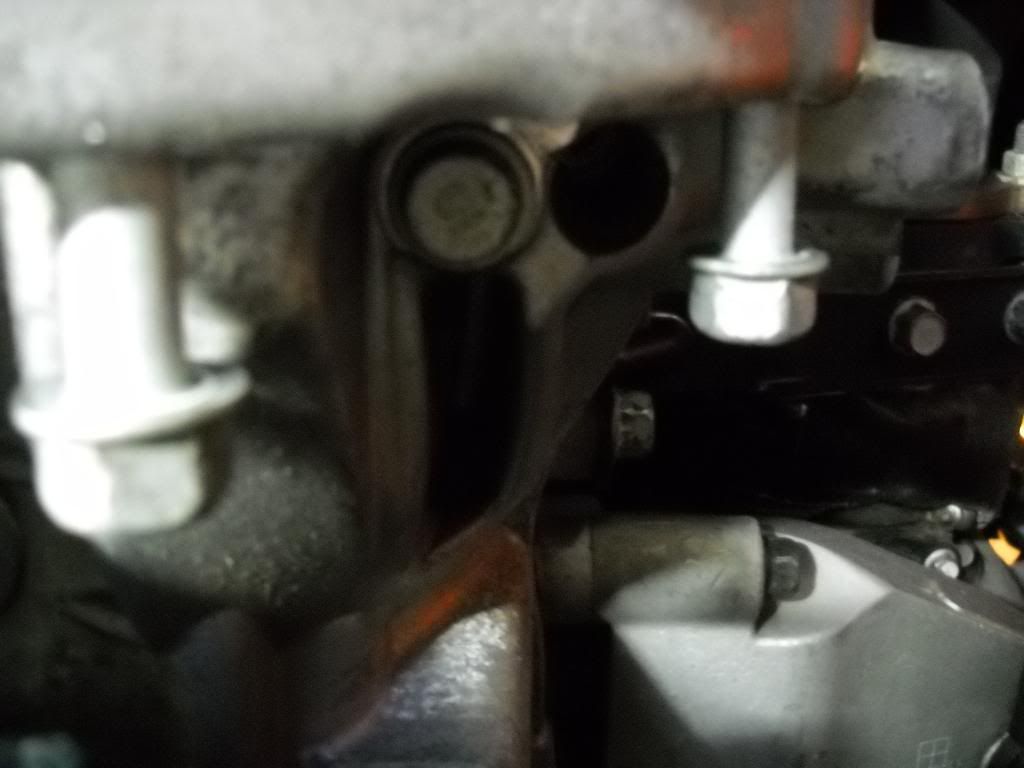
There will be (3) 10mm bolts that will have to be removed along with disconnecting the metal line that runs from the slave cylinder to the outside of the bell housing which connects to the clutch hose. To seperate the line you will need to hold one side with a 14mm wrench & the other with a 16mm wrench. Or if you plan on replacing the line as well as the slave cylinder you can leave it connected & just remove the grommet that sits in the hole that the line passed through. The grommet is cut so that it can be removed easily.
![Image]()
![Image]()
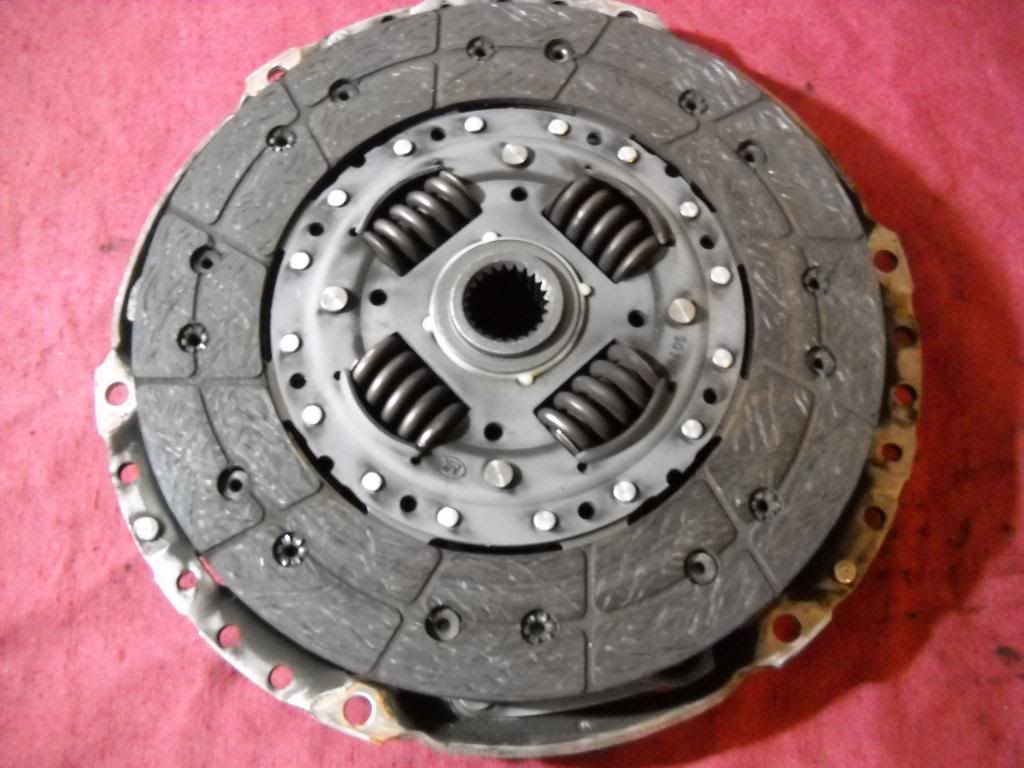
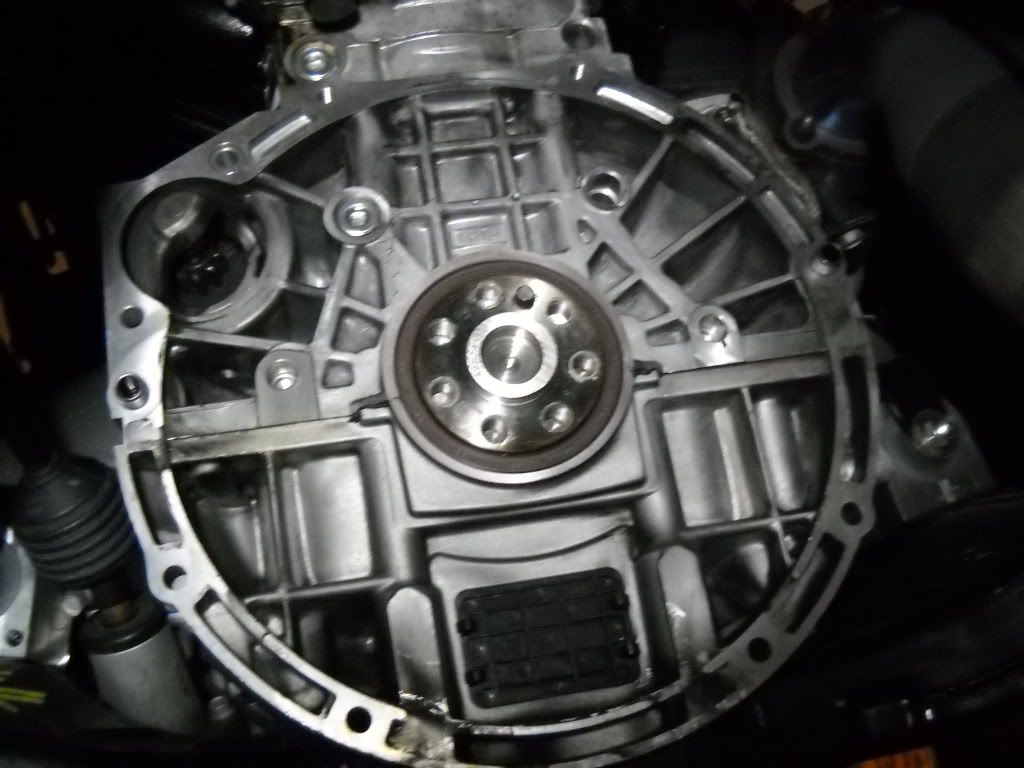
Once the tranny is out of the way you can begin disassembling the OEM clutch.
Start by removing the (6) 12mm clutch cover bolts.
![Image]()
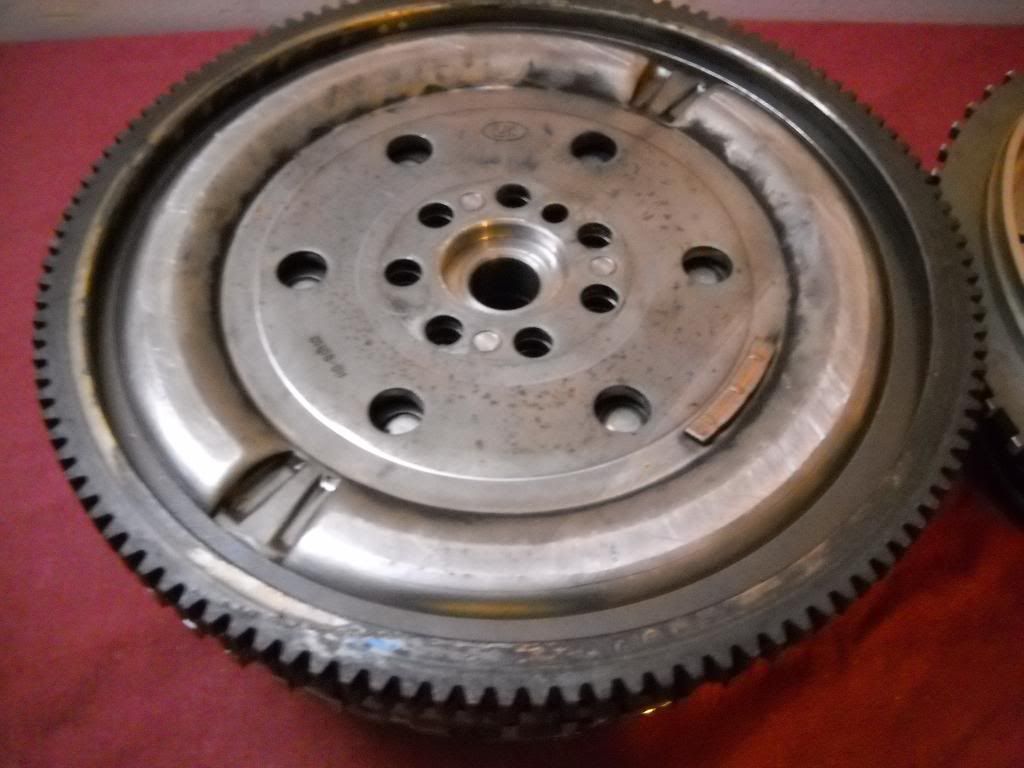
My OEM clutch disc doesn't look too bad.
![Image]()
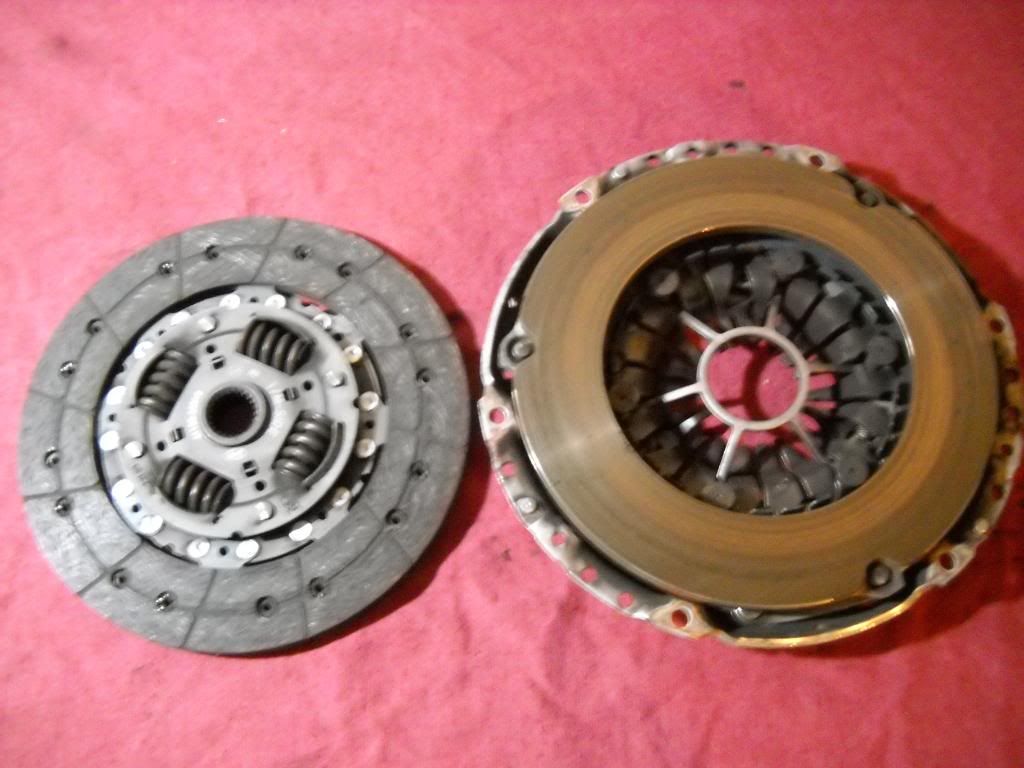
Clutch cover side not too bad either.
![Image]()
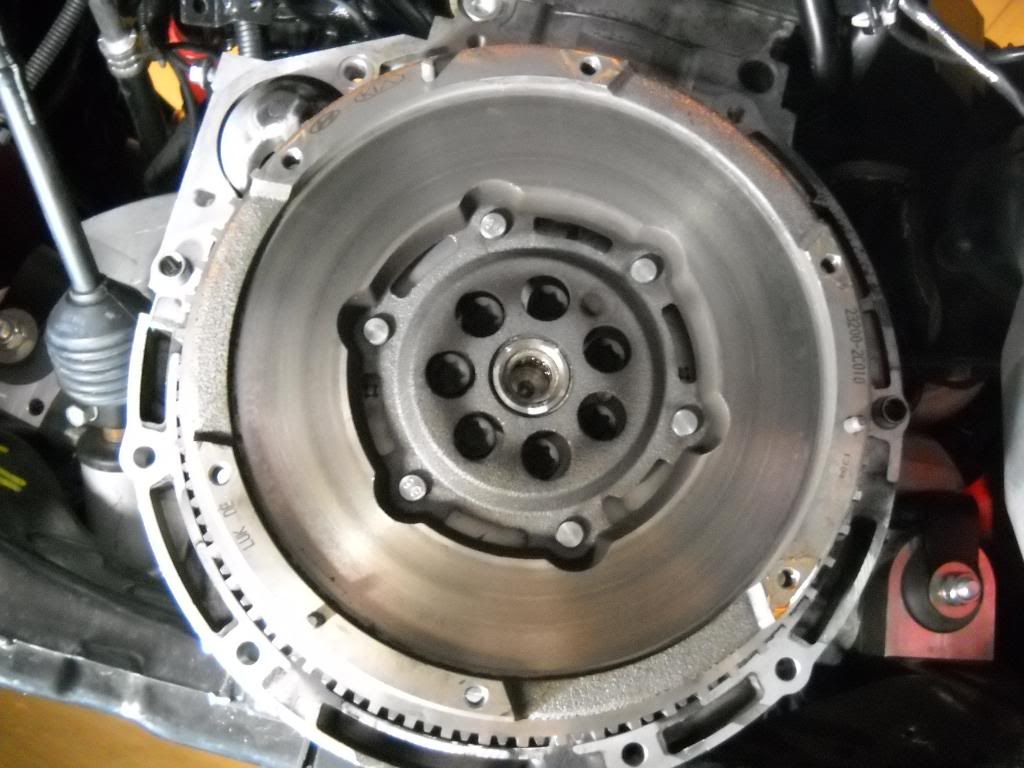
Now for the flywheel. In order to break the (7) T60 flywheel torx bolts loose you will need to put a wrench on the dampner pulley crankshaft bolt. I used a 7/8 wrench for this allowing it to turn until it fell tight against another pulley. Once it was braced, I returned to underneath the vehicle & broke each of the flywheel bolts loose. This will take a little bit of grunt.
![Image]()
![Image]()
![Image]()
to be continued....
I would give this a 3 out level of 5 difficulty if using a hydraulic rack & transmission lift, but if done on the ground using jack stands & a floor jack like I did, a 4 out of 5 may be more appropriate.
Tools needed: floor jack, jack stands, 3/8 ratchet, 10mm, 12mm, 14mm, 19mm sockets, short extention, T60 torx socket, torque wrench, small & large flat head screw drivers, 10mm, 12mm, 14mm, 19mm wrenches (preferably ratchet wrenches). Will also need red LockTite.
Helpful tools: ratchet driver (cordless impact), mechanic's pick, air compressor & 3/8 air ratchet.
Note A: If drain M/T fluid (optional), you will additionally need fluid pump, 17mm & 24mm sockets as well.
Note B: If replacing internal slave cylinder / throw out bearing (optional), you wil need 16mm wrench as well.
Note C: If you are installing Exceladyne twin disc clutch, the pilot bearing & starter ring gear must be transferred from the OEM dual mass flywheel to the Exceladyne single mass flywheel.
You may also want to use fender covers to avoid damaging painted surfaces.
Disconnect the (-) terminal from the battery. Then lift the front of the car with floor jack at jacking point under front subframe & install jack stands at lift points behind each front wheel. Next lift the rear using either the subframe or rear differential pumpkin. I prefer the latter as it is a lower point which enables you to lift the vehicle higher. Now place jack stands at lift ponts in front of each rear wheel.

Now you can go ahead & drain the transmission fluid by removing the drain plug if you plan on changing the fluid at the same time as the clutch replacement. It is not required to remove or change the fluid to replace the clutch, however it will make the tranny slightly lighter during the process. The drain bolt is a 24mm & located on the bottom of the transmission. Tightening torque is 60~80 Nm (6.0~8.0 kgf.m, 43.4~57.8 lb-ft). It takes 2qts of fluid to refill & you will need a fluid pump since the refill hole is on the passengers side of the tranny not accessable except by a hose. I recommend RedLine MTL90 fluid.
For my transmission extraction I had to also remove the wideband AFR oxygen sensor which was too close to chance.
I found it easiest to remove all wires, cables & sensors first so they would be out of the way of wrenching.
Remove the gound wire by taking out a 10mm bolt located on the passengers side of transmission near the rear towards the tailstock.
Disconnect the back up lamp switch connector on top of the transmission located about 1/2 way back using your fingers to depress the clip to release the connector.
Remove the CKP sensor located at the front passengers side of the transmission on the bell housing by removing the 10mm bolt & place it somewhere safe out of the way.
To remove the clutch line you will need to use your mechanic's pick to pull the clip holding the clutch hose to the clutch slave cylinder line.
When removing the clutch hose I recommend having a rag handy for fluid spillage & if you have something to plug the hole wth like a rubber grommet, that may be helpful in reducing the amount of fluid lost.
You will need to detach the wiring harness from the front passenger's side of transmission bell housing using a 10mm wrench.
Now remove the 12mm starter ground bolt & move the wiring harness out of the way.
To begin the hardware removal start with removing the (6) 10mm bolts allowing the heat shield to drop down, Then slide it back as far as it will go out of the way.
With the heat shield out of the way you can move on to pulling the propellar shaft from the transmission by removing the (3) 19" bolts facing toward the front of the car. In order to do this you will have to hold the nuts on the back side of the rubber grommet using a 19" wrench to break the bolts free. Continue holding the nuts with the 19" wrench while using your ratchet along with 19" socket to loosen the bolts. I chose to use an air ratchet for this job as it takes a fair bit of cranking.
Tightening torque : 90~110 Nm (9~11 kgf.m, 65.1~79.5 lb-ft).
After removing the (3) propeller shaft bolts & nuts, pull back on the propeller shaft until it comes free, then set it aside. I actually recommend to tie it off so that its weight is not sitting on the heat shield & this gets it somewhat out of the way as well.
Now you can access the brace bracket & seperate it from the transmission by removing the (2) clips (one on either side) using a long flat head screw driver to reach & pop each hinge up away from the teeth on the brackets on top of the transmission. Once the hinge is free the pin can slide out of each side allowing the base bracket to be pushed up against the roof of the transmission tunnel.
At this point the Hyundai Service Website recommends removing the shift rod on that end of the transmission where you just removed the bracket by way of the snap pin clip. However, I suggest not removing this end of the shift rod due to the extreme difficulty of reinstalling the pin upon reassembly. It is much easier to remove the pin on the shifter end & reinstall it when going back together. You will have the shift rod dangling around with the tranny, but it is not much of an issue as it is rather still firmly in place.
Return to where the transmission bolts up to the engine in order to remove the (4) 14mm mounting bolts along the bottom from the engine side. There will be two at the bottom & one a little further up on either side. You will not be able to get a socket on the bottom two for certain & even the other two will be quite difficult, so I recommend using a 14mm ratchet wrench on these if you have one available to you.
Tightening torque : 43~49 Nm (4.3~4.9 kgf.m, 31.1~35.4 lb-ft).
Remove the (2) 14mm mounting bolts (one each side) a little further up on the engine side. These actually have a dial pin they protrude through & will be the 1st ones you installl upon reassembly. These can be gotten to with a proper sized ratchet, but may still be easier with a ratchet wrench.
Tightening torque : 35~47 Nm (3.5~4.7 kgf.m, 25.3~34.0 lb-ft).
Remove the (2) 14mm starter motor mounting bolts from transmission side. They are rather long bolts & I used my air ratchet on these to save time on these two.
Tightening torque : 43~55 Nm (4.3~5.5 kgf.m, 31.1~39.8 lb-ft).
Note: There are still 2 more bolts up top on the transmission side that we leave in place to support the tranny for now.
Optional: I chose to remove the front anti-sway bar for additional clearance when dropping the transmission down. If you choose to do this you will remove the (4) short 14mm bolts, two on each side & just let it swing down careful not to let it smack you in the head.
Tightening torque : 43~49 Nm (4.3~4.9 kgf.m, 31.1~35.4 lb-ft
Move to the rear of the transmission & place your floor jack underneath it for support. There is a raised cross that looks like the perfect place to align the jack, but it is not. Most of the weight of the tranny is near the rear & thus you want to place your jack where you see a flat area directly behind that cross. This point of support will give you the greatest balance when lowering the transmission on the jack as well as allow you to leave it there for an extended period of time. The pic below shows me using a block of wood for additional support & to help refrain from damaging the transmission, but don't bother. You will have better balance without the wood & you are not going to hurt the tranny with the jack plate.
Once the the transmission is supported, remove the (4) 14mm bolts used to hold the rear transmission support bracket in place.
Tightening torque : 50~65 Nm (5.0~6.5 kgf.m, 36.2~47.0 lb-ft).
Once the rear transmission brace is free & the transmission is still supported by the floor jack, go back up to the top of the bell housing & remove the last (2) 14mm bolts up top on the transmission side. Once these bolts are out you will slightly lower the jack & work the tranny back to the rear of the vehicle until it breaks free.
Note: Be careful not to damage wires, lines or hoses while removing the transmission or when reinstalling.
Continue lowering the jack slowly while backing the tranny away from the engine, bringing the transmission assembly level with the ground so that it may balance on the floor jack.
Note: During removal of the transmission without the use of a lift & pneumatic trasmission jack, the angle needed to extract it may possibly cause the internal slave cylinder snap ring clip to get hung on the clutch cover prongs & pop off. If this happens do not fret, it can be reinstalled by compressing the slave cylinder spring while popping it back into place.
If you plan on replacing the internal slave cylinder while doing the clutch swap, I recommend moving the tranny off of the jack & sliding it out from under the vehicle to be worked on for additonal stability.

There will be (3) 10mm bolts that will have to be removed along with disconnecting the metal line that runs from the slave cylinder to the outside of the bell housing which connects to the clutch hose. To seperate the line you will need to hold one side with a 14mm wrench & the other with a 16mm wrench. Or if you plan on replacing the line as well as the slave cylinder you can leave it connected & just remove the grommet that sits in the hole that the line passed through. The grommet is cut so that it can be removed easily.
Once the tranny is out of the way you can begin disassembling the OEM clutch.
Start by removing the (6) 12mm clutch cover bolts.

My OEM clutch disc doesn't look too bad.
Clutch cover side not too bad either.
Now for the flywheel. In order to break the (7) T60 flywheel torx bolts loose you will need to put a wrench on the dampner pulley crankshaft bolt. I used a 7/8 wrench for this allowing it to turn until it fell tight against another pulley. Once it was braced, I returned to underneath the vehicle & broke each of the flywheel bolts loose. This will take a little bit of grunt.
to be continued....


")


